Understanding the Elusive Pressure Drop: A Technician’s Guide to Indoor Coil Mysteries
You’ve been called to a job. The homeowner complains of insufficient cooling, maybe even no cooling at all. They’ve checked their thermostat, ensured the system is set to “cool,” and the fan is running. The air blowing from the vents is barely tepid, a stark contrast to the summer heat outside. You arrive, tool bag in hand, ready to diagnose. Your mind immediately goes to the usual suspects: refrigerant charge, airflow, or a faulty compressor. But then you hook up your gauges, and a subtle, yet significant, anomaly appears. The suction line pressure is lower than it should be, but not drastically so. It’s a pressure drop, specifically at the indoor coil, that’s leaving you scratching your head. This isn’t a catastrophic failure, but it’s a persistent, frustrating problem that can significantly impact system performance. This article aims to demystify this perplexing phenomenon for you, the skilled technician, by delving into the causes, diagnostic strategies, and solutions for refrigerant pressure drop at the indoor coil.
Understanding why refrigerant pressure drops before the indoor coil is crucial for diagnosing issues in HVAC systems. A related article that delves deeper into the mechanics of refrigerant flow and pressure changes can be found at Freaky Science. This resource provides valuable insights into the thermodynamic principles at play, helping readers grasp the significance of pressure variations in maintaining efficient cooling performance.
The Invisible Culprit: Recognizing the Symptoms of Low Indoor Coil Pressure
The first step in solving any mystery is recognizing the clues. A refrigerant pressure drop at the indoor coil often manifests in subtle ways before becoming a full-blown cooling failure. You might notice the system struggling to maintain the desired temperature, requiring the thermostat to run for extended periods. Homeowners might report uneven cooling, with some rooms feeling adequately cool while others remain warm and stuffy. On closer inspection, you might observe frost forming on the refrigerant lines near the evaporator coil or even on the coil itself. This is a classic indicator that the refrigerant is not absorbing heat effectively. The indoor coil, designed to be a heat exchanger, is failing to perform its primary function.
The Evaporator Coil’s Crucial Role in Cooling
Before we dive into the pressure drop, let’s briefly recap the role of the evaporator coil. This is where the magic of cooling truly happens. Refrigerant, in a low-pressure, liquid state, enters the evaporator coil. As it flows through the coil’s tubes, it absorbs heat from the warm indoor air that is being blown across it by the blower fan. This heat absorption causes the refrigerant to vaporize, transforming from a liquid into a low-pressure gas. This process cools the air, which is then circulated throughout the building. The refrigerant, now a low-pressure gas, then travels back to the compressor to begin the cycle again. The pressure within the evaporator coil is critical; it dictates the boiling point of the refrigerant and, consequently, its ability to absorb heat.
Decoding Your Gauges: What Low Suction Pressure Tells You
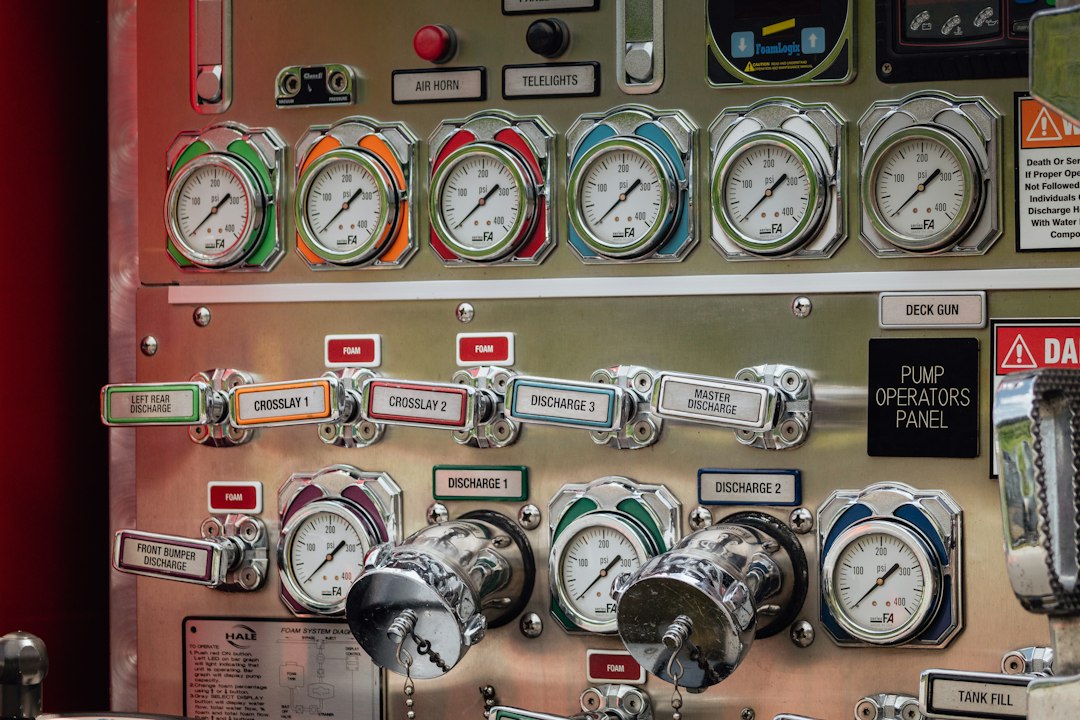
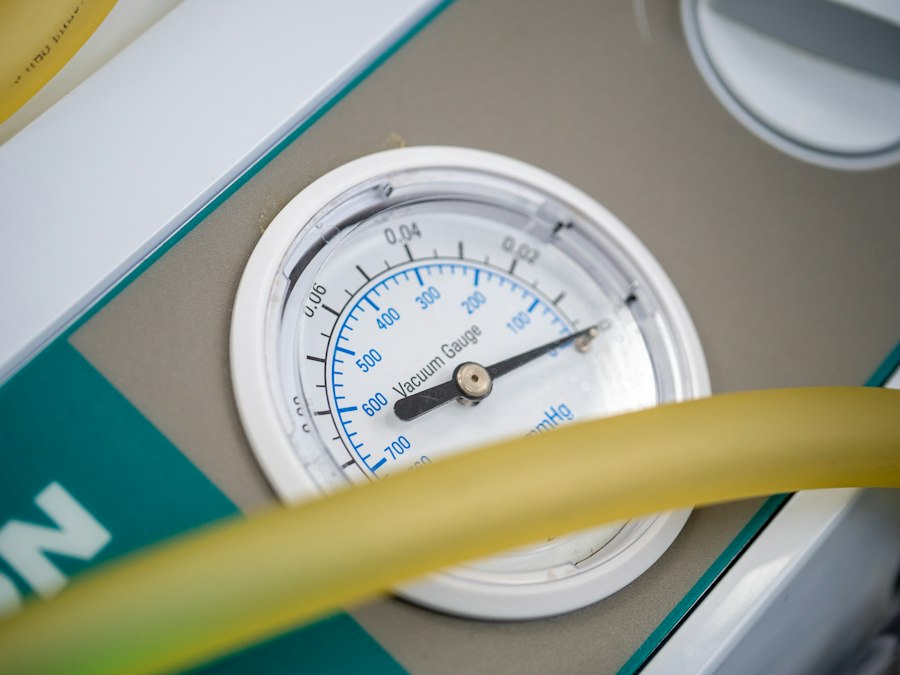
When you connect your manifold gauges, the readings on the low-pressure side (suction line) will be your primary indicator. You’re looking for a pressure that is significantly lower than what the manufacturer’s specifications recommend for the given operating conditions (indoor and outdoor temperatures, humidity). This low pressure suggests that the refrigerant isn’t expanding and absorbing heat as it should within the evaporator coil. It implies a bottleneck somewhere in the process, preventing the refrigerant from reaching its proper low-pressure gaseous state. It’s important to differentiate this from a complete loss of charge, where the pressure might be extremely low or non-existent. This is a subtle but persistent dip.
Unraveling the Conspiracy: Common Causes of Indoor Coil Pressure Drop
The low suction pressure at the indoor coil is a symptom, and like any good detective, you need to find the root cause. Several culprits can conspire to create this pressure drop. Understanding each one will equip you with the tools to effectively diagnose and rectify the problem.
The Blocked Pathway: Refrigerant Flow Obstructions
One of the most direct causes of a pressure drop is anything that restricts the flow of refrigerant into or through the evaporator coil. Think of it like a kink in a garden hose; the water flow is reduced, and the pressure downstream drops.
The Throttling Device: TXV or Fixed Orifice Issues
The expansion device – whether it’s a Thermostatic Expansion Valve (TXV) or a fixed orifice – is responsible for controlling the flow of liquid refrigerant into the evaporator coil. If this device malfunctions, it can restrict the flow, leading to a low pressure in the coil.
A Sticking TXV: The Valve’s Temperament
A TXV can get dirty or corroded, causing its internal mechanism to stick in a partially closed position. This limits the amount of refrigerant entering the evaporator, resulting in a lower pressure. You might notice erratic superheat readings with a faulty TXV, as it struggles to regulate the flow. The sensing bulb on the TXV also plays a crucial role. If it loses its charge or its contact with the suction line is compromised, the TXV will not respond correctly, potentially leading to restricted flow.
The Clogged Orifice: A Fixed Obstruction
For systems with a fixed orifice, a blockage within the orifice itself or the filter drier immediately upstream can impede refrigerant flow. Debris, such as metal shavings from installation or compressor wear, can accumulate and create a significant restriction. This is a more permanent obstruction compared to a sometimes-sticky TXV.
The Dirty Filter Drier: A Silent Saboteur
The filter drier is designed to remove moisture and debris from the refrigerant. However, over time, it can become saturated with contaminants. A clogged filter drier acts as a bottleneck, reducing the amount of refrigerant that can reach the expansion device and subsequently the evaporator coil. This can lead to a noticeable pressure drop both before and after the filter drier, with the most pronounced effect being felt at the evaporator.
The Insufficient Charge: Less Refrigerant, Less Pressure
While we’ve distinguished this from a complete loss of charge, a low refrigerant charge can still contribute to a pressure drop at the indoor coil. If there isn’t enough refrigerant in the system to begin with, the evaporator coil won’t be fully flooded.
Not Enough to Go Around: The Impact of a Partial Charge
Imagine trying to fill a swimming pool with only half the required water. The water level will be lower, and the pressure at the bottom will be reduced. Similarly, with a low charge, the evaporator coil doesn’t receive enough liquid refrigerant to absorb the maximum amount of heat. This leads to a lower pressure within the coil as the existing refrigerant vaporizes more quickly, creating a pressure deficit. You might observe lower overall system pressures, including both suction and discharge, but the suction pressure will be particularly indicative of an indoor coil issue.
Airflow Issues: The Unsung Hero of Heat Transfer
While not a direct refrigerant issue, inadequate airflow across the evaporator coil is a major contributor to pressure drops and poor cooling performance. The evaporator coil relies on the blower fan to force warm indoor air across its fins. If this air isn’t moving efficiently, the refrigerant can’t absorb heat effectively, leading to a pressure imbalance.
The Clogged Air Filter: The First Line of Defense
This is arguably the most common cause of poor airflow. A dirty, clogged air filter acts like a severe obstruction to airflow, significantly reducing the volume of air passing over the evaporator coil. This starving of the coil for air means the refrigerant doesn’t absorb heat as it should, leading to a pressure drop. You’ll notice the refrigerant trying to absorb heat but failing, and the pressure will reflect this struggle.
Restricted Return Air: The System’s Lungs
Beyond the filter, obstructions in the return air ductwork, such as collapsed ducts, blocked grilles, or improperly sized returns, can also severely limit airflow. The entire return system needs to be able to supply sufficient air to the indoor unit. Any restriction here will impact the evaporator’s ability to do its job.
The Dirty Evaporator Coil: A Fuzzy Barrier to Heat Exchange
Over time, the fins of the evaporator coil can become caked with dust, dirt, and even mold. This buildup acts as an insulator, impeding the transfer of heat from the air to the refrigerant. Even with good airflow, the dirty fins prevent efficient heat absorption. This lack of heat absorption can cause the refrigerant to remain colder than it should be, leading to a pressure drop.
Coil Freezing: A Visual Warning Sign
When the pressure within the evaporator coil drops too low, the refrigerant’s boiling point can drop below the freezing point of water. This causes moisture in the air to condense and then freeze on the coil’s surface, forming ice. This ice buildup further restricts airflow and exacerbates the problem.
The Cycle of Ice: How Freezing Worsens the Problem
Once frost begins to form, it creates an even greater barrier to heat transfer. The ice acts as an insulator, preventing warm air from reaching the refrigerant. This leads to even lower temperatures and pressures within the coil, causing more ice to form. It becomes a vicious cycle that can quickly lead to a complete loss of cooling.
Diagnosing the Pressure Drop: Your Investigative Toolkit
Now that you’re familiar with the potential culprits, let’s focus on how to systematically diagnose the low indoor coil pressure drop. Your trusty manifold gauges are your primary tools, but a keen eye and a methodical approach are equally important.
Setting the Stage: Pre-Diagnostic Checks
Before you even connect your gauges, perform some basic checks that can quickly point you in the right direction.
The Visual Inspection: What You Can See
Walk around the indoor unit. Is the air filter clean or is it a solid mass of dust? Is there any visible ice on the refrigerant lines or the evaporator coil itself? Are the supply and return air grilles unobstructed? A quick visual inspection can often reveal obvious issues.
Airflow Assessment: Feeling the Breeze
Place your hand in front of the supply vents. Do you feel a strong, consistent flow of air? Now check the return air grilles. Is there adequate suction? If the airflow feels weak, you’ll immediately suspect an airflow problem is contributing to the pressure drop.
Gauging the System: Using Your Manifold Gauges Effectively
This is where you get down to the specifics. Proper gauge usage is paramount.
Connecting the Gauges: The Right Ports, The Right Readings
Ensure you connect the low-pressure gauge to the suction line service port and the high-pressure gauge to the liquid line service port. Pay close attention to the readings on the low-pressure gauge when the system is running. Compare these readings to the manufacturer’s recommended operating pressures for the current ambient and indoor conditions.
Analyzing the Numbers: Pressure, Superheat, and Subcooling
The suction pressure is your primary indicator, but don’t neglect other critical readings.
Low Suction Pressure and High Superheat: A Classic Combo
If you’re observing low suction pressure and high superheat (the temperature of the refrigerant vapor above its saturation temperature), this strongly suggests a lack of refrigerant in the evaporator coil. This could be due to a low charge, a malfunctioning TXV restricting flow, or a clogged orifice. The refrigerant is boiling off too quickly, leaving the evaporator with less liquid refrigerant to absorb heat.
Low Suction Pressure and Low Superheat: A Different Story
Conversely, if you have low suction pressure and low superheat, it might indicate an airflow problem. The refrigerant is not absorbing heat efficiently due to poor airflow, causing it to remain colder than it should be, leading to a lower pressure. However, it’s also important to consider that a severely restricted TXV or orifice could also lead to low suction pressure with less dramatic superheat changes.
Subcooling Considerations: A Fuller Picture
While primarily related to the high-pressure side, subcooling can provide a clue. If subcooling is also low, it further supports a diagnosis of a low refrigerant charge. If subcooling is normal or high with low suction, it points more towards an issue with refrigerant flow into the evaporator.
Advanced Diagnostics: Pinpointing the Exact Cause
Sometimes, the initial gauge readings require further investigation.
The Temperature Check: Confirming Heat Absorption
Use your digital thermometer to measure the temperature of the air entering and leaving the evaporator coil. A significant temperature drop (typically 15-20°F) indicates effective heat absorption. If the temperature drop is minimal, it confirms that the evaporator coil isn’t doing its job, likely due to a pressure drop issue. You can also use your thermometer to check the temperature of the suction line at different points to see if there are significant temperature gradients, which might indicate localized freezing or poor flow.
Evaluating the Expansion Device: TXV Testing
If you suspect a TXV issue, you can perform specific tests. Check the temperature of the suction line at the sensing bulb. Ensure it has good thermal contact with the pipe. If the TXV is adjustable, you can try to slightly adjust its superheat setting to see if it responds. In many cases, a suspected faulty TXV will need to be replaced.
Checking for Blockages: The Filter Drier Test
A simple test for a clogged filter drier is to measure the temperature and pressure drop across it. A significant temperature difference between the inlet and outlet of the filter drier, along with a noticeable pressure drop, indicates it’s likely restricted and needs replacement.
Understanding why refrigerant pressure drops before the indoor coil is crucial for maintaining efficient HVAC systems. This phenomenon can be attributed to several factors, including the expansion of refrigerant as it enters the evaporator coil, which leads to a decrease in pressure. For a deeper dive into related concepts and the science behind refrigeration, you can check out this informative article on Freaky Science. By grasping these principles, technicians can better diagnose issues and optimize system performance.
Rectifying the Problem: Restoring Optimal Cooling
| Metric | Description | Typical Values | Impact on Refrigerant Pressure |
|---|---|---|---|
| Expansion Valve Orifice Size | Size of the opening through which refrigerant passes before the indoor coil | 0.5 – 2 mm diameter | Smaller orifice causes greater pressure drop |
| Refrigerant Flow Rate | Volume of refrigerant flowing per unit time | 0.01 – 0.05 kg/s | Higher flow rate increases pressure drop due to friction |
| Temperature Drop Across Expansion Device | Temperature difference before and after the expansion valve | 5 – 15 °C | Indicates pressure drop as refrigerant expands and cools |
| Pressure Before Expansion Valve | High side pressure entering the expansion device | 8 – 15 bar | Higher pressure leads to larger pressure drop across valve |
| Pressure After Expansion Valve (Before Indoor Coil) | Low side pressure entering the indoor coil | 2 – 5 bar | Lower pressure due to expansion and throttling effect |
| Refrigerant Type | Type of refrigerant used (e.g., R-410A, R-22) | Varies | Different refrigerants have different pressure-temperature characteristics affecting pressure drop |
| Indoor Coil Temperature | Temperature of the coil where refrigerant absorbs heat | 5 – 15 °C | Lower coil temperature can increase pressure drop due to increased refrigerant density |
Once you’ve identified the root cause, it’s time to implement the solution. The fix will depend entirely on your diagnosis.
Addressing Airflow Woes: The Most Frequent Fix
Given how common airflow issues are, this is often your first and most satisfying fix.
Filter Replacement: The Simple Solution
Always start by replacing the air filter with a clean, new one of the correct MERV rating. This is a quick, inexpensive, and often highly effective solution.
Cleaning the Evaporator Coil: Restoring its Shine
If the evaporator coil is dirty, thorough cleaning is essential. This usually involves specialized coil cleaners and brushes. Ensure you rinse the coil completely to remove all cleaning chemicals. A clean coil can dramatically improve heat transfer and system performance.
Clearing Return Air Obstructions: Opening the Airways
Inspect and clear any obstructions in the return air ductwork. This might involve straightening collapsed ducts or removing debris from return grilles. If the return ductwork is undersized, you might need to consult with a ductwork specialist for potential upgrades.
Resolving Refrigerant Flow Issues: Precision and Care
When the problem lies with the refrigerant flow, precision is key.
Replacing the Filter Drier: A Preventive Measure
If the filter drier is clogged, it’s crucial to replace it. Remember to properly recover the existing refrigerant before cutting into the system and evacuate the system thoroughly after brazing in the new filter drier before recharging.
Replacing the Expansion Device: Restoring Control
If the TXV or fixed orifice is found to be faulty or clogged, it will need to be replaced. This is a more involved repair requiring proper refrigerant handling procedures, brazing skills, and vacuum evacuation.
Proper Refrigerant Charging: The Final Touch
After addressing any obstructions or component failures, the system must be recharged with the correct amount and type of refrigerant according to the manufacturer’s specifications. Overcharging or undercharging can lead to other problems. Always use a charging chart or weigh in the refrigerant for the most accurate results.
Handling Low Charge Situations: A Systemic Approach
If a low refrigerant charge is identified, it’s often a symptom of a larger issue.
Finding the Leak: The Crucial Next Step
A low charge indicates a leak somewhere in the refrigeration circuit. Your priority should be to find and repair this leak before recharging the system. This might involve using an electronic leak detector, a soap bubble test, or even UV dye.
Repairing the Leak: Ensuring Long-Term Performance
Once the leak is found, it needs to be properly repaired. This could involve brazing a faulty joint, replacing a damaged section of tubing, or repairing a faulty seal.
Preventing Future Mysteries: Proactive Maintenance Strategies
The best way to solve a mystery is to prevent it from happening in the first place. Implementing a robust preventative maintenance program is your best defense against recurring refrigerant pressure drop issues.
Regular Tune-Ups: The Heart of Prevention
Encourage your customers to schedule annual or semi-annual preventative maintenance for their HVAC systems. During these tune-ups, you can perform many of the diagnostic checks we’ve discussed.
Cleaning and Inspection: A Routine Necessity
Regular cleaning of the evaporator coil and replacement of air filters are non-negotiable. These simple tasks prevent the buildup of contaminants that lead to airflow restrictions and inefficient heat transfer.
Gauge Checks and Component Inspections: Early Detection
During routine maintenance, always connect your gauges and check system pressures. Inspect the TXV, filter drier, and all refrigerant lines for any signs of wear, damage, or potential leaks. Early detection of these issues can prevent more costly repairs down the line.
Educating Your Customers: Empowering Homeowners
Your customers play a vital role in maintaining their HVAC systems. Educate them on the importance of:
Air Filter Changes: The Most Important Task
Emphasize the critical need for regular air filter changes. Explain how a dirty filter impacts system performance, energy efficiency, and indoor air quality. Provide them with information on the correct filter type and replacement frequency.
Recognizing the Signs: When to Call for Help
Teach them to recognize the early warning signs of HVAC problems, such as reduced cooling, unusual noises, or ice formation on the outdoor unit. Encouraging them to call you at the first sign of trouble can save them from significant discomfort and expense.
By understanding the intricacies of refrigerant pressure drop at the indoor coil, you equip yourself with the knowledge and skills to diagnose and resolve these complex issues. Remember, a systematic approach, meticulous attention to detail, and a commitment to preventative maintenance are your greatest allies in unraveling the mysteries of your HVAC system and ensuring your customers enjoy optimal comfort and efficiency.
Your AC Blows Hot Air Outside. Is That Heat From Your Room?
FAQs
1. Why does refrigerant pressure drop before the indoor coil?
Refrigerant pressure drops before the indoor coil because the expansion valve or metering device located before the coil reduces the pressure of the refrigerant as it enters the coil.
2. What is the purpose of the pressure drop before the indoor coil?
The pressure drop before the indoor coil allows the refrigerant to expand and evaporate, absorbing heat from the indoor air and cooling it down.
3. How does the pressure drop affect the efficiency of the cooling system?
The pressure drop before the indoor coil is essential for the cooling system to function efficiently. It helps in the heat exchange process, allowing the refrigerant to absorb heat effectively and cool the indoor air.
4. Can low refrigerant pressure before the indoor coil cause issues with cooling performance?
Yes, low refrigerant pressure before the indoor coil can cause issues with cooling performance. It can lead to reduced cooling capacity, longer cooling cycles, and inefficient operation of the air conditioning system.
5. How can one ensure proper refrigerant pressure before the indoor coil?
To ensure proper refrigerant pressure before the indoor coil, it is important to have regular maintenance checks on the air conditioning system. This includes inspecting and adjusting the refrigerant levels, checking for leaks, and ensuring the proper functioning of the expansion valve or metering device.