You’ve likely seen it, or perhaps even done it yourself. That classic experiment, the one that turns a simple act of melting chocolate into a surprisingly insightful physics demonstration: the microwave chocolate standing wave experiment. It’s a dish best served warm, and with a side of understanding. This isn’t just about gooey, delicious chocolate; it’s about peering into the invisible dance of microwave radiation within your kitchen appliance. We’re going to demystify this phenomenon, breaking down the science behind those distinct hot and cold spots.
Understanding the Microwave Oven’s Function
Before we can delve into the intricacies of standing waves, you need to grasp the fundamental way your microwave oven operates. It’s a deceptively simple appliance, yet its heating mechanism relies on some fascinating principles of electromagnetism.
How Microwaves Generate Heat
At its core, a microwave oven is a device that uses microwave radiation to heat food. The magic happens thanks to a component called the magnetron.
The Magnetron: The Heart of the Microwave
The magnetron is a high-powered vacuum tube that generates microwave radiation. It does this by forcing electrons to move in circular paths within a magnetic field, causing them to oscillate at a specific frequency – typically around 2.45 gigahertz (GHz). This frequency is crucial because it’s particularly good at interacting with water molecules, which are abundant in most foods.
The Role of Water Molecules
Water molecules are polar. This means they have a slight positive charge on one side and a slight negative charge on the other, much like a tiny magnet. When microwave radiation enters the oven, these electromagnetic waves have an oscillating electric field. This electric field exerts a force on the polar water molecules, causing them to rapidly rotate and align themselves with the field.
Frictional Heating
As these water molecules try to keep up with the rapidly changing electric field, they bump into each other and surrounding molecules. This constant jostling and friction generates heat. It’s this molecular agitation, driven by the microwaves, that cooks your food from the inside out, or rather, from where the water molecules are present.
The Microwave Cavity and Wave Propagation
The interior of your microwave oven is designed as a metal box. This metal cavity is not just for containing the food; it plays a critical role in how the microwaves behave.
The Metal Box as a Reflector
The metal walls of the microwave oven act as excellent reflectors for microwave radiation. This means that when the microwaves are emitted from the antenna (usually located at the top or side), they bounce around inside the cavity.
Waves Bouncing and Interfering
These reflected waves travel in all directions, interacting with each other. They can travel forward, backward, up, down, and sideways, bouncing off the walls multiple times. This bouncing and interaction is where the phenomenon of standing waves begins to emerge. Unlike light waves, which we can see traveling in straight lines, microwaves are invisible and behave in a more complex, wave-like manner within the confines of the oven.
The fascinating phenomenon of standing waves in a microwave can be explored further in the article available at Freaky Science, which delves into the science behind microwave ovens and their unique heating patterns. This resource provides a comprehensive explanation of how chocolate can be used to visualize these standing waves, illustrating the principles of wave interference and energy distribution within the microwave. By conducting simple experiments, readers can gain a deeper understanding of the underlying physics that governs microwave cooking.
The Phenomenon of Standing Waves
Now that we understand how microwaves are generated and how they behave within the oven, let’s focus on the star of our experiment: standing waves. This is the key to understanding why your chocolate melts unevenly.
What are Standing Waves?
Imagine plucking a guitar string. The string vibrates, creating a wave that travels to the bridge and back. At certain points, the string will appear to be motionless, while at others, it will vibrate with maximum amplitude. This is a visual representation of a standing wave.
Constructive and Destructive Interference
Standing waves arise from the interference of two identical waves traveling in opposite directions. When these waves meet, they can either reinforce each other (constructive interference) or cancel each other out (destructive interference).
- Constructive Interference: When the crests of one wave align with the crests of another, or the troughs align with troughs, the resulting wave has a larger amplitude. In the context of microwaves, this means a higher concentration of microwave energy.
- Destructive Interference: When the crest of one wave aligns with the trough of another, they cancel each other out, resulting in a wave with zero or very low amplitude. In the microwave, this translates to a region with very little microwave energy.
The Role of Boundaries
The reflective walls of the microwave oven act as boundaries for the microwave radiation. Just as a guitar string is fixed at both ends, the microwaves are reflected by the metal walls. This reflection is what allows the waves traveling in one direction to meet and interfere with waves traveling in the opposite direction.
How Standing Waves Form in a Microwave
The dimensions of the microwave cavity and the wavelength of the microwaves play a crucial role in the formation of standing waves. The cavity is not perfectly designed to absorb all the microwave energy in a uniform manner.
Resonant Frequencies and Patterns
A microwave oven cavity acts like a resonating chamber. Certain frequencies and spatial patterns of microwave energy will be favored, leading to the formation of stable wave patterns – the standing waves. These patterns are not static; they are regions of consistently high and low energy.
The ‘Hot’ and ‘Cold’ Spots
These standing wave patterns create alternating regions of high and low microwave intensity. The areas of constructive interference are where the microwave energy is concentrated, leading to rapid heating. Conversely, the areas of destructive interference have very little microwave energy, resulting in much slower heating or even unheated spots. These are the infamous “hot” and “cold” spots you’ll observe in your experiment.
Setting Up Your Chocolate Standing Wave Experiment
Now for the fun part! Gather your materials and prepare to witness physics in action. The beauty of this experiment lies in its simplicity and accessibility.
Materials You’ll Need
- Microwave-safe plate or dish: A flat, shallow dish is ideal for an even spread of chocolate.
- Chocolate: About one to two standard-sized chocolate bars (milk chocolate or semi-sweet works well) will provide enough surface area to visualize the patterns.
- Knife or spatula: For spreading the melted chocolate.
- Microwave oven: The star of the show!
- Timer or stopwatch: For precise timing.
- Oven mitts or a towel: To safely remove the hot plate.
- Optional: Paper towel: To place under the plate to catch any potential drips.
Step-by-Step Procedure
Follow these steps carefully to ensure you get the best results and a delicious reward!
Step 1: Prepare Your Chocolate
Break or chop your chocolate bars into small, uniform pieces. This will help it melt more evenly. Place the chocolate pieces in your microwave-safe dish, spreading them out as thinly and evenly as possible across the surface. The goal is to create a single, continuous layer of chocolate.
Step 2: The Initial Melt
Place the dish with the chocolate into the microwave. Do not put the turntable in the microwave for this experiment; it’s designed to rotate food to counteract standing waves. For this demonstration, you want the standing waves to be stationary.
Step 3: The Gentle Heating
Now, it’s time for a very brief burst of microwave energy. Set your microwave on a low power setting (if available) or use a very short duration, such as 15-20 seconds. The aim is to just begin melting the chocolate, not to fully liquefy it. You want to observe the initial stages of melting.
Step 4: Observe the Melting Pattern
Carefully remove the dish from the microwave using oven mitts. Examine the chocolate. You’ll likely notice that some areas are starting to melt and become glossy, while others remain solid or are only slightly softened. These are your first clues about the standing wave pattern.
Step 5: Gentle Reshaping (Optional but Recommended)
If the chocolate has melted unevenly, you can gently spread it with a knife or spatula to create a smoother, more uniform layer. This will help reveal the standing wave pattern more clearly in the next stage. Be careful not to overwork it, as you don’t want to completely homogenize the melted chocolate.
Step 6: A Second, Brief Heating
Return the dish to the microwave for another short burst, again, around 10-15 seconds on a low power setting. The goal here is to continue the melting process, allowing the heat from the already melted areas to spread and to further reveal the distinct melting points dictated by the standing waves.
Step 7: The Grand Reveal
Remove the dish from the microwave and allow it to sit for a minute or two. The heat from the melted chocolate will continue to diffuse. Now, observe the surface of the chocolate very closely. You should see distinct patterns of completely melted, glossy chocolate interspersed with areas that are still solid or have only partially melted. These patterns are the visual representation of the microwave’s standing wave nodes and antinodes.
Analyzing Your Chocolate Melting Patterns
The patterns you observe on your chocolate are not random. They are a direct consequence of the physics of microwave radiation within your oven.
Identifying Nodes and Antinodes
The melted areas on your chocolate correspond to the antinodes, while the solid or partially melted areas correspond to the nodes.
Antinodes: Regions of High Energy
The glossy, fully melted sections are where the microwave energy was most intense. These are the antinodes, the points where constructive interference of the microwaves occurred, leading to rapid heating and melting of the chocolate.
Nodes: Regions of Low Energy
The solid or partially melted sections represent the nodes. These are the areas where destructive interference took place, resulting in very little microwave energy. Consequently, the chocolate in these regions did not heat up sufficiently to melt.
The Impact of Microwave Oven Dimensions
The specific pattern of melted and unmelted chocolate will vary from microwave to microwave. This is because the dimensions of the microwave cavity, coupled with the wavelength of the microwaves, determine the precise locations of the standing wave nodes and antinodes.
Cavity Size and Wavelength
The wavelength of the microwaves used in most ovens is about 12.2 centimeters (approximately 4.8 inches) at 2.45 GHz. The metal walls of the oven reflect these waves, and the size and shape of the oven cavity create specific resonant patterns. For a standing wave to form, the distance between the reflective walls must be a multiple of half wavelengths.
Different Ovens, Different Patterns
A larger oven cavity might support more complex standing wave patterns than a smaller one. Similarly, the placement of the magnetron and the internal structure of the oven can influence how the waves reflect and interfere, leading to unique patterns for each appliance. You might find a pattern of perhaps two or three distinct melted lines, or a more complex grid-like structure, depending on your oven.
Why the Turntable is Usually Essential (and why you removed it)
You’ll notice that most microwave ovens come with a turntable. This rotating plate is a clever solution to the problem of standing waves.
The Turntable’s Purpose
By rotating the food, the turntable ensures that all parts of the food are exposed to varying intensities of microwave radiation over time. This constant movement averages out the heating effect, preventing the formation of persistent hot and cold spots and leading to more even cooking.
The Experiment’s Deviation
In our chocolate experiment, we deliberately disabled the turntable. This was crucial for our observation. By keeping the chocolate stationary, we allowed the standing wave pattern to become imprinted on the chocolate’s melting behavior. If the turntable were active, the chocolate would simply melt more uniformly, and we wouldn’t see the distinct hot and cold zones.
In exploring the fascinating phenomenon of standing waves in a microwave, you might find it interesting to read about the microwave chocolate experiment, which visually demonstrates how these waves can create hot and cold spots in food. This experiment not only showcases the principles of wave interference but also provides a delicious way to engage with physics. For a deeper understanding of this topic, check out the related article on Freaky Science, where the science behind the experiment is explained in detail.
Common Observations and Troubleshooting
Even with the best intentions, sometimes experiments don’t go exactly as planned. Here are some common observations and tips for troubleshooting your chocolate standing wave experiment.
What to Expect and What It Means
The most common observation is a pattern of melted lines or blobs interspersed with solid chocolate.
Distinct Melted Lines
Often, you’ll see several parallel lines of melted chocolate. These lines represent the antinodes, where the microwave energy was concentrated. The spacing between these lines can give you a rough idea of the wavelength of the microwaves.
Irregular Patches
Instead of distinct lines, you might see more irregular patches of melted chocolate. This can happen if the chocolate layer wasn’t perfectly uniform or if the standing wave pattern is more complex. The principle remains the same: melted areas indicate high energy, solid areas indicate low energy.
Incomplete Melting
If your chocolate is still largely solid after the experiment, you likely didn’t use enough heating time. Microwaves are very efficient at heating, so even short bursts can have a significant effect. Try a slightly longer second heating period, but be careful not to overcook it.
Troubleshooting Tips
If your results aren’t as clear as you’d hoped, don’t despair. Here are a few things to check.
Uneven Chocolate Layer
The most common culprit for unclear patterns is an uneven layer of chocolate. Ensure you spread it as thinly and uniformly as possible. If it’s too thick, the heat may diffuse too much, obscuring the subtle differences in microwave intensity.
Incorrect Microwave Power/Time
Using too high a power setting or too long a heating time can cause the chocolate to melt too quickly and uniformly, hiding the standing wave pattern. It’s better to use shorter bursts at lower power. The goal is to catch the chocolate in the process of melting, not to fully melt it all at once.
Over-mixing or Reshaping
While gentle reshaping can help, over-mixing the melted chocolate can homogenize the heat distribution and mask the standing wave effect. Try to minimize manipulation once the melting begins.
External Factors
While less likely to cause significant issues, ambient temperature can play a minor role. Ensure your kitchen isn’t excessively hot or cold, which could influence the melting rate.
Beyond the Chocolate: The Broader Implications of Standing Waves
The chocolate standing wave experiment is a fantastic visual aid, but the concept of standing waves has far-reaching implications in physics and technology.
Applications in Science and Technology
Standing waves are not just confined to your kitchen microwave. They are fundamental to many scientific and technological applications.
Radio and Television Broadcasting
The principles of wave propagation and resonance are critical for radio and television broadcasting. Antennas are designed to efficiently emit and receive radio waves, and understanding how these waves behave in space is essential for signal transmission.
Lasers
Lasers (Light Amplification by Stimulated Emission of Radiation) rely on the principle of stimulated emission within a resonant cavity. The laser cavity is designed to amplify light waves, and standing waves are crucial in determining the properties of the emitted laser light, such as its wavelength and coherence.
Musical Instruments
As mentioned earlier, musical instruments are classic examples of standing waves. The vibrating strings of a guitar, the air column in a flute, or the stretched membrane of a drum all produce sound by creating standing waves at specific resonant frequencies, which we perceive as musical notes.
Medical Imaging (MRI)
Magnetic Resonance Imaging (MRI) is a powerful medical diagnostic tool that utilizes the principles of nuclear magnetic resonance. While the direct connection to standing waves isn’t as visually obvious as in a microwave, the resonant frequencies of atomic nuclei in a magnetic field are manipulated by radio waves, and understanding wave phenomena is integral to the technology.
The Importance of Understanding Wave Phenomena
The ability to understand and manipulate wave phenomena is a cornerstone of modern science and engineering. From the invisible waves that connect us through communication to the precise beams of light used in surgery, waves are everywhere.
From the Invisible to the Tangible
The chocolate experiment bridges the gap between the invisible world of microwaves and a tangible, observable result. It demystifies the complex physics of microwave heating and makes it accessible to anyone with a microwave and a sweet tooth.
Inspiring Further Exploration
By understanding how standing waves create hot and cold spots in a microwave, you gain a deeper appreciation for the invisible forces that shape our world. This seemingly simple experiment can spark curiosity and encourage further exploration into the fascinating realm of physics and electromagnetism. So, the next time you reach for a chocolate bar and your microwave, remember that you’re not just making a snack; you’re conducting a small-scale physics experiment with significant real-world implications.
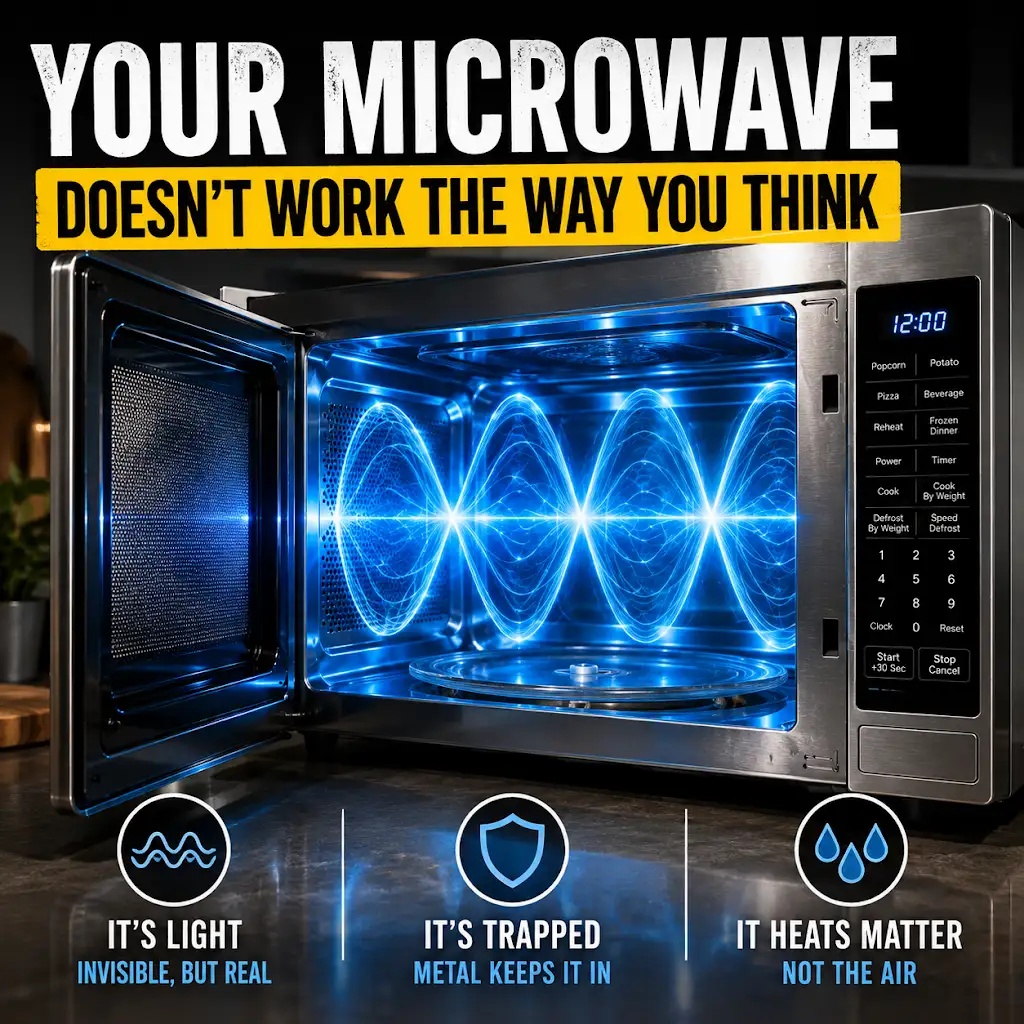
Your Microwave Doesn’t Work the Way You Think
FAQs

What is the microwave chocolate standing wave experiment?
The microwave chocolate standing wave experiment is a simple and fun demonstration of standing waves in a microwave. It involves placing a chocolate bar in a microwave and observing the pattern of melted and unmelted spots to visualize the standing wave pattern.
How does the experiment work?
When the microwave is turned on, the microwaves bounce around the interior of the microwave and interfere with each other, creating areas of high and low energy known as standing waves. These standing waves cause certain spots on the chocolate bar to melt while others remain solid, creating a pattern that reflects the wave interference.
What materials are needed for the experiment?
To conduct the microwave chocolate standing wave experiment, you will need a microwave, a microwave-safe plate, and a chocolate bar. It’s important to use a microwave-safe plate to ensure safety during the experiment.
What can be learned from this experiment?
This experiment helps to visualize the concept of standing waves, which are important in understanding wave behavior and interference. It also demonstrates how microwaves work and how they can be manipulated to create specific patterns of energy distribution.
Are there any safety precautions to consider when conducting this experiment?
It’s important to follow safety guidelines when using a microwave, including using a microwave-safe plate and following the manufacturer’s instructions for the chocolate bar. Additionally, it’s important to handle the melted chocolate with care to avoid burns.