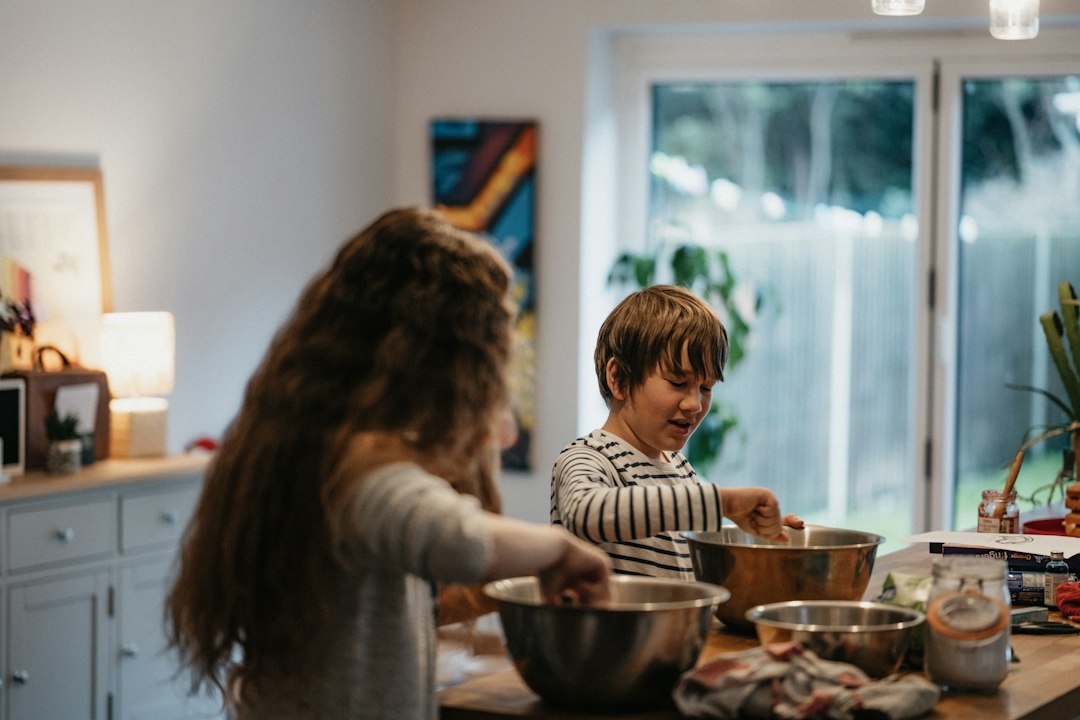
The Magic of the Kitchen: Where Science Comes Alive
The kitchen, often a hub of culinary creativity and family gatherings, is also a surprisingly potent laboratory for scientific exploration. Far from the sterile confines of a traditional lab, the kitchen offers a treasure trove of readily available materials that can transform everyday cooking into exciting, hands-on science experiments. These projects, often simple enough for young children with adult supervision, yet engaging enough for curious teenagers and adults alike, demystify scientific principles through tangible, observable results. The beauty of kitchen science lies in its accessibility, its inherent fun factor, and its ability to spark a lifelong interest in the wonders of the natural world. From the fizzy reactions of baking soda and vinegar to the mesmerizing transformations of food during cooking, science is happening all around us, and the kitchen is the perfect place to witness and understand it firsthand. This article will explore a variety of these engaging experiments, categorized for ease of understanding and promising hours of educational amusement for individuals and families.
If you’re interested in exploring the fascinating world of kitchen science experiments, you might want to check out this related article that delves into various fun and educational activities you can try at home. It provides a range of experiments that not only entertain but also teach important scientific principles. For more information, visit this link to discover exciting kitchen science projects that you can easily conduct with everyday ingredients.
Bubbling Concoctions: The Wonders of Chemical Reactions
The kitchen is a fantastic place to witness the fundamental principles of chemical reactions in action. Many common household ingredients, when combined, produce dramatic and visually striking results, illustrating concepts like acid-base reactions, gas production, and the creation of new substances. These experiments not only entertain but also provide a concrete understanding of the chemistry that underlies everyday phenomena.
The Classic Volcano: Unleashing the Power of Acid-Base Reactions
Perhaps the most iconic kitchen science experiment, the baking soda and vinegar volcano, is a perennial favorite for good reason. It’s a simple yet effective demonstration of an acid-base reaction. Vinegar, a weak acid, reacts with baking soda, a base, to produce carbon dioxide gas. This gas, trapped within the mixture, creates a frothy eruption, simulating a volcanic explosion.
To perform this experiment, one will need a small container (a bottle or cup works well), baking soda, vinegar, and optional additions like red food coloring and dish soap. Place a few tablespoons of baking soda into the container. For added visual appeal, a few drops of red food coloring can be added, and a squirt of dish soap will enhance the foaminess, making the eruption more spectacular. Slowly pour vinegar into the container. The immediate reaction will be a vigorous bubbling and overflowing of the mixture. The dish soap traps the carbon dioxide gas produced, creating a more voluminous and longer-lasting foam. This experiment teaches children about the concept of chemical reactions, the release of gas, and the properties of acids and bases. For older participants, discussions can delve into the specific chemical equation: NaHCO₃ (baking soda) + CH₃COOH (vinegar) → CH₃COONa (sodium acetate) + H₂O (water) + CO₂ (carbon dioxide gas). The presence of carbon dioxide gas is what causes the “eruption.”
The Inflating Balloon: Harnessing Gas Production
Building upon the principles demonstrated by the volcano, the inflating balloon experiment offers another exciting way to visualize gas production. This project is particularly appealing as it results in a tangible outcome: a inflated balloon powered by a chemical reaction.
The ingredients and procedure are very similar to the volcano. One will need a plastic bottle, baking soda, vinegar, and a balloon. Pour a few tablespoons of baking soda into the balloon. This can be done by stretching the neck of the balloon and carefully scooping the baking soda in, or by using a funnel. Then, pour about half a cup of vinegar into the plastic bottle. Carefully stretch the opening of the balloon over the mouth of the bottle, ensuring a tight seal. Once the balloon is securely in place, lift the balloon so that the baking soda falls into the vinegar. The reaction will begin immediately, producing carbon dioxide gas that will fill the balloon. As the reaction continues, the balloon will gradually inflate. This experiment vividly illustrates how a chemical reaction can generate a gas that occupies space and exerts pressure. It’s a great way to introduce concepts like pressure, volume, and the invisible nature of gases. For an added layer of complexity, one could experiment with different amounts of baking soda and vinegar to observe how it affects the size of the inflated balloon.
Invisible Ink: The Magic of pH Indicators
Invisible ink experiments tap into the fascinating world of chemical reactions that are not immediately obvious but can be revealed under specific conditions. This particular experiment utilizes the properties of a natural pH indicator to create a secret message that only appears when heated.
For this experiment, one needs lemon juice, a cotton swab or paintbrush, and a piece of paper. The acidity of lemon juice makes it a mild acid. When applied to paper, it is absorbed and dries, becoming virtually invisible. However, when the paper is heated, the citric acid in the lemon juice undergoes oxidation and caramelization, turning brown and revealing the written message. This process is similar to how sugar caramelizes when heated. To make the invisible ink, dip the cotton swab or paintbrush into the lemon juice and write or draw on the paper. Allow the juice to dry completely. Once dry, hold the paper near a heat source, such as a warm light bulb or a toaster (with extreme caution and adult supervision). The writing will gradually appear in a light brown color. This experiment demonstrates chemical changes that occur due to heat and introduces the concept of oxidation. It’s a fun way to send secret messages and explore the science of hidden writing.
Edible Experiments: Exploring Food Science
The kitchen is not just a place for reactions; it’s also a laboratory for understanding the science behind the food we eat. Many everyday cooking processes involve complex chemical and physical transformations that can be explored through simple, delicious experiments. These projects offer a unique opportunity to learn about nutrition, food chemistry, and the science of taste and texture.
Crystal Creations: The Art of Sugar Crystallization
The formation of sugar crystals is a beautiful and educational experiment that showcases the principles of supersaturation and crystallization. It’s a process that transforms simple sugar into intricate, sparkling structures.
To create sugar crystals, one will need sugar, water, a pot, a stirring utensil, a clean jar, and a string or popsicle stick. Begin by heating a cup of water in the pot. Gradually add sugar, stirring continuously, until no more sugar dissolves. This is the point of saturation. Continue to heat and add sugar, stirring until the solution is supersaturated, meaning it holds more dissolved sugar than it normally could at room temperature. Remove the pot from the heat and pour the hot sugar solution into the clean jar. To create nucleation sites for crystal growth, tie a string to a popsicle stick or pencil and suspend it in the jar, ensuring it doesn’t touch the bottom or sides. Alternatively, a clean, dry stick can be used. Over the next few days, small sugar crystals will begin to form and grow on the string or stick. As the water evaporates, the dissolved sugar molecules will arrange themselves into an ordered crystalline structure. This experiment demonstrates concepts like solubility, supersaturation, and the process of crystallization. It also offers a sweet reward for the effort! For a colored crystal, a drop of food coloring can be added to the sugar solution.
Homemade Ice Cream: The Science of Freezing Point Depression
Making ice cream from scratch is a delightful culinary activity that also serves as an excellent science experiment, illustrating the concept of freezing point depression. This phenomenon explains how adding certain substances to water can lower its freezing point.
The classic method involves using two sturdy plastic bags (one large, one small), ice, salt, milk or cream, sugar, and vanilla extract. Pour the milk or cream, sugar, and vanilla extract into the smaller plastic bag and seal it tightly. In the larger plastic bag, fill it about halfway with ice. Then, add a generous amount of salt (rock salt works best) to the ice. The salt dissolves in the melting ice, creating a brine solution that is significantly colder than ice alone. Place the sealed smaller bag containing the ice cream mixture into the larger bag with the ice and salt. Seal the larger bag tightly. Now, the fun begins! Shake and agitate the bags vigorously for about 10-15 minutes. The salt lowers the freezing point of the water from the melting ice, creating a super-cold environment. This cold is then transferred to the ice cream mixture, causing it to freeze. The constant agitation prevents large ice crystals from forming, resulting in a smooth, creamy texture. This experiment teaches about freezing point depression, the role of salt in lowering the freezing point, and the importance of agitation in achieving the desired texture in ice cream.
The Perfect Omelet: Exploring Protein Denaturation
Cooking an omelet is a common kitchen task, but it’s a prime example of a fundamental biological and chemical process: protein denaturation. Understanding this process can make cooking more than just a chore; it can be an exploration of how ingredients transform.
The key ingredient in an omelet is eggs, which are rich in proteins. When raw, egg proteins are tightly coiled and folded into specific three-dimensional structures. When exposed to heat, these protein structures begin to unfold and unravel, a process known as denaturation. As the proteins denature, they move around and begin to bond with each other, forming a new, more solid network. This is what causes the liquid egg to transform into the firm, cooked omelet. The addition of ingredients like milk or cream can affect the texture of the omelet by providing more liquid to the mixture and slightly altering the way the proteins interact. For this experiment, all that is needed is eggs, a pan, a heat source, and optional additions like milk, cheese, or vegetables. Crack the eggs into a bowl, add a splash of milk if desired, and whisk them together. The whisking further helps to break down the proteins and incorporate air. Pour the egg mixture into a lightly oiled, preheated pan. As the omelet cooks, observe how the liquid egg gradually solidifies. This experiment provides a tangible, edible demonstration of protein denaturation, a crucial concept in biology and cooking.
Colorful Creations: The Science of Pigments and Dyes
The vibrant colors we see in food, art, and nature are often the result of fascinating scientific principles. The kitchen provides an accessible arena to explore the science behind pigments and dyes, understanding how colors are created, extracted, and applied. These experiments can range from extracting natural dyes to creating colorful, edible art.
Natural Rainbows: Extracting Pigments from Plants
Many fruits and vegetables contain natural pigments that can be extracted and used to create vibrant, natural dyes. This process is not only visually appealing but also teaches about botany, chemistry, and sustainable practices.
Several common household items can be used for this experiment, including red cabbage, turmeric, blueberries, and spinach. For red cabbage, chop it and boil it in water for about 15-20 minutes. The water will turn a deep purple. This purple liquid is a natural pH indicator. When mixed with an acid (like lemon juice), it turns pink or red. When mixed with a base (like baking soda), it turns blue or green. Turmeric, when boiled in water, yields a bright yellow dye. Blueberries, when mashed and simmered with a bit of water, produce a deep blue or purple dye. Spinach, when boiled, releases a green pigment. Once the dyes are extracted, they can be used to color fabric, paper, or even Easter eggs. This experiment demonstrates the presence of natural pigments in plants and how their colors can be extracted. It also introduces the concept of pH and how different chemical environments can alter the perceived color of certain pigments. The beauty of these natural dyes lies in their eco-friendliness and the unique, often muted, tones they produce.
Tie-Dye Fun with Natural Dyes: Applying Color Science
Building upon the concept of natural dyes, a fun and engaging project is to use these homemade pigments for tie-dyeing. This allows for a hands-on exploration of how dyes bind to fabric and how creative application can lead to unique patterns.
After extracting natural dyes as described above, one will need plain white cotton fabric (like t-shirts, bandanas, or tea towels), rubber bands or string, and containers for the dyes. Prepare the fabric by washing it to remove any sizing and then tying or folding it in various ways using rubber bands or string to create resist patterns. The areas that are tightly bound will not absorb the dye as readily, creating the tie-dye effect. Submerge the tied fabric into the prepared natural dye baths. Allow the fabric to soak for a significant amount of time, potentially several hours or even overnight, depending on the vibrancy desired and the strength of the dye. Natural dyes often require longer soaking times than synthetic dyes. Once the desired color saturation is achieved, rinse the fabric thoroughly with cold water. As with the previous experiment, different natural dyes will yield different colors. The interaction of the dye molecules with the fabric fibers is a chemical process. The pigments bind to the cellulose fibers of cotton, creating a colored effect. This experiment combines artistic expression with a practical understanding of dye chemistry and the properties of natural colorants.
Edible Watercolor Paints: A Delicious Way to Create
For younger experimenters, the concept of edible watercolor paints offers a fun and safe way to explore color mixing and artistic expression. These paints are made from everyday food ingredients and are completely safe to consume, adding an extra layer of fun.
To create edible watercolor paints, one will need ingredients like cornstarch, water, food coloring, and small bowls or a muffin tin for mixing. In a bowl, combine a few tablespoons of cornstarch with a small amount of water, stirring until a thick, smooth paste forms. This paste will serve as the base for the paints. Divide the cornstarch mixture into separate bowls. Add a few drops of different food colorings to each bowl and mix thoroughly. For example, one bowl can have red food coloring, another blue, and another yellow, allowing for primary color mixing. To create secondary colors, mix two primary colors together. Once the paints are prepared, they can be used on edible surfaces like sugar cookies, white chocolate, or even rice paper. Use a clean paintbrush to apply the “paints.” The cornstarch and water mixture provides a pliable medium for the food coloring, allowing it to be spread and blended. This experiment is a wonderful introduction to color theory and the concept of mixing primary colors to create secondary ones. It also highlights how everyday food ingredients can be transformed into creative tools.
If you’re looking to explore the fascinating world of kitchen science experiments, you might find inspiration in a related article that delves into fun and educational activities you can do at home. These experiments not only entertain but also teach valuable scientific concepts through everyday ingredients. For more ideas, check out this engaging resource on Freaky Science, where you’ll discover a variety of experiments that can spark curiosity and creativity in the kitchen.
Aerodynamic Adventures: The Science of Air and Flight
| Experiment | Materials Needed | Duration | Scientific Concept | Expected Outcome |
|---|---|---|---|---|
| Baking Soda and Vinegar Reaction | Baking soda, vinegar, container | 5 minutes | Acid-base reaction, gas production | Fizzing and bubbling due to carbon dioxide release |
| Invisible Ink with Lemon Juice | Lemon juice, paper, heat source | 10 minutes | Oxidation and heat-induced chemical change | Message appears when heated |
| Density Rainbow | Honey, dish soap, water, vegetable oil, rubbing alcohol, food coloring | 15 minutes | Density and layering of liquids | Layered colored liquids forming a rainbow effect |
| Egg in Vinegar (Naked Egg) | Egg, vinegar, container | 24-48 hours | Acid dissolving calcium carbonate shell | Eggshell dissolves, leaving a rubbery membrane |
| Homemade Butter | Heavy cream, jar with lid | 10-15 minutes | Physical change, fat separation | Cream turns into butter and buttermilk |
While the kitchen might not seem like an obvious place for exploring aerodynamics, simple experiments can reveal the fundamental principles of how air interacts with objects, influencing their movement and lift. These projects often involve creating simple flying devices or demonstrating how air can be manipulated.
The Paper Airplane Challenge: Understanding Lift and Drag
The ubiquitous paper airplane is more than just a childhood pastime; it’s a tangible demonstration of aerodynamic principles. The design of a paper airplane significantly impacts its ability to fly, showcasing the interplay of lift, drag, and thrust.
The basic materials needed are sheets of paper of various sizes and weights. Numerous designs exist, each with its own flight characteristics. A simple dart-style airplane, for instance, is designed for speed and distance, while a glider-style airplane is optimized for staying aloft for longer periods. When a paper airplane is thrown, the air flowing over and under its wings creates a difference in pressure. The wings are typically angled so that air travels faster over the top surface than the bottom, creating lower pressure above and higher pressure below, which generates lift. Drag, on the other hand, is the resistance of the air that opposes the airplane’s motion. By experimenting with different folds, wing shapes, and paper types, one can observe how these factors affect the flight path, distance, and stability of the airplane. This challenge encourages critical thinking and problem-solving as participants design, build, and test their creations, learning about the fundamental forces that govern flight in a hands-on and enjoyable way.
The Hovercraft Effect: Demonstrating Air Cushioning
The hovercraft effect, where an object glides smoothly over a surface on a cushion of air, can be easily demonstrated using simple kitchen items. This experiment beautifully illustrates how reducing friction through an air barrier can enable effortless movement.
A popular method for demonstrating the hovercraft effect involves a CD, a balloon, and a pop-top cap from a sports drink bottle. First, the pop-top cap needs to be securely attached to the center of the CD. Hot glue is typically used for this purpose, ensuring a good seal around the base of the cap. Allow the glue to cool and set completely. Once the cap is attached and sealed, blow up the balloon and twist the neck to prevent air from escaping. Then, stretch the opening of the balloon over the pop-top cap. Open the pop-top cap. When the balloon is released, the air will be forced out through the cap and spread underneath the CD. This creates a thin layer of air between the CD and the surface it’s on, significantly reducing friction. The CD will then glide effortlessly across the surface with a gentle push. This experiment visually demonstrates how reducing friction can make an object move with surprising ease, a principle that is fundamental to the design of actual hovercraft. It’s a fun and engaging way to understand the power of air pressure and its ability to overcome resistance.
Earth Science Wonders: Simulating Geological Phenomena
The kitchen can even become a miniature Earth, allowing for the simulation of geological processes that shape our planet. These experiments help to visualize concepts like plate tectonics, volcanic activity, and erosion, making abstract geological ideas more concrete and understandable.
The Lava Lamp in a Jar: Mimicking Convection Currents
A homemade lava lamp provides a visually captivating way to understand convection currents, a fundamental process in Earth’s geology, particularly in the mantle.
To create this miniature lava lamp, one will need a clear jar or bottle, water, vegetable oil, food coloring, and an Alka-Seltzer tablet. Fill the jar about one-quarter full with water. Add several drops of food coloring to the water and stir. Next, fill the jar almost to the top with vegetable oil. Notice how the oil and water do not mix, with the oil forming a separate layer on top. This is because oil is less dense than water. Now, break an Alka-Seltzer tablet into a few pieces and drop one piece into the jar. The Alka-Seltzer will react with the water, producing carbon dioxide gas. As the gas bubbles rise, they will carry some of the colored water up through the oil. When the gas bubbles reach the surface, they will pop, and the colored water, being denser than the oil, will sink back down. This creates a mesmerizing, circulating effect that mimics convection currents in the Earth’s mantle. This experiment is a fantastic visual representation of how differences in density and heat drive movement within our planet.
Mountain Formation: A Model of Plate Tectonics
Simulating mountain formation with simple materials can provide a tangible understanding of plate tectonics, the theory that explains the movement of Earth’s lithospheric plates and the formation of major geological features.
For this experiment, one will need a shallow tray or baking dish, sand or soil, and water. To create a model of continental collision, fill the tray with sand or soil, representing the Earth’s crust. Use your hands to create two distinct areas of “continents” separated by a hypothetical ocean (which will be represented by the water). Gently push the two “continents” towards each other. As the sand/soil piles up at the collision boundary, it will begin to fold and wrinkle, creating elevated ridges that resemble mountain ranges. The process of continental collision is a key mechanism in the formation of major mountain belts like the Himalayas. If one wishes to simulate oceanic-continental collision, one could use sand for the continent and a thinner layer of a different material (perhaps some pebbles or even a slightly firmer clay) representing the oceanic crust, observing how the denser oceanic plate might subduct beneath the continental plate, leading to volcanic mountain ranges. This hands-on activity helps to demystify the immense geological forces that shape our planet’s surface.
Erosion Simulation: The Power of Water and Wind
Understanding erosion, the process by which soil and rock are worn away and transported by natural agents, can be vividly illustrated through simple kitchen experiments. These demonstrations highlight the powerful, yet often slow, forces that sculpt landscapes.
To simulate water erosion, one will need a tilted tray, soil, and a pitcher of water. Create a small landscape within the tray using soil, perhaps forming small hills and valleys. Then, gently pour water from the pitcher onto the top of the “landscape” and observe how the water flows down, carrying soil particles with it. Areas with steeper slopes will experience more rapid erosion. This demonstrates how rivers and rainfall can wear away land over time. For wind erosion, one could use a shallow tray filled with fine sand or flour and a hairdryer set on a low speed. Directing the airflow across the surface will show how wind can pick up and move loose particles, creating features like dunes or smoothing out surfaces. While these simulations are simplified, they effectively convey the fundamental concept that water and wind are potent agents of erosion, constantly reshaping the Earth’s surface. It also emphasizes the importance of soil conservation and the impact of human activities on these natural processes.
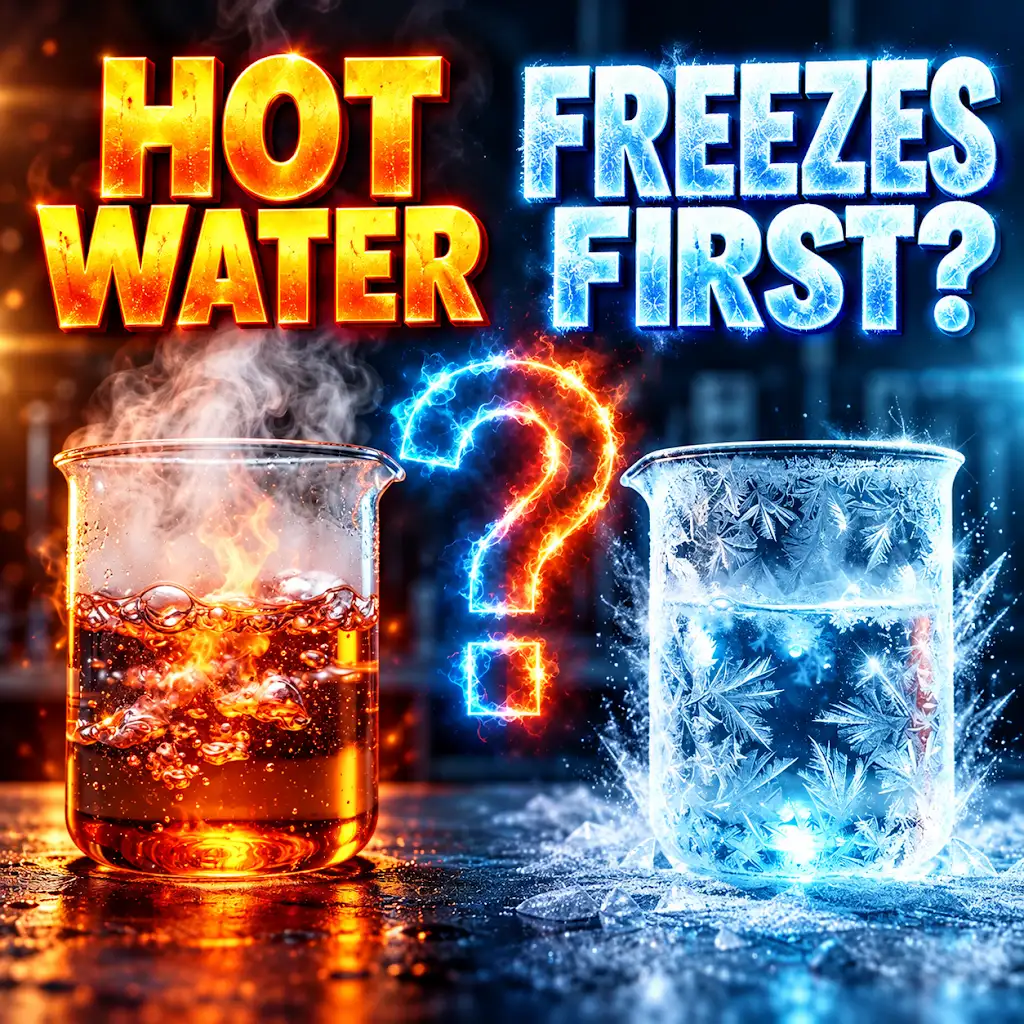
Why Hot Water Freezes Faster Than Cold (The Mpemba Effect)
FAQs
1. Can I conduct kitchen science experiments with everyday household items?
Yes, many kitchen science experiments can be done using common household items such as vinegar, baking soda, food coloring, and water.
2. What are some examples of kitchen science experiments I can try at home?
You can try making a volcano with baking soda and vinegar, creating a rainbow with food coloring and water, or testing the pH of different liquids using red cabbage juice.
3. Are kitchen science experiments safe for children to do?
Most kitchen science experiments are safe for children to do with adult supervision. It’s important to follow instructions carefully and handle materials with care.
4. How can kitchen science experiments help with learning and education?
Kitchen science experiments can help children and adults alike learn about scientific concepts such as chemical reactions, states of matter, and the properties of different substances in a fun and hands-on way.
5. Where can I find more ideas for kitchen science experiments to try at home?
You can find a variety of kitchen science experiment ideas online through educational websites, science experiment books, and educational YouTube channels dedicated to science experiments for kids and adults.