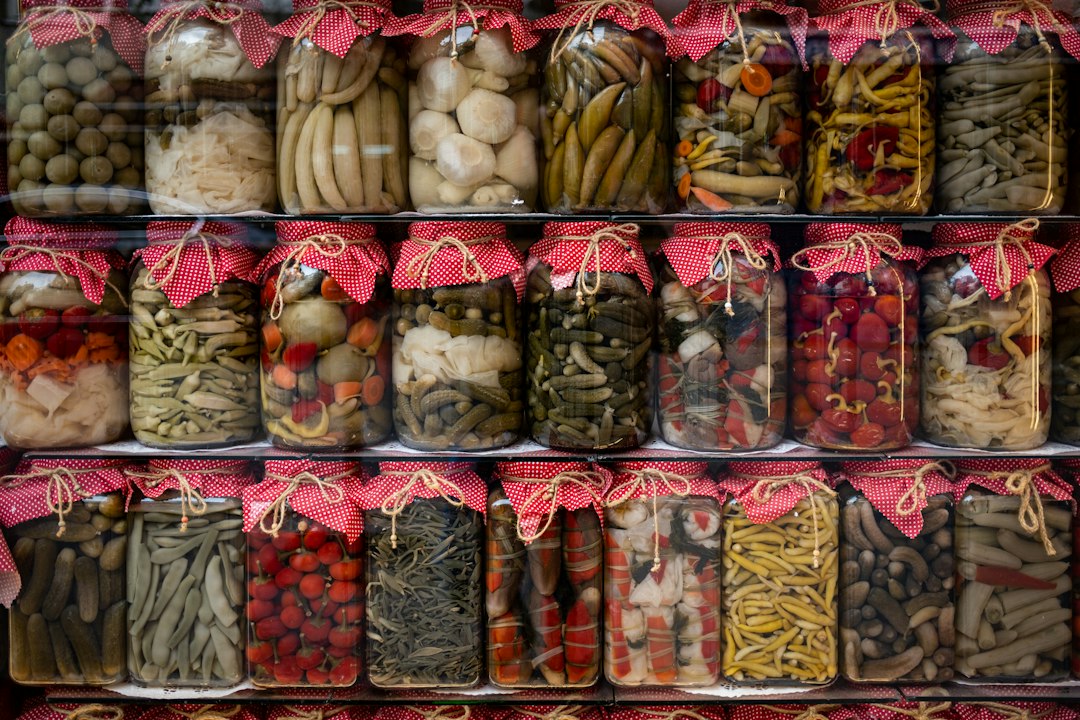
Canning low-acid foods requires a meticulous approach to ensure safety and prevent the growth of harmful bacteria, most notably Clostridium botulinum, which thrives in low-acid environments and produces a deadly toxin. Unlike high-acid foods like fruits and pickles, which can be safely processed in a boiling water bath canner, low-acid foods demand the higher temperatures achievable only in a pressure canner. This method is crucial for destroying any botulism spores that may be present. Beginners embarking on the journey of preserving these nutrient-rich foods must understand the fundamental principles and follow a step-by-step process to guarantee the safety and quality of their canned goods. This guide will demystify the process, offering a clear and actionable path to successfully can vegetables, meats, poultry, and seafood at home.
Understanding the Science of Low-Acid Food Preservation
The cornerstone of safe low-acid food canning lies in understanding the enemy: Clostridium botulinum. This anaerobic bacterium, meaning it thrives in the absence of oxygen, is ubiquitous in soil and can contaminate raw foods. Its spores are remarkably resilient, able to survive boiling temperatures for extended periods. However, these spores are killed at temperatures significantly above the boiling point of water (212°F or 100°C at sea level). This is where the pressure canner becomes indispensable. By increasing the pressure inside the canner, the boiling point of water is elevated, allowing for temperatures of 240°F (116°C) or higher, which are sufficient to destroy botulism spores.
The Critical Role of the Pressure Canner
A pressure canner is not a pressure cooker. While both use steam pressure, a pressure cooker is designed for cooking food quickly under pressure, whereas a pressure canner is specifically engineered for the sustained high temperatures required for safe canning. It features a vent (or weighted gauge), a safety valve, and a pressure gauge to monitor and regulate the internal temperature. The lid locks securely, creating a sealed environment where steam can build up to the necessary level. Using a boiling water bath canner for low-acid foods is exceptionally dangerous and will not kill botulism spores, leading to a high risk of botulism poisoning. Always consult the manufacturer’s instructions for your specific pressure canner model, as operating procedures can vary.
Differentiating Low-Acid from High-Acid Foods
Understanding the pH level of food is paramount in determining the appropriate canning method. Foods with a pH of 4.6 or lower are considered high-acid and can be safely processed in a boiling water bath canner. This category includes most fruits, jams, jellies, and pickles. Foods with a pH above 4.6 are classified as low-acid. This encompasses vegetables such as green beans, corn, carrots, and peas, as well as meats, poultry, seafood, and mixtures of low-acid foods. This distinction is not merely academic; it dictates the type of equipment and processing time necessary for safety. Accurate identification of your food’s acidity level is the first crucial step in safe canning.
If you’re interested in learning how to safely can low acid foods, it’s essential to follow proper guidelines to prevent the risk of foodborne illnesses. A helpful resource on this topic can be found in the article “Canning Low Acid Foods: A Complete Guide” on Freaky Science. This article provides detailed instructions and safety tips for canning low acid foods effectively. For more information, you can read the article here: Canning Low Acid Foods: A Complete Guide.
Essential Equipment and Preparation
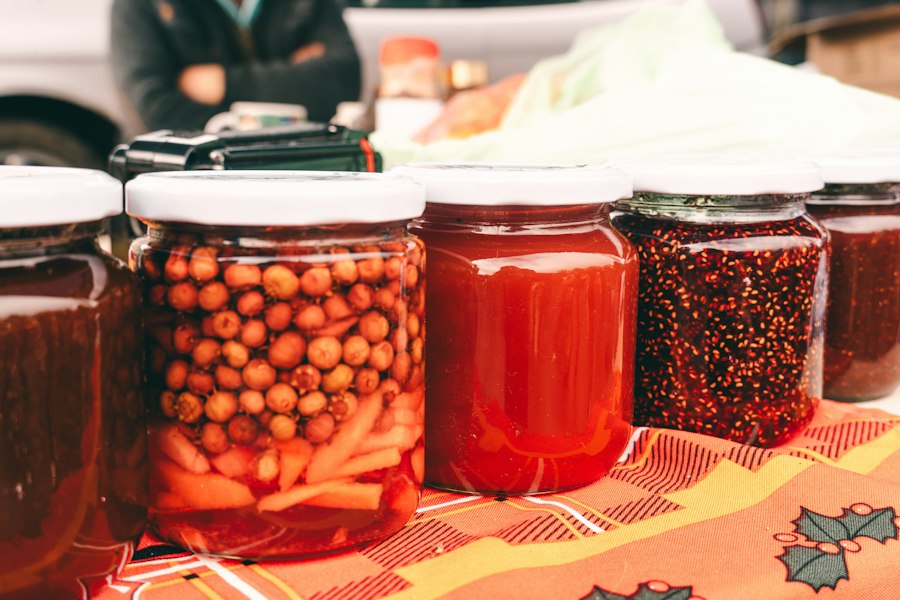
Before embarking on the canning process, gathering the correct equipment and preparing your workspace are vital. This ensures efficiency and maintains the hygiene necessary for safe food preservation. A well-equipped kitchen and a clear understanding of what is needed will make the canning experience smoother and more successful.
The Pressure Canner: Your Safety Net
As previously emphasized, a pressure canner is the non-negotiable piece of equipment for canning low-acid foods. It is essential to ensure your pressure canner is in good working order. This involves checking the gasket for any cracks or wear, ensuring the vent pipe is clear of debris, and verifying that the pressure gauge is accurate. Many older dial gauges may need recalibration or replacement. Consider having your dial gauge tested annually by your local extension office or a qualified repair service. Weighted gauges, which jiggle or hiss at specific pressures, are generally considered more reliable and do not require recalibration, though they should still be checked for damage.
Jars, Lids, and Rings: The Foundation of Preservation
Properly preparing your canning jars, lids, and rings is critical for achieving a vacuum seal, which is essential for long-term storage.
Canning Jars: Cleanliness is Key
Use only commercially manufactured Mason-type canning jars designed for home canning. These jars are made of tempered glass that can withstand the heat of processing. Inspect each jar for chips, cracks, or nicks around the rim, as these imperfections will prevent a proper seal. Wash jars and lids thoroughly in hot, soapy water and rinse well. Keep jars hot during the filling process to prevent thermal shock when hot food is added. Placing them in a large pot of simmering (not boiling) water or running them through a hot dishwasher cycle immediately before filling is an effective way to keep them warm.
Lids and Rings: The Sealing Mechanism
New lids are required for each canning project, as the sealing compound on used lids can be compromised. Wash lids and rings in hot, soapy water and rinse. Do not reuse lids. While rings can often be reused if they are not bent or rusted, they should be checked for damage. Screw bands should be placed loosely on the jars during processing to allow air to escape. After processing, they are removed for storage to prevent rust.
Utensils and Tools: For a Smooth Process
Beyond the canner and jars, several other tools will aid in the canning process. This includes a jar lifter, a funnel with a wide mouth, a bubble remover or non-metallic spatula, a ladle, a damp cloth for wiping jar rims, and measuring cups and spoons. Having these readily available will streamline the filling and sealing of jars.
The Step-by-Step Canning Process for Low-Acid Foods
The canning process for low-acid foods involves several distinct stages, each requiring careful attention to detail. From preparing the food to processing the jars and cooling them, a systematic approach is key to success.
Step 1: Preparing Your Food
Begin by selecting fresh, high-quality produce or meats. Wash all food items thoroughly under running water. For vegetables, trim away any bruised or spoiled parts. For meats, poultry, and seafood, remove any excess fat or bone, as these can affect the quality and processing of the canned product. Many low-acid foods benefit from blanching, a process of briefly boiling or steaming them before packing. This helps to remove air, soften the food for easier packing, and prevent undesirable changes during storage. However, not all low-acid foods require blanching, and some, like meats, are typically packed raw or pre-cooked. Always follow a tested recipe for specific preparation instructions.
Step 2: Packing the Jars
There are two common methods for packing jars: raw pack and hot pack.
Raw Pack Method
In the raw pack method, raw, prepared food is packed loosely into hot jars. The jars are then filled with boiling water, broth, or other liquids as specified by the recipe. Leave the appropriate headspace, which is the space between the top of the food and the rim of the jar, as specified in the recipe. Headspace is crucial for creating a vacuum seal. For low-acid foods, typical headspace is between 1 inch and 1 ½ inches.
Hot Pack Method
The hot pack method involves heating the food briefly in liquid or steam before packing it into jars. This usually results in a more compact pack, allowing more food to fit into each jar, and often leads to better quality during storage. Hot food is then packed into hot jars, and boiling liquid is added to fill the remaining space, again leaving the specified headspace.
Step 3: Removing Air Bubbles and Adjusting Headspace
After filling the jars, it’s essential to remove any trapped air bubbles. Insert a non-metallic spatula or bubble remover down the sides of the jar to release trapped air. Re-fill with hot liquid if necessary to maintain the correct headspace.
Step 4: Wiping Jar Rims and Applying Lids
Clean the rim of each jar thoroughly with a damp cloth to remove any food particles or grease. Any residue on the rim can prevent the lid from sealing properly. Place a new, prepared lid onto the clean rim. Screw on a band until it is fingertip-tight. This means screwing it on until you feel resistance, then tightening it just a bit more. Over-tightening can prevent air from escaping during processing, hindering the formation of a vacuum seal.
Step 5: Loading the Pressure Canner
Place the filled jars onto the rack in the pressure canner. Ensure there is enough water in the canner according to the manufacturer’s instructions. Typically, this is about 2-3 inches of water. Do not allow the jars to touch each other or the sides of the canner. If you are canning a large quantity of food, you can stack jars, but ensure there is adequate space between them and that the rack is stable.
Step 6: Processing in the Pressure Canner
Secure the lid of the pressure canner, ensuring it is locked in place. Turn the heat to high. Once steam begins to escape steadily from the vent pipe, allow it to vent for the time specified in your canner’s manual (usually 10 minutes for weighted gauges, or until the dial gauge reaches the required pressure for vent tubes). After venting, place the weighted gauge on the vent pipe or close the petcock on a weighted gauge canner. Allow the pressure to build to the level specified in your tested recipe for the specific food being canned. This pressure will vary depending on the food and your altitude. Maintain this pressure consistently for the entire processing time. Fluctuations in pressure can compromise the safety of the food. If using a dial gauge, ensure it stays within 1-2 pounds of the target pressure. If using a weighted gauge, listen for the correct jiggling or hissing pattern.
Monitoring Pressure and Altitude Adjustments
Maintaining the correct pressure within the canner is paramount. This requires understanding how your specific canner operates and how to make necessary adjustments for your geographical location.
Understanding Pressure Gauge Readings
Pressure canners come with either dial gauges or weighted gauges. Dial gauges show the exact pressure in pounds per square inch (psi). Weighted gauges use a specific weight that lifts off the vent at a pre-determined pressure, indicated by a jiggle or hiss. For low-acid foods, recipes will specify the required pressure, typically 10-15 psi depending on altitude and the type of weighted gauge. It is crucial to consult your pressure canner’s manual for detailed operating instructions related to its specific gauge.
Altitude Adjustments for Safe Processing
Water boils at lower temperatures at higher altitudes. This means that standard pressure settings will not achieve the required killing temperatures for botulism spores at elevations above sea level. Therefore, it is essential to adjust the processing pressure and/or time based on your altitude. Most tested canning recipes will provide an altitude adjustment chart. For example, at an altitude of 1,000 feet above sea level, you might need to increase the pressure by 1 psi. At higher altitudes, the required pressure can increase significantly. It is imperative to know your home’s altitude and consult reliable canning resources for the correct adjustments. Failing to do so can result in under-processed food and a serious risk of botulism.
When it comes to safely canning low acid foods, it’s essential to follow proper guidelines to prevent the risk of foodborne illnesses. For those looking to enhance their canning skills, you might find valuable insights in a related article that covers various techniques and safety measures. To learn more about these important practices, check out this informative piece on canning safety. This resource will help ensure that your canning process is both effective and safe, allowing you to enjoy your preserved foods with peace of mind.
Cooling, Storing, and Checking Your Canned Goods
| Step | Action | Details | Recommended Time/Temperature |
|---|---|---|---|
| 1 | Prepare Food | Wash, peel, and cut low acid vegetables or meats. Use fresh, high-quality ingredients. | As needed |
| 2 | Use Pressure Canner | Low acid foods require pressure canning to destroy Clostridium botulinum spores. | 10-15 psi (pounds per square inch) |
| 3 | Processing Time | Process jars according to food type and jar size to ensure safety. | 20-100 minutes (varies by food and jar size) |
| 4 | Jar Preparation | Use sterilized jars and new lids to ensure proper sealing. | Boil jars for 10 minutes before filling |
| 5 | Fill Jars | Leave appropriate headspace (usually 1 to 1.5 inches) to allow for expansion. | 1 to 1.5 inches headspace |
| 6 | Remove Air Bubbles | Use a non-metallic spatula to remove trapped air inside jars before sealing. | As needed |
| 7 | Seal Jars | Wipe jar rims clean and apply lids and rings finger-tight. | Finger-tight only |
| 8 | Process in Pressure Canner | Follow recommended pressure and time for the specific food and altitude. | 10-15 psi, time varies by food |
| 9 | Cool Jars | Allow jars to cool naturally for 12-24 hours without disturbance. | 12-24 hours |
| 10 | Check Seals | Ensure lids are concave and do not flex when pressed. | After cooling |
The canning process doesn’t end when the timer goes off. Proper cooling, storage, and regular checks are crucial for maintaining the safety and quality of your preserved foods.
Step 7: Cooling the Canner and Jars
Once the processing time is complete, turn off the heat. Allow the pressure to return to zero naturally. Do not try to cool the canner quickly by running cold water over it or by opening the vent. This can cause liquid loss from the jars and potentially lead to seal failures. Once the pressure has completely dropped, wait for an additional 10-15 minutes before carefully removing the weighted gauge or opening the vent. Then, unfasten the lid and lift it away from your face to avoid steam. Let the jars sit in the canner for another 5-10 minutes before removing them with a jar lifter. Place the hot jars upright on a towel-lined countertop or a wire rack, leaving at least an inch of space between them, and allow them to cool undisturbed for 12-24 hours. You may hear a “ping” as the lids seal; this is a normal sound.
Step 8: Checking for Seals
After the jars have cooled completely, check each lid for a seal. The lid should be concave (curved downward) and should not flex when pressed. If a lid has not sealed, you have a few options. You can immediately reprocess the food using a clean jar, new lid, and the full processing time. Alternatively, you can refrigerate the unsealed food and consume it within a few days. Do not attempt to re-seal a jar by boiling it again; this is not effective.
Step 9: Storing Your Canned Foods
Once you have confirmed a proper seal, remove the screw bands from the jars. Wash the jars and lids to remove any residue, and dry them thoroughly. Store the canned goods in a cool, dark, dry place. Ideal storage temperatures are between 50°F and 70°F (10°C and 21°C). Avoid storing jars in damp or humid environments, as this can lead to rust on the screw bands and lids. Label each jar with the contents and the date of canning. Properly canned low-acid foods can last for at least a year, although quality may decline over time.
Step 10: Regular Inspection and Consumption
Before consuming any home-canned food, always inspect it. Look for any signs of spoilage, such as bulging lids, leaks, spurting liquid when the jar is opened, mold, or an off odor. If any of these signs are present, discard the entire jar without tasting the contents. Botulism toxin is odorless and tasteless, so visual and olfactory checks are crucial, but not foolproof. When in doubt, throw it out. Always use the oldest canned items first. Adhering to these guidelines will help ensure that your home-canned low-acid foods are not only delicious but also safe for your family to enjoy.
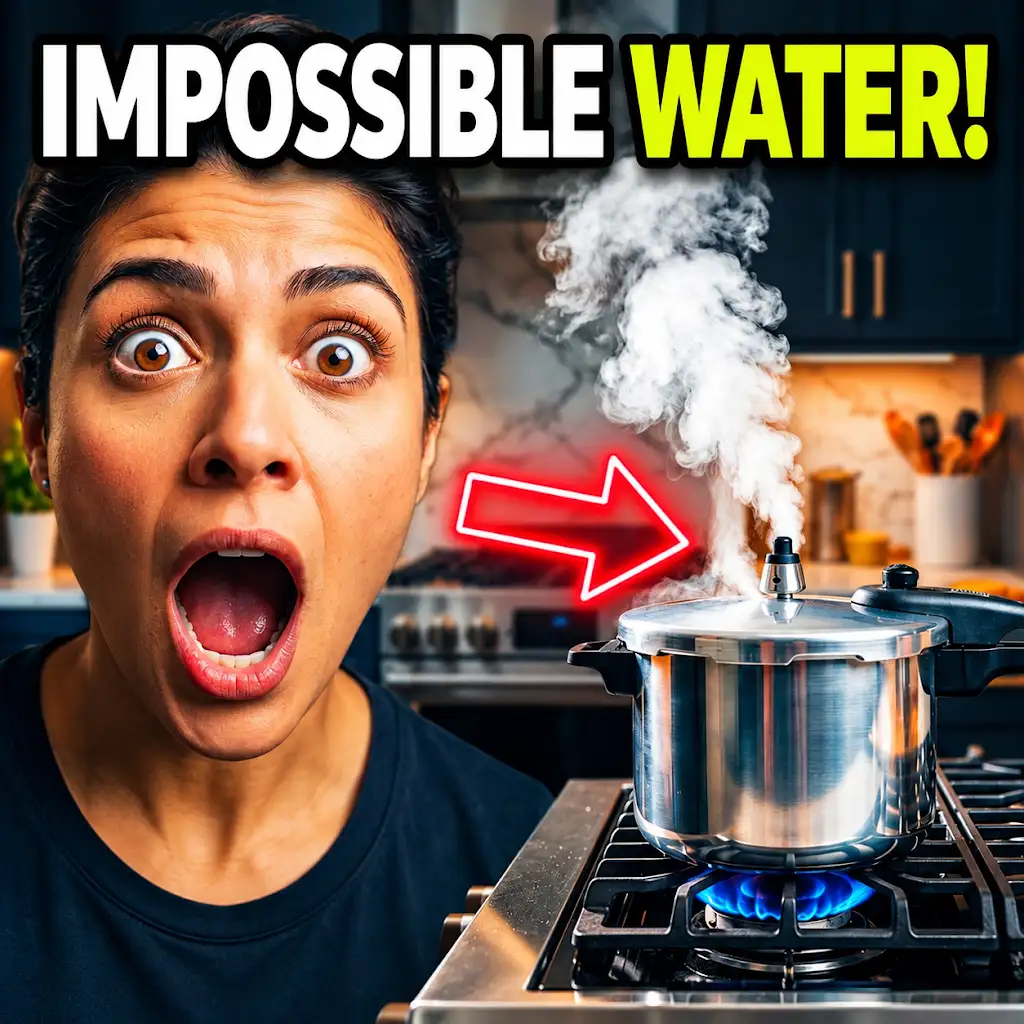
Why This Water Doesn’t Boil at 100°C
FAQs
What are low acid foods?
Low acid foods have a pH level above 4.6 and include vegetables, meats, poultry, seafood, and soups.
Why is it important to safely can low acid foods?
Low acid foods have a higher risk of containing harmful bacteria like Clostridium botulinum, which can cause food poisoning if not properly canned and stored.
What is the recommended method for safely canning low acid foods?
The recommended method for safely canning low acid foods is pressure canning, which uses high temperatures to kill bacteria and spores that may be present in the food.
How can I ensure that my pressure canner is working properly?
To ensure that your pressure canner is working properly, check the rubber gasket for cracks, test the pressure gauge for accuracy, and follow the manufacturer’s instructions for maintenance and care.
What are some common mistakes to avoid when canning low acid foods?
Common mistakes to avoid when canning low acid foods include using outdated canning methods, not following proper processing times and pressures, and reusing lids or jars that are not in good condition.