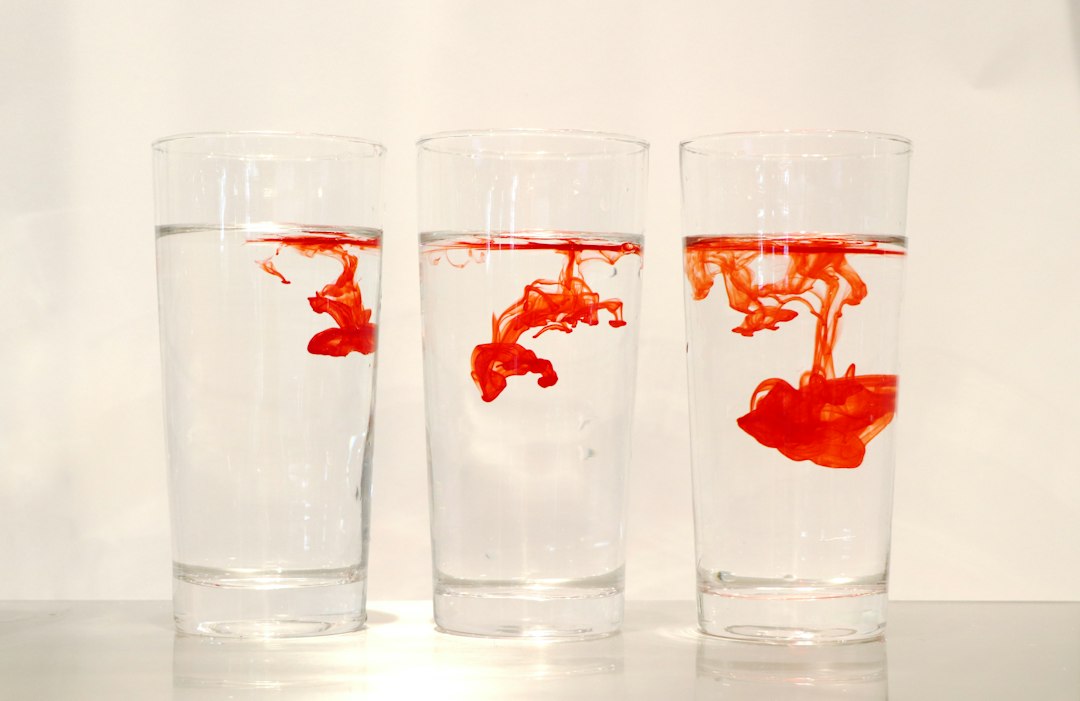
The world around us is a constant play of temperature. From the icy grip of winter to the sweltering embrace of summer, temperature dictates much of our experience and influences countless processes, both natural and man-made. Understanding how and why temperatures change is not just an academic pursuit; it’s a gateway to comprehending everything from weather patterns and cooking to the functioning of our own bodies. Science experiments focused on hot and cold provide an accessible and engaging way to explore these fundamental principles of thermodynamics. These hands-on investigations allow individuals, particularly younger learners, to observe, measure, and analyze temperature fluctuations, fostering a deeper appreciation for the science behind everyday phenomena. The simplicity of many of these experiments belies the complex scientific concepts they illustrate, making them ideal tools for sparking curiosity and building a foundational understanding of heat transfer, phase changes, and the behavior of matter.
The Nature of Heat and Temperature
At its core, the exploration of hot and cold boils down to understanding the concepts of heat and temperature. While often used interchangeably in everyday language, they represent distinct but related physical quantities. Heat is a form of energy, specifically the energy transferred between systems due to a temperature difference. Temperature, on the other hand, is a measure of the average kinetic energy of the particles within a substance. The hotter something is, the faster its constituent molecules are moving and vibrating. When two objects at different temperatures are brought into contact, heat flows from the hotter object to the colder one until they reach thermal equilibrium, meaning they are at the same temperature. This transfer of energy is governed by fundamental laws of thermodynamics, which scientists have meticulously studied and documented.
What is Heat Energy?
Heat energy, also known as thermal energy, is the internal energy of a substance due to the movement of its atoms and molecules. These particles are in constant random motion, colliding with each other and transferring energy. The faster these particles move, the greater the thermal energy of the substance. Think of it like a crowded room; if everyone is milling about slowly, there’s less overall energy. But if everyone is running and bumping into each other, the energy level is much higher. Heat itself is not a substance that can be contained; rather, it’s the process of energy transfer. When we feel warmth from a fire, it’s not the fire giving us something called “heat,” but rather energy being transferred from the fire to our bodies through radiation, convection, and conduction.
Defining Temperature as a Measurement
Temperature, conversely, is a quantifiable measure of this microscopic motion. It’s an indicator of how hot or cold something is, and it’s typically measured using a thermometer. Thermometers work by utilizing the property of expansion and contraction of materials with changes in temperature. For instance, a mercury or alcohol thermometer contains a liquid that expands when heated and contracts when cooled, causing its level to rise or fall along a calibrated scale (like Celsius or Fahrenheit). A higher temperature reading signifies greater average kinetic energy of the particles in the object being measured, while a lower temperature indicates less kinetic energy.
The Invisible Force: Heat Transfer Mechanisms
The movement of heat energy between objects or systems is not random; it follows specific mechanisms. Understanding these mechanisms is crucial to grasping why some experiments result in rapid temperature changes while others are more gradual. These mechanisms are the underlying principles that make our hot and cold experiments work, allowing us to observe and even manipulate temperature.
Conduction: The Direct Touch
Conduction is the transfer of heat through direct contact. Imagine holding a metal spoon in a hot cup of soup. The heat from the soup is transferred to the spoon molecule by molecule, making the handle of the spoon hot. In solids, especially metals, atoms are packed closely together, allowing vibrations to be passed efficiently from one atom to the next. This is why metals are excellent conductors of heat. In contrast, materials like wood, plastic, or air are poor conductors and are known as insulators. They resist the flow of heat, which is why oven mitts are made of thick fabric and why houses have insulation.
Convection: The Movement of Fluids
Convection is the transfer of heat through the movement of fluids (liquids or gases). When a fluid is heated from below, it becomes less dense and rises. Cooler, denser fluid then sinks to take its place, creating a circular current known as a convection current. This is how a radiator heats a room – hot air rises from the radiator, circulates, cools, and sinks to be reheated. Boiling water is another excellent example: the water at the bottom heats up, rises, and is replaced by cooler water from the top, creating a continuous cycle of heat distribution.
Radiation: The Electromagnetic Waves
Radiation is the transfer of heat through electromagnetic waves, primarily infrared radiation. Unlike conduction and convection, radiation does not require a medium to travel and can even pass through a vacuum. The sun’s warmth reaching Earth is a prime example of radiative heat transfer. Objects that are hot emit more infrared radiation. This is why you can feel the heat from a campfire even if you’re not directly in the path of the smoke (convection) or touching any part of the fire (conduction). Dark, matte surfaces are generally better absorbers and emitters of radiation than light, shiny surfaces.
If you’re interested in exploring the fascinating effects of temperature on various materials, you might want to check out a related article on science experiments that delve into the hot and cold phenomena. This article provides a variety of engaging experiments that demonstrate how temperature can influence physical properties and reactions. You can find it at Freaky Science, where you’ll discover a wealth of information to inspire your next scientific adventure.
Simple Experiments to Illustrate Hot and Cold
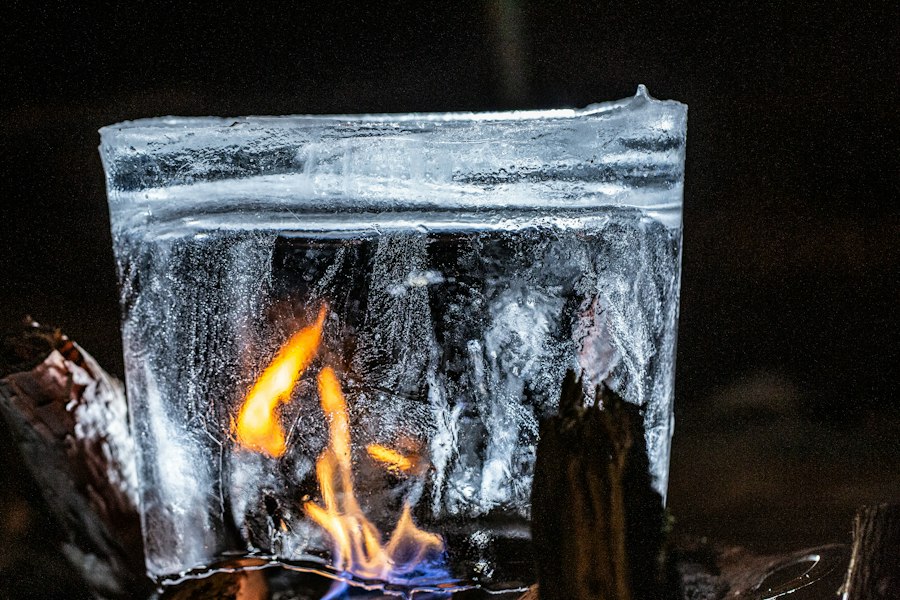
The beauty of exploring hot and cold through science lies in the accessibility of the experiments. Many can be conducted with common household items, making them perfect for at-home learning or classroom demonstrations. These experiments provide tangible evidence of abstract scientific principles, allowing participants to see, feel, and measure temperature changes. From observing how ice melts to demonstrating the power of evaporation, these activities offer a hands-on introduction to the world of thermodynamics.
The Melting of Ice: A Phase Change Spectacle
One of the most straightforward yet insightful experiments involves observing the melting of ice. Ice is the solid form of water, and when it is exposed to temperatures above its freezing point (0°C or 32°F), it begins to absorb heat from its surroundings. This absorbed heat energy causes the water molecules, which are tightly packed and vibrating in a fixed structure in ice, to gain kinetic energy. As they gain energy, they break free from their rigid lattice structure and begin to move more freely, transforming into liquid water.
Observing the Process
To conduct this experiment, one simply needs a block of ice and a container. Place the ice in the container and observe what happens over time. Notice how the ice shrinks and eventually disappears, leaving behind liquid water. If a thermometer is available, one can measure the temperature of the ice (which will be at or below freezing) and then the temperature of the meltwater. It’s important to note that as the ice melts, the meltwater will remain at approximately 0°C until all the ice has melted. This is because the energy absorbed is being used to break the bonds holding the water molecules in their solid state (latent heat of fusion), rather than increasing their kinetic energy and thus the temperature.
Factors Affecting Melting Rate
This basic experiment can be extended by investigating factors that influence the rate of melting. For instance, one could place identical blocks of ice in different environments: one in direct sunlight, one in shade, one in a warm room, and one in a cooler room. Measuring the time it takes for each block to melt will reveal how ambient temperature and direct solar radiation affect the rate of heat transfer and, consequently, the melting process. Another variation involves comparing the melting rates of ice cubes of different sizes or shapes, or even adding salt to one of the ice blocks. The addition of salt lowers the freezing point of water, meaning it will melt even if the ambient temperature is slightly below 0°C. This demonstrates the concept of freezing point depression.
In exploring the fascinating world of temperature and its effects on various materials, you might find it interesting to read about a related science experiment that delves into the principles of hot and cold. This experiment not only demonstrates the physical changes that occur with temperature variations but also encourages critical thinking and observation skills. For more insights and detailed instructions, check out this article on Freaky Science, where you can discover additional experiments that will spark curiosity and enhance your understanding of scientific concepts.
The Power of Evaporation: Cooling by Transformation
Evaporation is another fundamental process that demonstrates the relationship between heat and temperature. Evaporation is the process by which a liquid changes into a gas or vapor. This transformation requires energy, and this energy is absorbed from the surroundings, leading to a cooling effect. When water molecules at the surface of a liquid gain enough kinetic energy to escape into the air as vapor, they take that energy with them, leaving the remaining liquid with less energy, and therefore, a lower temperature.
Demonstrating Evaporative Cooling
A simple experiment to show evaporative cooling involves wetting a finger and then blowing on it. The blowing of air across the wet finger increases the rate of evaporation. As the water evaporates, it draws heat from the finger, making it feel cooler. For a more quantitative demonstration, two thermometers can be used. One thermometer is left dry, and the other has its bulb wrapped in a damp cloth or cotton wick. Both thermometers are then placed in a breezy location or have a fan directed at them. The thermometer with the damp wick will show a lower temperature than the dry thermometer because of the evaporative cooling effect. The greater the difference between the two readings, the lower the humidity of the air, as there is more capacity for water to evaporate.
Applications of Evaporative Cooling
The principle of evaporative cooling has numerous practical applications. One common example is the desert cooler or swamp cooler, which uses evaporation to cool air. Porous materials soaked with water are placed in the path of a fan. As air passes through these materials, water evaporates, cooling the air that is then circulated into a room. Similarly, sweating is the body’s natural mechanism for cooling itself through evaporation. As sweat evaporates from the skin, it draws heat away from the body, helping to regulate internal temperature.
Thermal Expansion and Contraction: The Changing Sizes
Materials generally expand when heated and contract when cooled. This phenomenon, known as thermal expansion and contraction, is a direct consequence of the increased or decreased kinetic energy of the particles within the substance. When heated, particles move more vigorously and spread further apart, causing the material to increase in volume. Conversely, when cooled, particles slow down and move closer together, leading to a decrease in volume. This property is utilized in many everyday devices and is important to consider in engineering and construction.
The Ball and Ring Apparatus
A classic experiment demonstrating thermal expansion involves a metal ball and a metal ring. The ball is designed to fit through the ring when both are at room temperature. The ball is then heated, often by immersing it in hot water. When the heated ball is again presented to the ring, it will no longer fit through. This is because the heat has caused the ball to expand. If the ball is then cooled, perhaps by immersing it in cold water, it will shrink and once again pass through the ring. This experiment visually illustrates how heat causes expansion.
Real-World Examples
The effects of thermal expansion and contraction are evident in many real-world scenarios. Bridges are often constructed with expansion joints – gaps that allow the bridge to expand and contract with temperature changes without buckling or breaking. Power lines are deliberately strung loosely to allow for contraction in cold weather, preventing them from snapping. Thermostats in homes often utilize bimetallic strips, which are made of two different metals with different rates of thermal expansion bonded together. As the temperature changes, the strip bends, activating or deactivating a switch to control the heating or cooling system. Even the seemingly simple expansion of a metal ruler when heated can be a measurable phenomenon, illustrating this fundamental principle.
Investigating Endothermic and Exothermic Reactions
Beyond simple physical changes, chemical reactions also involve the absorption or release of heat, leading to temperature changes. Understanding these processes, classified as endothermic (heat-absorbing) and exothermic (heat-releasing), provides deeper insights into the energetic transformations that occur at the molecular level. These reactions are fundamental to many natural processes and industrial applications, from the burning of fuels to the functioning of batteries.
Endothermic Reactions: Absorbing the Heat
Endothermic reactions are chemical processes that absorb heat energy from their surroundings. This absorption of heat leads to a decrease in the temperature of the surroundings, making the reaction mixture feel cold. The energy absorbed is used to break chemical bonds in the reactants, and the energy released when new bonds are formed in the products is less than the energy required to break the initial bonds.
The Cold Pack Experiment
A common example of an endothermic reaction is the dissolving of ammonium nitrate in water, which is often used in instant cold packs. When ammonium nitrate crystals are mixed with water, they dissolve, and the process absorbs a significant amount of heat from the surroundings. This causes the mixture to become very cold, providing immediate relief for sprains or bruises. To perform a similar, albeit less potent, experiment, one can dissolve Epsom salts (magnesium sulfate) in water. While not as dramatic as ammonium nitrate, a noticeable cooling effect will be observed. The quantitative measurement of the temperature drop with a thermometer can further illustrate the extent of heat absorption.
Exothermic Reactions: Releasing the Warmth
Exothermic reactions, in contrast, release heat energy into their surroundings. This release of heat causes an increase in the temperature of the surroundings, making the reaction mixture feel warm or even hot. In these reactions, the energy released when new bonds are formed in the products is greater than the energy required to break the initial bonds in the reactants.
The Hand Warmer Demonstration
A classic example of an exothermic reaction is the burning of wood or fuel. However, a safer and more controlled demonstration involves the oxidation of iron. Many disposable hand warmers work on this principle. Inside the hand warmer are iron filings, salt, and a porous material like activated carbon. When the hand warmer is exposed to air, the iron begins to oxidize (rust). The salt acts as a catalyst, and the activated carbon helps to distribute the reactants and absorb moisture. This slow oxidation process releases heat, warming the hand warmer. For a classroom demonstration, mixing steel wool with vinegar and a pinch of salt can create a mild exothermic reaction that will cause the steel wool to warm up. Careful observation and temperature measurements can highlight the heat release.
Combustion: The Energetic Release
Combustion is a highly exothermic process involving the rapid reaction between a substance with an oxidant, usually oxygen, to produce heat and light. The burning of natural gas, propane, or even a candle flame are all examples of combustion. The significant release of energy is what makes these reactions useful for heating, power generation, and lighting. Understanding the energy balance of these reactions is crucial for designing efficient engines and power plants.
The Science of Insulation: Keeping Hot and Cold in Check
Insulation is the art and science of preventing or slowing down the transfer of heat. It plays a critical role in maintaining comfortable temperatures in our homes, preserving food in refrigerators, and protecting sensitive equipment from extreme temperatures. Insulators are materials that resist the flow of heat, effectively trapping heat where it’s desired or preventing it from entering where it’s not. The effectiveness of an insulator is often measured by its thermal resistance, or R-value.
How Insulators Work
Insulators work by minimizing heat transfer through conduction, convection, and radiation. Many common insulating materials are designed with pockets of trapped air. Air is a poor conductor of heat, and by trapping it within a material, the overall heat transfer is significantly reduced. For example, fiberglass insulation used in homes consists of fine glass fibers that create numerous small air pockets. Similarly, the vacuum in a thermos flask is an excellent insulator because there is no medium for heat to travel through by conduction or convection.
Materials for Insulation
A variety of materials are used for insulation, each with its own advantages and disadvantages. Common household insulators include fiberglass, mineral wool, cellulose (made from recycled paper), and foam boards. These materials are chosen based on their thermal properties, cost, fire resistance, and environmental impact. In clothing, materials like wool and down feathers trap air, providing warmth by preventing body heat from escaping. Even the fur of animals is an effective insulator due to the trapped air.
Keeping Warm: Preventing Heat Loss
During colder months, the primary goal of insulation is to prevent heat from escaping a building or a person. Heat naturally flows from warmer areas to colder areas. In a house, this means heat generated by the heating system will try to escape through the walls, roof, and windows to the colder outside environment. Effective insulation creates a barrier that slows down this heat loss, allowing the heating system to maintain a comfortable temperature with less energy consumption.
Experimenting with Insulation Effectiveness
To demonstrate the effectiveness of insulation, one can conduct an experiment using two identical containers, such as plastic cups or small cardboard boxes. Place a heat source, like a cup of hot water, in each container. Insulate one container with a common insulating material, such as wrapping it in several layers of bubble wrap, cotton batting, or even newspaper. Leave the other container uninsulated. Monitor the temperature of the hot water in both containers over a period of time. The container with insulation should show a slower rate of temperature decrease, indicating that the insulation is effectively slowing down heat loss.
Keeping Cool: Preventing Heat Gain
The principles of insulation are equally important for keeping cool during warmer months. In this case, insulation acts as a barrier to prevent heat from entering a space from the hotter outside environment. This is why attics are often insulated, to reduce the amount of heat that radiates down from the sun-baked roof into the living areas. Similarly, refrigerators and freezers are heavily insulated to prevent outside heat from warming their contents, thereby reducing the energy required by the cooling system.
The Thermos Flask Principle
The classic example of effective insulation for both hot and cold is the thermos flask. A thermos flask typically has a double-walled construction with a vacuum between the walls. The vacuum eliminates heat transfer by conduction and convection. The inner and outer walls are often silvered to reflect radiant heat, further minimizing heat transfer. This design allows a thermos to keep beverages hot for extended periods or cold for just as long, showcasing the power of effective insulation. By understanding these principles, we can better appreciate the role of science in making our lives more comfortable and energy-efficient.
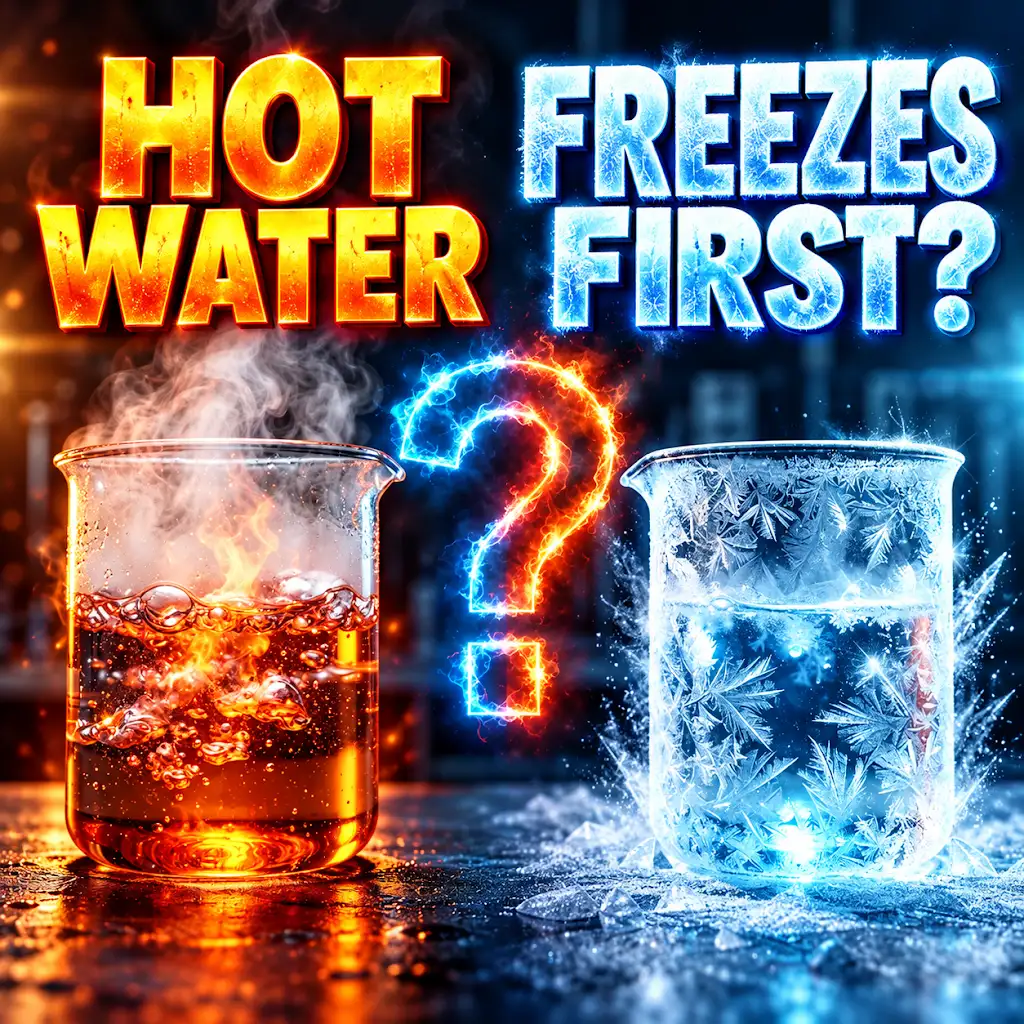
Why Hot Water Freezes Faster Than Cold (The Mpemba Effect)
FAQs
What is the purpose of the science experiment involving hot and cold temperatures?
The purpose of the experiment is to observe and compare how different materials or substances react to changes in temperature, specifically hot and cold temperatures.
How can hot and cold temperatures affect the physical properties of a substance?
Hot temperatures can cause a substance to expand, while cold temperatures can cause it to contract. These changes in size can affect the density, volume, and other physical properties of the substance.
What are some examples of materials that can be used in a hot and cold temperature experiment?
Examples of materials that can be used include water, metal, plastic, glass, and various types of food items. These materials can demonstrate different reactions to temperature changes.
What safety precautions should be taken when conducting a hot and cold temperature experiment?
Safety precautions may include wearing protective gear such as gloves and goggles, using insulated containers for hot substances, and handling hot materials with caution to avoid burns or injuries.
How can the results of a hot and cold temperature experiment be analyzed and interpreted?
The results can be analyzed by measuring and recording changes in temperature, size, volume, or other physical properties of the materials before and after exposure to hot and cold temperatures. The data can then be used to draw conclusions about how different materials respond to temperature variations.