The Magic of Molecular Freezing: An Introduction to Ice Cream Science
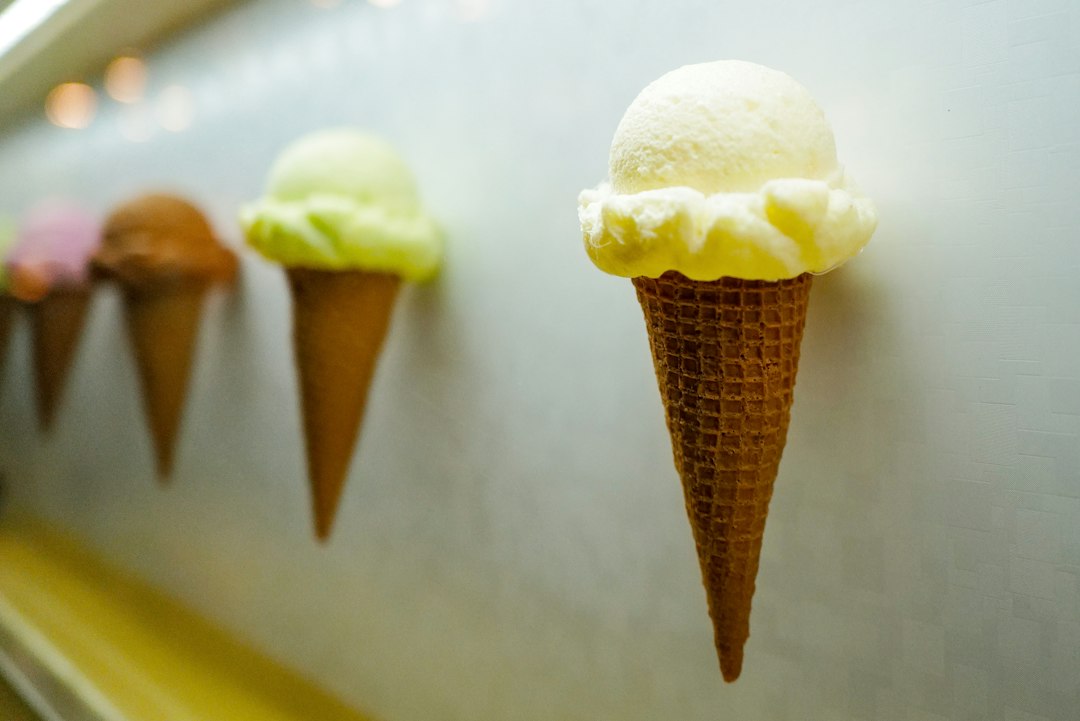
The allure of ice cream is almost universal. For children, it represents a delightful treat, a reward for good behavior, or simply a way to cool down on a warm day. But beneath the creamy sweetness lies a fascinating world of chemistry and physics, a science that can be both educational and incredibly fun to explore. This article delves into the simple yet ingenious ice cream experiment that transforms everyday ingredients into a delicious frozen dessert, all while demystifying some fundamental scientific principles. Through this hands-on activity, young minds can witness firsthand how temperature, phase changes, and the unique properties of certain substances come together to create something truly magical. The process is not just about making ice cream; it’s about igniting curiosity, encouraging observation, and fostering a love for scientific inquiry in a tangible and tasty way.
The journey from liquid ingredients to a solid, scoopable treat is a testament to the power of chemical reactions and physical transformations. Understanding these concepts doesn’t require complex laboratory equipment or advanced degrees. Instead, it can be achieved with simple household items and a willingness to experiment. The beauty of this particular experiment lies in its accessibility. Most of the necessary materials are likely already in the kitchen pantry, making it an easy and engaging activity for families to undertake together. The focus will be on explaining the “why” behind each step, connecting the actions of the child to the scientific principles at play. From the chilling effect of salt to the role of fat and sugar in achieving the perfect texture, every element of the ice cream-making process offers a learning opportunity. This experiment is designed to be a gateway, a fun and accessible introduction to the wonders of chemistry, proving that science can be both intellectually stimulating and incredibly delicious.
In exploring the fascinating world of science experiments, one particularly delightful activity is the science ice cream experiment, which combines culinary creativity with scientific principles. For those interested in learning more about this fun and educational project, you can check out a related article that delves into the details of making ice cream while understanding the science behind freezing and emulsification. To read more, visit this article.
Unveiling the Core Components: Essential Ingredients for Your Frozen Concoction
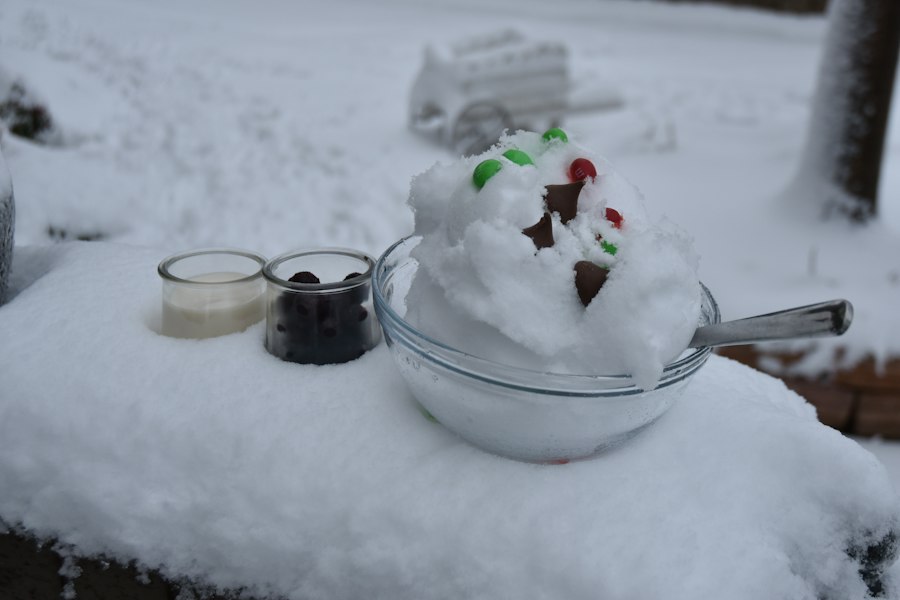
Before embarking on the culinary and scientific adventure of making ice cream, it’s crucial to understand the role of each ingredient. While the specific recipe can be adapted to individual preferences, a foundational set of components is essential for achieving the desired texture and flavor. These ingredients are not merely thrown together; they interact in specific ways to create the perfect frozen emulsion. For this particular experiment, we will focus on a simplified yet effective recipe that highlights the core scientific principles without overwhelming young learners. The emphasis will be on the fundamental building blocks and their contributions to the final product.
The Foundation of Creaminess: Dairy’s Double Duty
The heart of most traditional ice cream lies in dairy products, primarily milk and cream. These ingredients contribute more than just a smooth mouthfeel; they are rich in fat and protein. Fat molecules, dispersed within the milk and cream, are crucial for preventing the formation of large ice crystals. Ice crystals, if left unchecked, would result in a gritty, icy texture rather than the smooth, desirable consistency of ice cream. Fat coats the tiny ice crystals as they form, hindering their growth and aggregation. Proteins, on the other hand, help to stabilize the mixture, trapping air bubbles during the churning process. These air bubbles, known as overrun, contribute to the lightness and scoopability of the ice cream. For this experiment, a combination of whole milk and heavy cream offers a good balance of fat content, ensuring a richer, creamier outcome. The higher fat content from the cream is particularly important for achieving a satisfying texture.
Sweetness and Structure: The Sweetener’s Scientific Role
Sugar, in its various forms, plays a multifaceted role in ice cream making that goes far beyond simply adding sweetness. Scientifically, sugar is a colligative property modifier. This means it affects the physical properties of a solution, such as its freezing point. When sugar dissolves in water, it lowers the freezing point of the water molecules. In the context of ice cream, this is vital. As the mixture freezes, the sugar molecules interfere with the water molecules’ ability to form a solid, crystalline structure. This lower freezing point means that ice cream will not freeze solid at 0 degrees Celsius (32 degrees Fahrenheit) like plain water. Instead, it remains scoopable and pliable even at colder temperatures. Furthermore, sugar contributes to the overall body and texture of the ice cream. It helps to thicken the mixture and can even contribute to its perceived smoothness. In our experiment, regular granulated sugar is perfectly suitable, readily available, and demonstrates this freezing point depression effectively.
The Flavor Architects: Vanilla and Beyond
While the creamy base and sweet undertones provide the foundation, flavor is what truly elevates ice cream from a simple frozen dessert to a delightful culinary experience. For this experiment, vanilla extract is often the go-to choice due to its widely appealing aroma and taste. Vanilla extract is a complex mixture of chemical compounds, with vanillin being the most prominent. When added to the ice cream base, these compounds interact with the other ingredients, enhancing and complementing the overall flavor profile. The act of adding vanilla is a simple one, but it highlights how specific chemical compounds can drastically alter our sensory perception of food. This step is also an excellent opportunity to discuss how other flavorings, such as cocoa powder for chocolate, fruit purees for berry flavors, or even mint extract, can be incorporated to create a diverse range of ice cream experiences, each with its own unique chemical composition and sensory impact.
The Chill Factor: Harnessing the Science of Freezing
The core of any ice cream experiment, and indeed ice cream itself, is the process of freezing. However, achieving the perfect frozen texture requires more than simply placing a liquid mixture in a freezer. The rapid and controlled cooling process is paramount, and this is where the science truly shines. This section will explore the principles behind achieving the ideal freeze, focusing on the concept of freezing point depression and how it’s manipulated in our experiment. It’s a demonstration of how understanding physical chemistry can lead to delicious results.
Freezing Point Depression: The Salt and Ice Superpower
The magic behind achieving creamy ice cream without an ice cream maker lies in the ingenious use of salt and ice. This isn’t just a trick; it’s a direct application of a fundamental scientific principle known as freezing point depression. When salt is added to ice, it dissolves in the thin layer of water that always exists on the surface of ice, even at temperatures below freezing. This salt-water solution has a significantly lower freezing point than pure water. As the salt dissolves, it disrupts the ability of water molecules to form a crystalline ice structure. The salt ions become interspersed with the water molecules, making it harder for them to arrange themselves into a solid lattice.
Consequently, the salt-water mixture becomes much colder than plain ice. It can reach temperatures as low as -21 degrees Celsius (-6 degrees Fahrenheit), which is far colder than a standard home freezer. This super-chilled brine is then used to surround the bag containing the ice cream mixture. The extreme cold of the brine draws heat away from the ice cream mixture much more efficiently and rapidly than if it were just placed in a regular freezer. This rapid cooling is crucial for forming small ice crystals, which, as discussed earlier, leads to a smoother, creamier texture. Without the salt, the ice would simply melt at 0 degrees Celsius, and the ice cream mixture would freeze very slowly, resulting in large, unpalatable ice crystals. The salt, therefore, acts as a catalyst for achieving the ideal freezing conditions, transforming a simple mixture into a delightful dessert.
The Phase Change Phenomenon: From Liquid to Solid Delight
The entire ice cream-making process is a beautiful illustration of a phase change. We begin with our ingredients in a liquid state, a homogenous mixture of milk, cream, sugar, and flavorings. As we introduce this mixture to the extreme cold generated by the salt and ice bath, heat energy is systematically removed from the liquid. This removal of energy causes the molecules within the liquid to slow down. As they slow down sufficiently, they begin to coalesce and arrange themselves into a more ordered, solid structure – ice crystals.
However, the presence of fat and sugar, along with the rapid cooling, prevents the complete formation of a solid block of ice. Instead, a dynamic equilibrium is established where water molecules are freezing into ice crystals, while some ice crystals are melting back into the liquid. This dynamic process, coupled with the incorporation of air during shaking (which we’ll discuss next), is what creates the characteristic texture of ice cream. It’s a constant interplay between freezing and melting, all happening at temperatures below the normal freezing point of water, thanks to the science of freezing point depression. The observable transformation from a runny liquid to a semi-solid, scoopable consistency is a tangible representation of this fundamental physical process.
The Art of Aeration: Incorporating Air for Ultimate Texture
While freezing is essential, it’s not the only factor contributing to the delightful texture of ice cream. The incorporation of air, a process known as aeration, is equally vital. This is often achieved through churning in commercial ice cream makers, but in our simple experiment, it happens through vigorous shaking. This section will explore why air is so important and how we can effectively introduce it into our homemade ice cream.
Shaking It Up: Manual Aeration in Action
In the context of our ziplock bag ice cream experiment, the act of shaking the bag is not just about mixing the ingredients; it’s the primary method for introducing air into the freezing mixture. As the bag is vigorously shaken and rotated within the ice bath, the liquid inside is constantly agitated. This agitation causes small air bubbles to become trapped within the mixture. These trapped air bubbles act as tiny pockets of insulation and contribute significantly to the final texture.
Think of it like this: if you were to freeze the ice cream mixture without shaking, the water molecules would pack together tightly as they freeze, creating a dense, hard block. By shaking, we are essentially creating a foam. The fat and protein molecules in the dairy act as stabilizing agents, preventing these air bubbles from collapsing. These tiny air pockets create space between the ice crystals and the solidified fat, making the ice cream lighter, softer, and easier to scoop. The more vigorous and consistent the shaking, the more air is incorporated, leading to a creamier and less icy result. This manual aeration is a simplified, yet effective, demonstration of the principles employed by commercial ice cream makers.
Overrun: The Unseen Ingredient for Lightness
The amount of air incorporated into ice cream is scientifically referred to as “overrun.” In commercial ice cream production, overrun can range from 25% to over 50%. This means that for every 100 liters of ice cream base, the final volume can be 125 to 150 liters or more due to the incorporated air. While our ziplock bag experiment won’t achieve such high levels of overrun, the principle is the same. The shaking action introduces air, and the more air we can successfully trap, the lighter and creamier our ice cream will be.
Higher overrun contributes to a softer texture because there are fewer ice crystals packed together per unit volume. The air bubbles act as buffers, separating the ice crystals and fat globules. This is why some premium ice creams, which often have lower overrun (meaning they are denser and richer), are still perceived as smooth and creamy due to their higher fat content. Conversely, very inexpensive ice creams might have high overrun to make them appear larger and lighter, but they can sometimes have a less satisfying texture. Our experiment, through simple shaking, allows children to directly influence the overrun and observe its impact on the final product’s texture. It’s a tangible lesson in how seemingly “nothing” – air – can be a critical component of a delicious dessert.
In the realm of fun and educational experiments, the science behind making ice cream can be both delightful and informative. For those interested in exploring more about the fascinating interactions of ingredients and temperature, you can check out a related article that dives deeper into the chemistry of ice cream creation. This article not only explains the process but also offers insights into how different factors affect the final product. To learn more, visit Freaky Science for an engaging exploration of this delicious topic.
Troubleshooting and Tasty Variations: Elevating Your Ice Cream Experience
| Experiment Step | Materials Used | Temperature (°C) | Time Taken (minutes) | Observations |
|---|---|---|---|---|
| Mixing Ingredients | Milk, Sugar, Vanilla Extract | 20 | 5 | Ingredients combined into a smooth mixture |
| Adding Ice and Salt | Ice, Rock Salt | -10 | 2 | Salt lowered the freezing point of ice |
| Shaking the Bag | Sealed Bag with Mixture and Ice | -5 | 10 | Mixture began to freeze and thicken |
| Final Texture Check | Frozen Ice Cream | -2 | 0 | Ice cream reached desired consistency |
Even with the best intentions and a solid understanding of the science, the first attempt at homemade ice cream might not be perfect. This section is dedicated to addressing common issues that can arise and offering creative suggestions for customizing the recipe to create an even more exciting and personalized frozen treat. Learning to troubleshoot and experiment is a crucial part of the scientific process, and applying it to ice cream making can be a rewarding experience.
The Icy Dilemma: Addressing Common Texture Problems
One of the most common challenges when making ice cream at home, especially with simpler methods, is the formation of large ice crystals, leading to an icy or grainy texture. This usually occurs when the freezing process is too slow or when there isn’t enough fat or sugar to interfere with ice crystal formation. If your ice cream turns out too icy, consider these factors:
- Insufficient Chilling: Ensure your ice bath is sufficiently cold. If the salt isn’t dissolving effectively, or if you’re not using enough salt, the ice bath won’t reach the necessary low temperatures. Try adding more salt to the ice or ensuring you have a good ratio of salt to ice.
- Inadequate Shaking: The shaking process is vital for incorporating air and breaking up ice crystals as they form. If you didn’t shake vigorously or for a sufficient amount of time, the ice crystals will have more time to grow large. Make sure to shake continuously for at least 10-15 minutes, or until the mixture has thickened considerably.
- Low Fat Content: While we use milk and cream, the ratio can impact texture. If you only used milk, the lack of fat might contribute to iciness. For future attempts, consider using more cream or a half-and-half mixture.
- Over-Freezing: Sometimes, if the ice cream gets too hard, it can be challenging to scoop. If this happens, let it sit at room temperature for a few minutes to soften slightly before serving.
By understanding these potential pitfalls, young scientists can learn to analyze their results and make adjustments for future experiments, fostering a valuable problem-solving mindset.
Beyond Vanilla: Creative Flavor Inclusions
Once the basic vanilla ice cream is mastered, the possibilities for flavor exploration are endless. This is where children can truly let their imaginations run wild and experiment with different combinations, applying their knowledge of how various ingredients interact.
- Chocolate Indulgence: For a rich chocolate ice cream, add unsweetened cocoa powder to the base mixture. You might need to slightly increase the sugar to balance the bitterness of the cocoa. For an extra treat, fold in chocolate chips or chunks after the ice cream has mostly solidified.
- Fruity Delights: Incorporate fruit purees or finely chopped fresh fruit. Berries like strawberries, raspberries, and blueberries work wonderfully. Ensure the fruit is well-drained if it’s very juicy to avoid making the ice cream too watery. A touch of lemon or lime zest can also brighten fruit flavors.
- Minty Freshness: A few drops of peppermint extract can transform the basic vanilla into a refreshing mint ice cream. Add mint extract along with the vanilla. For a “mint chocolate chip” effect, fold in mini chocolate chips at the end.
- Cookie Dough Dreams: This popular flavor can be achieved by folding in small chunks of uncooked cookie dough (made with pasteurized eggs and heat-treated flour for safety) or even crumbled cookies like Oreos into the partially frozen ice cream.
- Swirls and Mix-ins: Encourage experimentation with swirls of caramel, fudge sauce, or even peanut butter. These can be drizzled into the bag towards the end of the shaking process and gently mixed in.
Each new flavor addition introduces a new set of chemical compounds and their interactions with the ice cream base, providing continuous learning opportunities. This experimentation not only diversifies their treat options but also deepens their understanding of how different ingredients contribute to taste and texture.
The Sweet Science of Sharing: Presenting and Enjoying Your Creation
The culmination of this fun and educational experiment is, of course, enjoying the fruits (or rather, the cream!) of your labor. This final section focuses on the presentation of the homemade ice cream and, more importantly, on reinforcing the scientific concepts learned throughout the process. It’s about celebrating the achievement and connecting the fun activity to the underlying educational value, encouraging continued curiosity and a positive association with science.
Serving Suggestions: From Spoon to Cone
Once the ice cream has reached a satisfactory consistency, it’s ready to be served. If it’s still a bit soft, it can be transferred to a freezer-safe container and hardened further in the home freezer for about an hour. However, for the best texture, it’s often recommended to enjoy it relatively soon after making.
The classic presentation is in a bowl or cone. Allow children to choose their favorite toppings: sprinkles, chocolate sauce, whipped cream, fresh fruit, or even a drizzle of honey. Discuss how these additions can alter the taste and texture of the ice cream, further illustrating the concept of ingredient interaction. For example, the contrast between the cold, smooth ice cream and the crunchy sprinkles or the warm, gooey chocolate sauce provides a sensory experience that can be analyzed and discussed. This is also an opportunity to talk about portion sizes and healthy eating habits, integrating practical life skills with the scientific exploration.
Reflecting on the Journey: Recapping the Scientific Discoveries
As the delicious ice cream is savored, it’s the perfect moment to revisit the scientific principles that made it possible. Engaging children in a discussion about what they learned reinforces the educational value of the experiment and helps to solidify their understanding.
- Ask questions like: “What made the ice cream freeze without putting it in the freezer?” (Answer: The salt and ice made it super cold!) “Why did we need salt?” (Answer: To make the ice get colder than just plain ice by lowering its freezing point.) “What happened when we shook the bag?” (Answer: Air bubbles got trapped, making it creamy and light.) “What would happen if we used only water and sugar?” (Answer: It would probably be very icy because there’s no fat to make it smooth and not enough shaking to get air in.)
- Connect to real-world applications: Discuss how this same principle of freezing point depression is used in things like making roads less icy in winter or in the refrigeration process. Explain that commercial ice cream makers use a similar method but with mechanical churning.
- Encourage further exploration: Prompt them to think about other experiments they could do. “What other ingredients could we try adding?” “What if we tried a different type of sugar?” This fosters a spirit of inquiry and shows them that science is an ongoing process of discovery.
By actively engaging children in reviewing the science behind their delicious creation, the ice cream experiment transforms from a mere activity into a memorable learning experience, sparking a lifelong interest in the wonders of chemistry and the joy of scientific exploration. The sweet reward of delicious ice cream serves as a tangible reminder that learning can be both fun and incredibly satisfying.
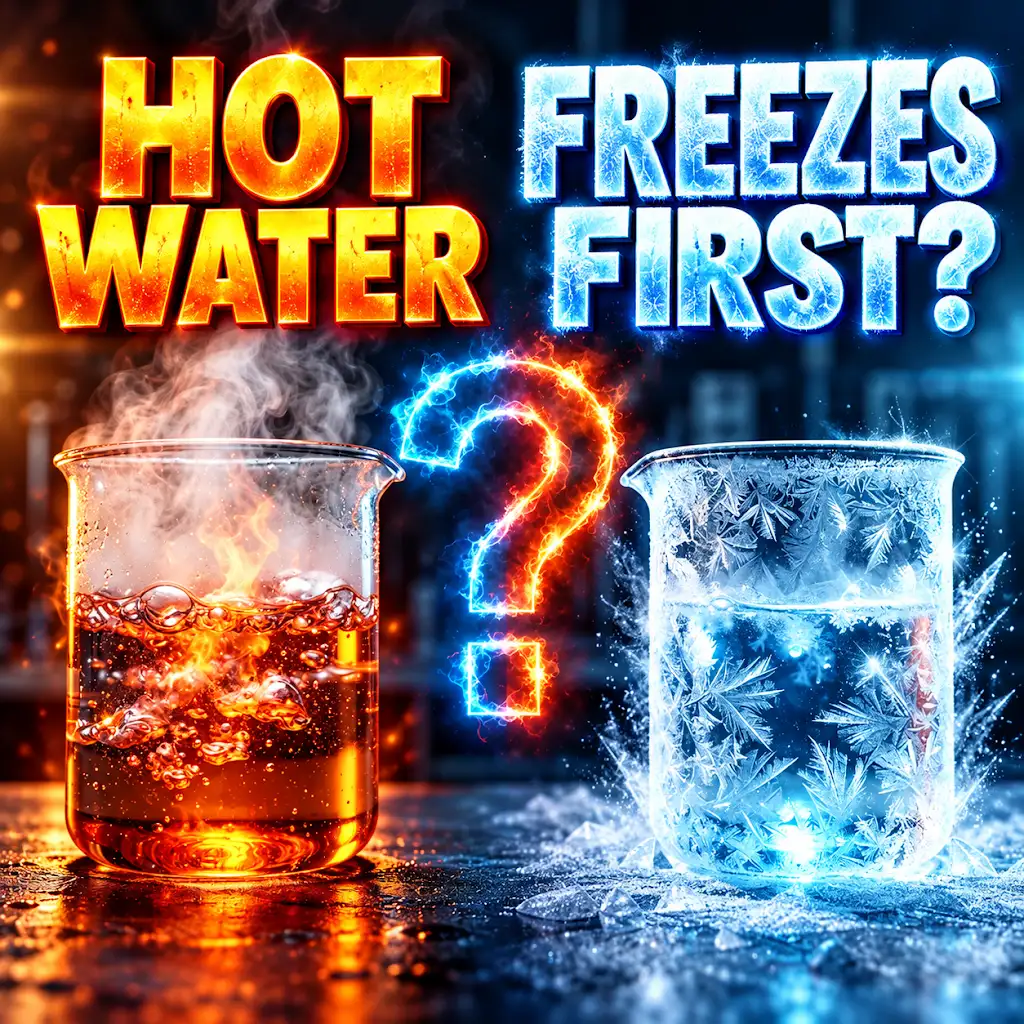
Why Hot Water Freezes Faster Than Cold (The Mpemba Effect)
FAQs
What is the purpose of the science ice cream experiment?
The purpose of the science ice cream experiment is to demonstrate the principles of chemistry and physics involved in the process of making ice cream.
How does the science ice cream experiment work?
The science ice cream experiment works by combining ingredients such as cream, sugar, and flavorings in a bag with ice and salt. The salt lowers the freezing point of the ice, causing the mixture to freeze and turn into ice cream.
What are some variables that can be tested in the science ice cream experiment?
Some variables that can be tested in the science ice cream experiment include the amount of salt used, the type of cream used, the duration of shaking the bag, and the temperature of the ice.
What are some potential outcomes of the science ice cream experiment?
Some potential outcomes of the science ice cream experiment include successfully making ice cream, ending up with a soupy mixture due to improper freezing, or creating ice cream with a gritty texture from insufficient shaking.
What are some real-world applications of the principles learned from the science ice cream experiment?
The principles learned from the science ice cream experiment can be applied to understanding the science behind commercial ice cream production, as well as exploring concepts such as phase changes, colligative properties, and emulsions in other food science experiments.