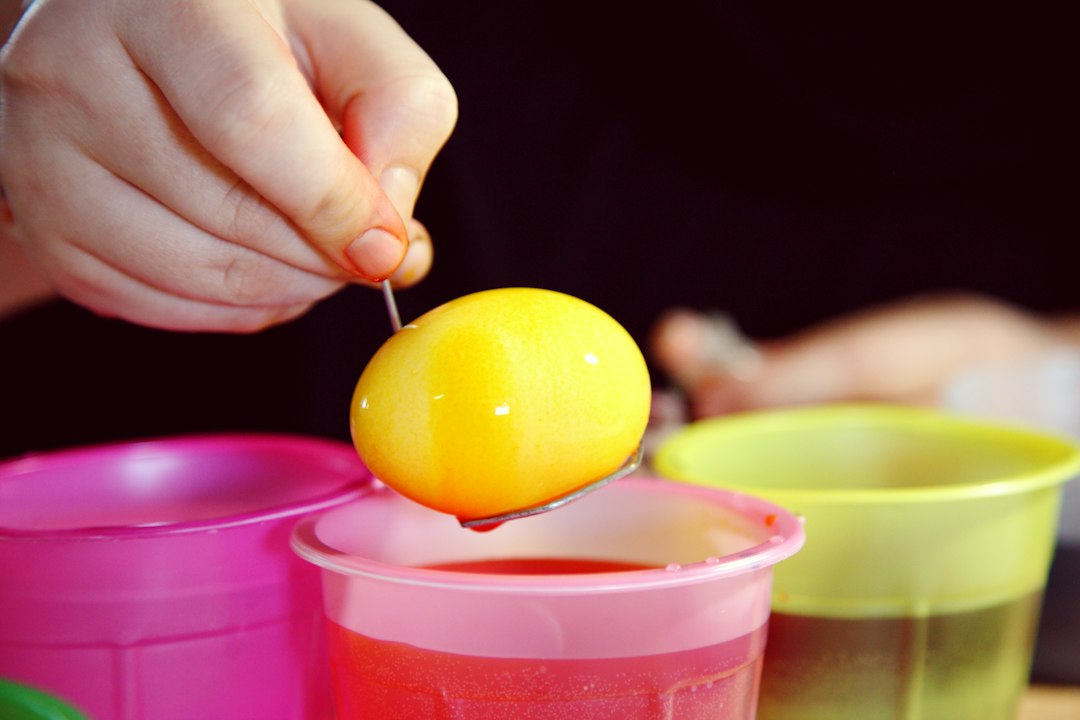
The allure of scientific discovery doesn’t require a sterile laboratory or expensive equipment. Many fundamental scientific principles can be explored and understood through simple, engaging experiments that can be conducted in the comfort of one’s own home, using readily available materials. These hands-on activities not only provide entertainment but also foster curiosity, critical thinking, and a deeper appreciation for the world around us. From the swirling vortex of a homemade tornado to the impressive eruption of a baking soda volcano, the possibilities for at-home scientific exploration are vast and accessible to learners of all ages. This article will delve into several categories of fun science experiments, providing clear instructions and explanations to empower anyone to embark on their own scientific adventures today.
The Magic of Chemical Reactions
The world of chemistry is full of fascinating transformations that can be replicated with common household items. These experiments often involve observing how different substances interact, leading to exciting visual and physical changes that illustrate core chemical principles. Understanding these reactions can demystify everyday phenomena and spark an interest in the building blocks of matter.
Crafting a Classic Baking Soda Volcano
Perhaps one of the most iconic at-home science experiments, the baking soda volcano is a testament to the power of acid-base reactions. This classic demonstration vividly illustrates the production of carbon dioxide gas.
Materials:
- Baking soda
- Vinegar
- Dish soap
- Food coloring (optional, for visual appeal)
- A bottle or small container (to act as the volcano’s crater)
- A tray or larger container to catch the overflow
Instructions:
- Place the bottle or container in the center of the tray.
- Pour a few tablespoons of baking soda into the bottle. If using food coloring, add a few drops now.
- Add a squirt of dish soap into the bottle. This will help to trap the carbon dioxide gas, creating a more foamy and impressive eruption.
- When ready for the eruption, pour vinegar into the bottle. Observe the immediate fizzing and overflowing “lava.”
The Science Behind It: Baking soda (sodium bicarbonate) is a base, and vinegar (acetic acid) is an acid. When they combine, a chemical reaction occurs, producing sodium acetate, water, and carbon dioxide gas. The rapid release of this carbon dioxide gas creates the bubbly, erupting effect. The dish soap traps the gas bubbles, enhancing the visual spectacle. This experiment is a simple yet effective way to demonstrate the principles of neutralization reactions and gas production.
Creating Homemade Lava Lamps
Recreating the mesmerizing slow-motion blobs of a traditional lava lamp can be achieved with a few simple ingredients, illustrating density and immiscibility.
Materials:
- A clear bottle or jar
- Vegetable oil
- Water
- Food coloring
- Alka-Seltzer tablets
- Glitter (optional)
Instructions:
- Fill the bottle about two-thirds full with vegetable oil.
- In a separate cup, mix water with food coloring.
- Pour the colored water into the oil-filled bottle. Notice how the water sinks to the bottom, as it is denser than the oil.
- Break an Alka-Seltzer tablet into a few pieces and drop one piece into the bottle.
- Observe as the tablet reacts with the water, creating carbon dioxide bubbles. These bubbles attach to the colored water, making it less dense, and causing it to rise through the oil. When the bubbles reach the surface and pop, the colored water, now heavier, sinks back down, creating a continuous cycle of movement.
- Add more Alka-Seltzer pieces to keep the “lava lamp” active. Glitter can be added for an extra visual flair.
The Science Behind It: This experiment demonstrates the concept of density, as oil and water do not mix (they are immiscible) and separate based on their respective densities. The Alka-Seltzer tablet reacts with the water, producing carbon dioxide gas. These gas bubbles act as tiny elevators, lifting the colored water through the oil. As the gas escapes at the top, the water becomes dense again and sinks, creating the characteristic lava lamp effect. This is a fantastic visual for understanding how gases can alter the buoyancy of liquids.
The Color-Changing Carnation Experiment
This classic experiment showcases how plants absorb water and demonstrates the process of transpiration in a visually striking way.
Materials:
- White carnations (or other white flowers like roses or daisies)
- Small vases or glasses
- Water
- Food coloring (various colors)
Instructions:
- Fill each vase or glass with water.
- Add a generous amount of food coloring to each container, creating distinct colors.
- Trim the stem of a white carnation diagonally.
- Place one trimmed carnation into each colored water solution.
- Observe the flowers over the next few hours and days. You will notice the petals gradually changing color, mirroring the hues of the water.
The Science Behind It: Plants absorb water through their roots (or in this case, their cut stems) and transport it upwards through a network of tubes called xylem. This process is driven by transpiration, the evaporation of water from the plant’s leaves. As the colored water is absorbed, the pigments are carried along with it, staining the petals of the flower. This experiment provides a tangible demonstration of how plants hydrate and transport fluids, a fundamental aspect of plant biology. It also highlights the concept of capillary action, where water is drawn up against gravity.
If you’re looking for fun and educational science experiments to try at home, you might find inspiration in the article on Freaky Science. This resource offers a variety of engaging projects that can spark curiosity and enhance learning for both kids and adults. You can explore their collection of experiments by visiting Freaky Science, where you’ll discover creative ways to bring science to life right in your own kitchen or backyard.
Exploring the Wonders of Physics
Physics principles are all around us, from the simplest act of dropping an object to the complex motion of celestial bodies. At-home experiments can illuminate these fundamental laws, making abstract concepts tangible and exciting.
Building a Homemade Hovercraft
Experience the principles of friction reduction by constructing a simple hovercraft that glides effortlessly across a surface.
Materials:
- An old CD or DVD
- A balloon
- A pop-top lid from a sports drink bottle or similar dispenser
- Strong glue (hot glue gun works well)
Instructions:
- Ensure the pop-top lid is closed.
- Carefully glue the pop-top lid to the center of the CD, ensuring an airtight seal around the edge of the lid’s base. Allow the glue to dry completely.
- Stretch the neck of the balloon over the pop-top spout.
- Open the pop-top lid.
- Inflate the balloon by blowing through the pop-top spout (with the lid open).
- Close the pop-top lid while the balloon is still inflated.
- Place the CD on a smooth, flat surface and open the pop-top lid.
- Give the CD a gentle push.
The Science Behind It: The hovercraft works by creating a cushion of air. When the balloon is inflated and released through the open pop-top, air is forced out underneath the CD. This creates a thin layer of air between the CD and the surface, dramatically reducing friction. With friction minimized, the CD can glide smoothly, mimicking the principle behind real hovercrafts and air hockey tables. This experiment beautifully illustrates the concept of reducing friction to enable motion.
If you’re looking for engaging ways to explore science with your kids, you might find inspiration in a related article that offers a variety of fun experiments you can conduct at home. These activities not only spark curiosity but also provide hands-on learning experiences that reinforce scientific concepts. For more ideas, check out this informative piece on home science experiments at Freaky Science.
The Incredible Self-Inflating Balloon
Witness the power of air pressure and chemical reactions with a balloon that inflates on its own.
Materials:
- An empty plastic bottle (e.g., a soda bottle)
- A balloon
- Vinegar
- Baking soda
- A funnel
Instructions:
- Pour about half a cup of vinegar into the plastic bottle.
- Using the funnel, carefully add 2-3 tablespoons of baking soda into the balloon.
- Gently stretch the opening of the balloon over the mouth of the plastic bottle, ensuring a tight seal. Make sure the baking soda is still in the balloon and hasn’t fallen into the vinegar yet.
- When ready, lift the balloon so that the baking soda falls into the vinegar in the bottle.
- Observe as the balloon begins to inflate.
The Science Behind It: Similar to the baking soda volcano, this experiment relies on the chemical reaction between baking soda (a base) and vinegar (an acid). This reaction produces carbon dioxide gas. As the gas is generated inside the sealed bottle, it needs to escape. The only available escape route is into the balloon, causing it to inflate. This demonstrates the expansion of gases and the pressure they exert. The amount of inflation directly relates to the volume of gas produced.
Making a Simple Electromagnet
Discover the relationship between electricity and magnetism by creating your own working electromagnet.
Materials:
- A large iron nail
- Insulated copper wire (about 2-3 feet)
- A D-cell battery
- Small paper clips
Instructions:
- Leave about 6 inches of wire free at one end.
- Begin tightly wrapping the insulated copper wire around the iron nail. Wrap the wire in one direction, as close together as possible, for the entire length of the nail, leaving another 6 inches of wire free at the other end. The more coils you create, the stronger your electromagnet will be.
- Carefully strip a small amount of insulation from the ends of the copper wire using a knife or wire strippers.
- Connect one stripped end of the wire to the positive (+) terminal of the D-cell battery and the other stripped end to the negative (-) terminal.
- Once the battery is connected, the nail will become magnetized. Test its strength by bringing it close to the small paper clips. You should be able to pick them up with the nail.
- To turn off the electromagnet, simply disconnect the battery.
The Science Behind It: When electric current flows through a wire, it creates a magnetic field around it. By wrapping the wire around an iron nail, this magnetic field is concentrated and amplified by the iron core, turning the nail into an electromagnet. The iron is a ferromagnetic material, which means it can be easily magnetized. This experiment demonstrates the fundamental principles of electromagnetism, showing how electricity can be used to generate magnetism.
Investigating the Mysteries of Biology and Nature
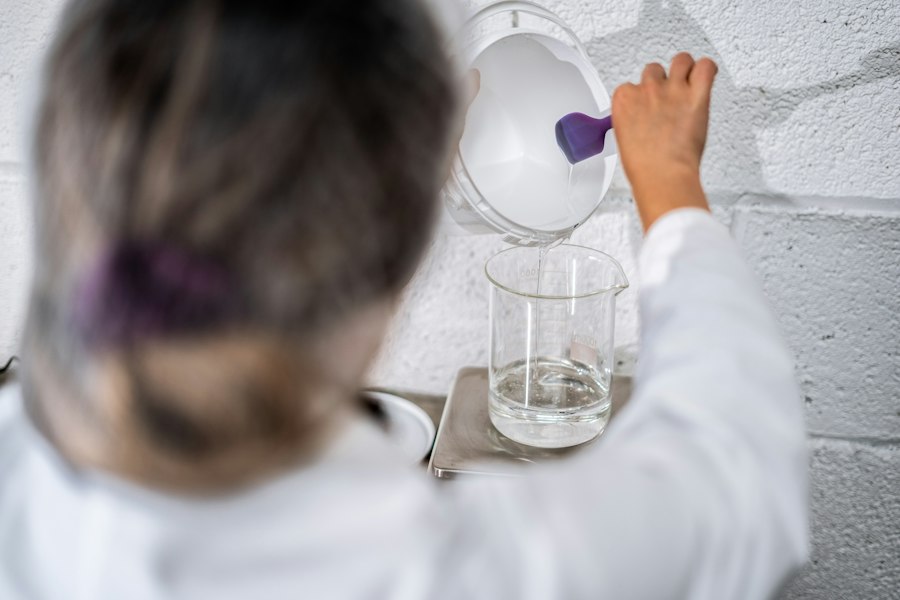
Even without a microscope, many fascinating biological processes and natural phenomena can be observed and explored using simple household items. These experiments connect us to the living world and its intricate workings.
Sprouting Seeds and Observing Plant Growth
Witness the miracle of life unfold by sprouting seeds and observing the fundamental stages of plant growth.
Materials:
- Bean seeds, pea seeds, or other readily germinating seeds
- Paper towels
- Plastic zipper bags or clear plastic cups
- Water
- A sunny spot or a light source
Instructions:
- Dampen a few paper towels. They should be moist but not dripping wet.
- Place the damp paper towels inside the plastic zipper bags or line the clear plastic cups.
- Place a few seeds on top of the paper towels, spaced apart.
- Seal the zipper bags (leaving a small air gap) or cover the cups with plastic wrap, poking a few small holes for ventilation.
- Place the bags or cups in a warm, sunny location or under a light source.
- Observe the seeds daily. You will see them begin to sprout roots and shoots.
- Once the seedlings have developed a few leaves, you can transplant them into soil to continue their growth.
The Science Behind It: This experiment demonstrates germination, the process by which a plant grows from a seed. The moisture in the paper towels softens the seed coat, allowing the embryo inside to access water. The warmth and light provide the necessary energy for the seed to start its growth process. You will observe the development of the radicle (the first root) and the plumule (the first shoot), illustrating the basic anatomy of a plant seedling. This is a direct observation of life’s incredible ability to begin and flourish.
Making Homemade Slime
Slime making is a popular activity that not only yields a fun, tactile sensory experience but also teaches about polymers and cross-linking.
Materials:
- White school glue (PVA glue)
- Borax (found in the laundry aisle)
- Water
- Food coloring (optional)
- Glitter (optional)
- Two bowls
- Measuring cups and spoons
Instructions:
- In the first bowl, mix 1/2 cup of white glue with 1/2 cup of water. Add food coloring and glitter if desired. Stir until well combined.
- In the second bowl, dissolve 1 teaspoon of Borax in 1 cup of warm water. Stir until the Borax is mostly dissolved.
- Slowly pour the Borax solution into the glue mixture, stirring continuously.
- As you stir, you will notice the mixture beginning to thicken and form a slimy consistency.
- Once the slime starts to pull away from the sides of the bowl, you can take it out and knead it with your hands. It may be sticky at first, but will become less so as you work with it.
The Science Behind It: White school glue contains long chains of molecules called polymers (polyvinyl acetate). Borax acts as a cross-linking agent. When the Borax solution is added to the glue, it causes these long polymer chains to link together, forming a more solid, elastic network. This process of cross-linking is what gives slime its unique stretchy and gooey texture. Different amounts of Borax and glue can create slime with varying consistencies, demonstrating how altering the “recipe” affects the material’s properties.
Investigating Capillary Action with Celery
Observe how plants drink water by watching colored water travel up the stalks of celery.
Materials:
- Fresh celery stalks with leaves
- Clear glasses or jars
- Water
- Food coloring (dark colors like red or blue work best)
Instructions:
- Fill each glass or jar with water.
- Add several drops of food coloring to the water in each glass.
- Trim the bottom end of each celery stalk diagonally. This provides a fresh surface for absorption.
- Place one trimmed celery stalk into each glass of colored water.
- Leave the celery in the colored water for several hours, or even overnight.
- Observe the celery. You will notice that the colored water has traveled up the stalk and into the leaves, causing them to change color.
The Science Behind It: This experiment demonstrates capillary action. The xylem tissues within the celery stalk act like tiny straws. Water molecules have a natural attraction to each other (cohesion) and to the walls of the xylem tubes (adhesion). This attraction, combined with the upward pull from transpiration (evaporation from the leaves), allows the water to be drawn upwards against gravity, much like water is drawn up a plant’s roots. The colored water makes this internal transport system visible, showcasing the plant’s ability to hydrate itself.
Fun with Fluids and Density
Fluids, both liquids and gases, behave in fascinating ways, and many of their properties can be explored with simple home experiments that illustrate principles of density, buoyancy, and surface tension.
Creating a Density Tower
Visually demonstrate how liquids of different densities will layer on top of each other.
Materials:
- A tall, clear glass or jar
- Several different liquids with varying densities, such as:
- Honey
- Corn syrup or maple syrup
- Dish soap
- Water (can be colored with food coloring)
- Vegetable oil
- Rubbing alcohol (can be colored with a different food coloring)
- A dropper or pipette (optional, for precise layering)
Instructions:
- Carefully and slowly pour the densest liquid (usually honey) into the bottom of the clear glass.
- Next, slowly pour the next densest liquid (e.g., corn syrup) onto the back of a spoon held just above the first liquid, allowing it to gently trickle down the side of the glass. This minimizes mixing.
- Continue layering the liquids in order of decreasing density, using the spoon technique for each addition.
- Observe how each liquid settles on top of the one below it, creating distinct layers.
The Science Behind It: Density is defined as mass per unit volume. Liquids with higher density have more mass packed into the same amount of space than liquids with lower density. Therefore, when they are combined, the denser liquids will sink below the less dense liquids. This experiment provides a clear visual representation of this fundamental property of matter and how it dictates the behavior of different substances when mixed. It’s a great way to understand why some things float and others sink.
The Amazing Floating Egg
Explore buoyancy and density changes by making an egg float in water.
Materials:
- Two raw eggs
- Two clear glasses or jars
- Water
- Salt
Instructions:
- Fill both glasses with the same amount of water.
- Carefully place one raw egg into the first glass of plain water. Observe that it sinks to the bottom.
- In the second glass, add a generous amount of salt (several tablespoons) and stir until it dissolves as much as possible.
- Carefully place the second raw egg into the saltwater. Observe that it floats.
- You can experiment by adding salt to the first glass gradually to see at what point the egg begins to float.
The Science Behind It: An object floats when the buoyant force pushing it upwards is equal to or greater than its weight. The buoyant force is equal to the weight of the fluid displaced by the object. In plain water, the egg is denser than the water, so it sinks. By dissolving salt in the water, you increase the water’s density. A denser liquid can support more weight, meaning the buoyant force is greater, causing the egg to float. This experiment demonstrates Archimedes’ principle and the concept of how changing the density of a fluid affects buoyancy.
Building a Simple Cartesian Diver
This classic experiment demonstrates the relationship between pressure, volume, and buoyancy in a captivating way.
Materials:
- A large plastic bottle (like a 2-liter soda bottle)
- A small dropper (glass or plastic)
- Water
- A small weight (like modeling clay or a metal nut) to make the dropper sink
Instructions:
- Fill the plastic bottle almost completely with water.
- Adjust the dropper so that it just barely floats when placed in the water. You might need to add a tiny bit of modeling clay or a small weight to the tip of the dropper to achieve this. The dropper should be mostly filled with air.
- Place the dropper into the bottle of water.
- Screw the cap onto the bottle tightly.
- Squeeze the sides of the plastic bottle. Observe as the dropper sinks to the bottom.
- Release the pressure on the bottle. Observe as the dropper rises back to the top.
The Science Behind It: The dropper acts as a Cartesian diver. When you squeeze the bottle, you increase the pressure inside. This increased pressure compresses the air trapped inside the dropper, reducing its volume. According to Boyle’s Law, as the volume of the air decreases, its density increases. This makes the dropper, as a whole, denser than the surrounding water, causing it to sink. When you release the pressure, the air expands, its density decreases, and the dropper becomes less dense than the water, causing it to float again. This vividly illustrates how pressure changes can affect volume and density, and consequently, buoyancy.
By engaging in these simple, at-home science experiments, individuals can unlock a world of discovery and learning. Each activity offers a unique opportunity to observe scientific principles in action, fostering curiosity and a lifelong love for exploration. The materials are readily available, the instructions are straightforward, and the rewards – a deeper understanding of the world and the joy of scientific inquiry – are immense. So, gather your supplies, unleash your inner scientist, and start experimenting today!

Why Hot Water Freezes Faster Than Cold (The Mpemba Effect)
FAQs
What safety precautions should be taken when conducting science experiments at home?
It is important to always wear safety goggles, gloves, and an apron when working with chemicals. Make sure to have adult supervision, especially when using heat sources or sharp objects. Keep a first aid kit nearby and know how to use it in case of accidents.
Can common household items be used for science experiments at home?
Yes, many science experiments can be conducted using items found in the kitchen or bathroom, such as vinegar, baking soda, food coloring, and oil. These items can be used to demonstrate various scientific principles in a safe and controlled environment.
How can children get involved in science experiments at home?
Children can get involved in science experiments by helping gather materials, following instructions, and making observations. Encourage them to ask questions and come up with their own hypotheses. It is a great way to spark their curiosity and interest in science.
Are there any online resources for finding science experiments to do at home?
Yes, there are many websites and online platforms that offer a wide range of science experiments suitable for home settings. Websites like Science Buddies, Steve Spangler Science, and National Geographic Kids provide detailed instructions and explanations for various experiments.
What are some benefits of conducting science experiments at home?
Conducting science experiments at home can help improve critical thinking skills, problem-solving abilities, and scientific knowledge. It also fosters creativity, curiosity, and a love for learning. Additionally, it provides a fun and engaging way to spend time with family members.