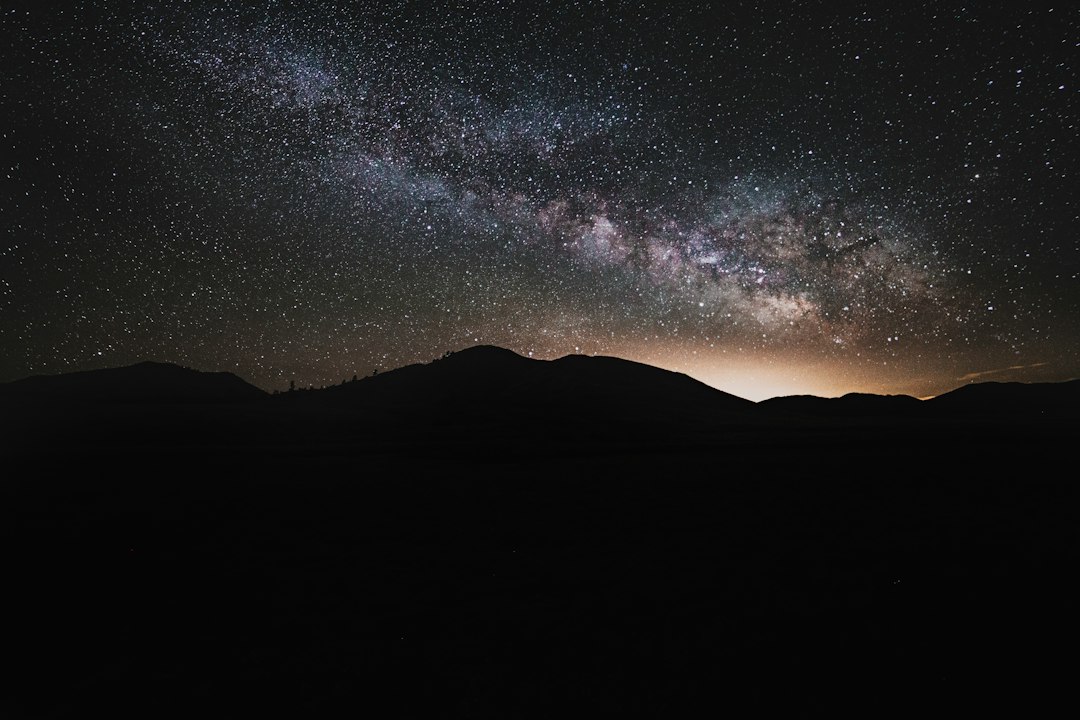
Capturing the Night Sky: Long Exposure Astrophotography Explained
The inky canvas of the night sky, adorned with a celestial tapestry of stars, nebulae, and galaxies, has captivated humanity for millennia. While ancient civilizations gazed with the naked eye, modern technology allows us to delve deeper into this cosmic spectacle, revealing details and wonders often invisible to our unaided vision. Among the most profound techniques for this exploration is long exposure astrophotography. This art form transforms fleeting glimmers of light into breathtaking images, showcasing the universe in ways previously unimaginable. It’s a process that demands patience, technical understanding, and a deep appreciation for the cosmos.
At its core, long exposure astrophotography is an exercise in light gathering. Unlike everyday photography where brief moments are sufficient to freeze action or capture well-lit scenes, the night sky presents a significant challenge: its subjects are incredibly faint. Stars, nebulae, and galaxies emit light that travels vast distances, often reaching our atmosphere as mere whispers. A standard camera exposure, typically fractions of a second, is simply not enough to register this subtle luminescence.
The Role of the Camera Sensor
The digital sensor within a camera is analogous to a bucket collecting raindrops. For a short exposure, the bucket is only open for a brief moment, collecting only a few drops. To capture the faint light of the cosmos, however, the “bucket” – the camera sensor – needs to be open for an extended period. This allows more “raindrops” of light to accumulate, gradually building up an image that reveals the fainter details. The longer the exposure, the more light the sensor can collect, resulting in a brighter and more detailed photograph of the night sky.
Beyond Brightness: Revealing Detail and Color
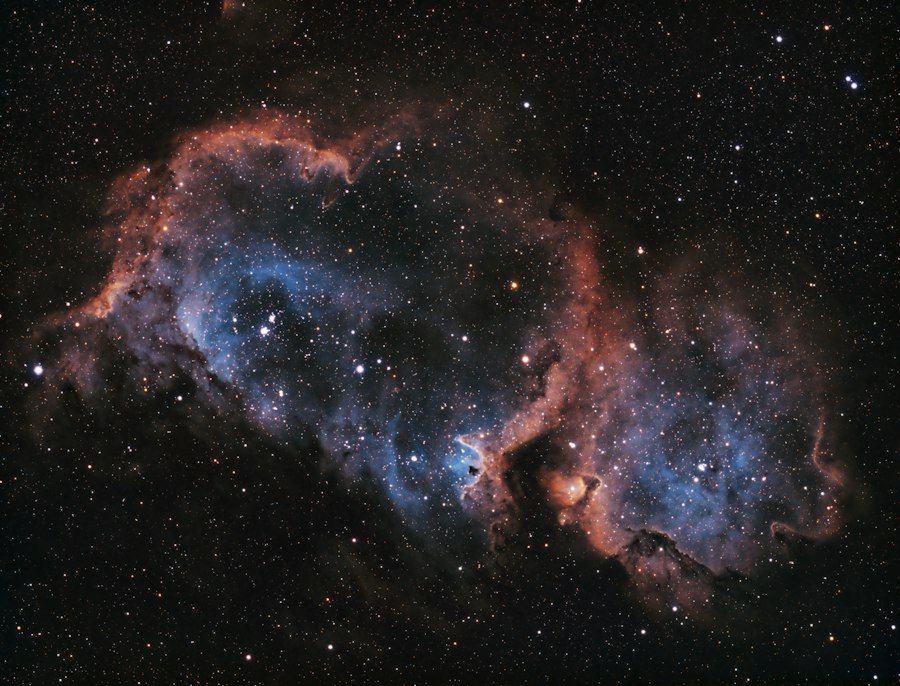
The benefits of long exposures extend beyond simply making the sky appear brighter. These extended periods allow the sensor to record subtle variations in light intensity and color that would otherwise be lost. Nebulae, for instance, often possess vibrant hues of red, green, and blue, which are caused by the emission of specific gases illuminated by nearby stars. A short exposure might only capture a pale, indistinct smudge, while a long exposure can reveal these intricate and beautiful color palettes. Similarly, faint star clusters and galaxies, barely visible as dots to the naked eye, can emerge from the darkness with surprising detail and structure when their light is meticulously gathered over minutes or even hours.
Understanding Exposure Time and Its Limits
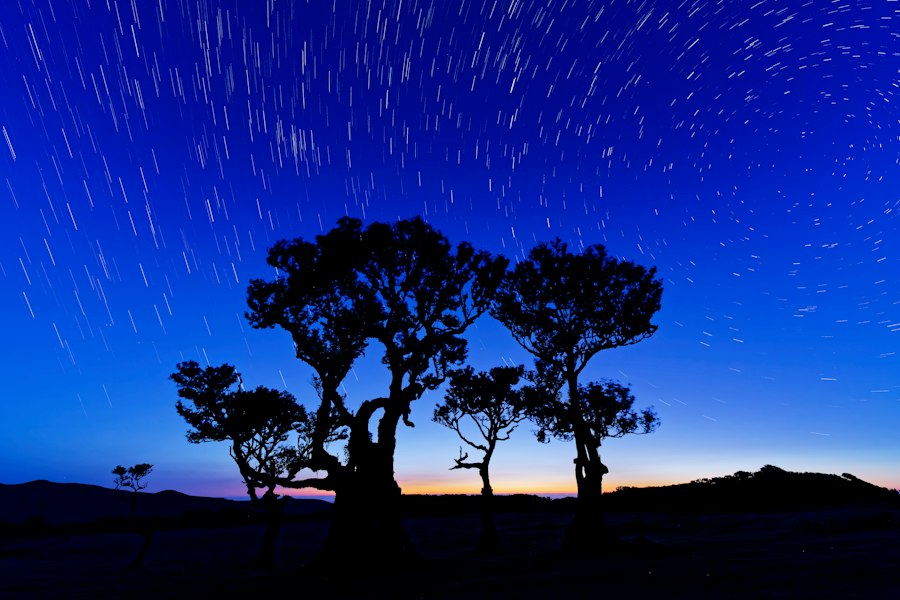
The term “long exposure” is relative, but in astrophotography, it typically refers to exposures ranging from several seconds to several minutes, and in some specialized cases, even hours. The specific duration is dictated by several factors, including the brightness of the celestial object, the light pollution in the area, the sensitivity of the camera sensor (ISO), and the aperture of the lens. While longer is generally better for light gathering, there are practical limitations. The Earth’s rotation causes stars to appear to move across the sky. If an exposure is too long, this apparent motion will result in star trails, blurring the pinpoint stars into streaks. This phenomenon, while sometimes desirable for artistic effect, is something astrophotographers must manage to achieve sharp, detailed starfields.
Long exposure astrophotography is a fascinating technique that allows photographers to capture stunning images of celestial bodies by using extended exposure times to gather light from distant stars and galaxies. For those interested in learning more about the intricacies of this art form, a related article can be found at Freaky Science, which delves into the principles behind long exposure photography, the equipment needed, and tips for achieving breathtaking results in your night sky captures.
Essential Equipment for Astrophotography
Embarking on the journey of long exposure astrophotography requires more than just a camera. A carefully selected set of equipment is crucial for success, each piece playing a vital role in capturing the faint celestial light and overcoming the challenges of the night.
The Camera: More Than Just a Recorder
While almost any camera with manual controls can be used for astrophotography, dedicated cameras with larger sensors and higher ISO capabilities often yield superior results. Full-frame cameras, with their larger sensors, are generally better at collecting light and producing cleaner images with less noise at high ISO settings. The ability to manually control shutter speed, aperture, and ISO is paramount. Cameras with advanced noise reduction features and the capability to shoot in RAW format are highly recommended. RAW files preserve the maximum amount of image data, offering greater flexibility in post-processing to bring out the hidden details in the captured light.
Lenses: The Gateway to the Cosmos
The lens is the eye of the camera, and for astrophotography, a wide-angle lens with a fast aperture is typically preferred. A wide aperture, denoted by a low f-number (e.g., f/1.8, f/2.8), allows more light to enter the camera in a shorter amount of time, which is crucial for capturing faint objects. Wide-angle lenses provide a broad field of view, allowing the photographer to capture large swathes of the night sky, including constellations, the Milky Way, and even the curvature of the Earth. Prime lenses (fixed focal length) often offer superior sharpness and wider apertures compared to zoom lenses.
The Tripod: The Unwavering Foundation
A sturdy and stable tripod is arguably the most critical piece of equipment for long exposure astrophotography. Since exposures can last for minutes, any movement of the camera will result in blurred images. A robust tripod, capable of securely holding the camera and lens, even in windy conditions, is essential. Look for a tripod with a strong center column and legs that lock firmly in place. A remote shutter release or the camera’s built-in timer is also necessary to avoid jarring the camera when pressing the shutter button.
Beyond the Basics: Optional but Beneficial Gear
While the core equipment is essential, several other items can significantly enhance the astrophotography experience.
Intervalometer and Remote Shutter Release
An intervalometer is a device that allows you to program a sequence of exposures. This is invaluable for time-lapse astrophotography or for taking multiple exposures for stacking (a post-processing technique to reduce noise). A simple remote shutter release, either wired or wireless, prevents camera shake when initiating an exposure.
Light Pollution Filters
In areas with light pollution, specialized filters can help to block out certain wavelengths of artificial light, allowing the fainter light of celestial objects to be captured more clearly. These filters are particularly useful for capturing nebulae.
Power Banks and Extra Batteries
Long exposures consume a significant amount of battery power, especially in cold weather. Carrying extra batteries or a portable power bank is essential to ensure you can continue shooting throughout the night.
Mastering the Settings: Navigating the Exposure Triangle
Achieving stunning astrophotography results relies heavily on understanding and manipulating the fundamental principles of photography: the exposure triangle, consisting of aperture, shutter speed, and ISO. In the context of long exposure astrophotography, these settings are pushed to their limits.
Aperture: The Wide-Open Gateway
As mentioned earlier, a wide aperture is paramount. For astrophotography, photographers aim for the widest aperture their lens allows, typically f/1.8 or f/2.8. This maximizes the amount of light entering the camera, allowing for shorter total exposure times or the capture of fainter details. A wider aperture also contributes to a shallower depth of field, which is less of a concern with distant celestial objects but can be relevant if foreground elements are included in the shot.
Shutter Speed: The Art of Patience
The shutter speed is where the “long exposure” aspect truly comes into play. Instead of fractions of a second, astrophotographers use shutter speeds ranging from 10 seconds to several minutes. The exact duration is a delicate balance.
The 500 Rule (and its Variations)
A common guideline for determining the maximum shutter speed before star trails become noticeable is the “500 Rule.” This rule suggests dividing 500 by the focal length of your lens (on a full-frame camera) to get the maximum exposure time in seconds. For example, with a 20mm lens, 500 / 20 = 25 seconds. However, this is a starting point, and factors like the resolution of your camera sensor and the desired level of detail can necessitate shorter exposures. Variations like the “400 Rule” or “300 Rule” are often used for higher-resolution cameras. Experimentation is key to finding the sweet spot for your specific setup.
Managing Earth’s Rotation
The Earth rotates approximately 15 degrees per hour. This rotation causes stars to appear to move in arcs across the night sky. When an exposure is too long, these arcs become visible as star trails, blurring the stars. For pinpoint stars, keeping the shutter speed within the limits of the 500 Rule (or its variations) is crucial. However, for creative purposes, longer exposures deliberately capturing star trails can be a striking artistic choice.
ISO: Amplifying the Signal
ISO controls the camera sensor’s sensitivity to light. In astrophotography, higher ISO settings are often employed to amplify the faint light captured during long exposures. However, increasing ISO also amplifies digital noise, which appears as grainy speckles in the image. The goal is to find a balance between sufficient brightness and acceptable noise levels.
Finding the Right ISO Balance
Modern cameras have significantly improved their high ISO performance. Photographers will often experiment with different ISO values, from 800 to 6400 or even higher, in conjunction with their chosen aperture and shutter speed. Shooting in RAW format is essential, as it allows for more effective noise reduction in post-processing. Understanding your camera’s noise performance at different ISOs is critical.
Focusing in the Dark: The Challenge of Autofocus
One of the most significant challenges in astrophotography is achieving sharp focus in the complete absence of light. Autofocus systems rely on contrast and light to lock onto a subject, both of which are severely lacking when pointing a camera at the night sky. Therefore, manual focus is the only viable option.
The Infinity Mark: A Misleading Friend
Many lenses have an “infinity” (∞) mark on their focus ring. While seemingly the obvious choice for focusing on distant stars, this mark is often not perfectly accurate, especially in modern lenses or when the temperature changes. Relying solely on the infinity mark can lead to slightly out-of-focus images.
Mastering Manual Focus
The most reliable method for manual focus in astrophotography involves using live view and magnifying the image on the camera’s LCD screen.
Live View and Magnification
Turn off autofocus and set your lens to manual focus. Then, switch to live view on your camera’s LCD screen. This will display a real-time feed from the sensor. Use the zoom function on your LCD to magnify the image of a bright star or the moon.
Focusing on a Bright Star
Identify the brightest star in your field of view. Zoom in on this star as much as possible on your LCD. Now, slowly adjust the focus ring on your lens until the star appears as a tiny, sharp point of light. If the star appears as a blurred circle or a smear, you are not in focus. Continue to adjust the focus ring back and forth until the star is as small and sharp as possible.
Focusing on the Moon (When Available)
If the moon is visible, it provides an excellent, bright subject for focusing. Zoom in on the moon’s surface and adjust the focus until the craters and details are sharp. Once focused on the moon, you can recompose your shot and, if the stars are in the same plane of focus (which they usually are at this distance), your focus should be accurate for the stars as well.
Using Bahtinov Masks (for Advanced Users)
For ultimate precision, especially when shooting nebulae or galaxies where sharp focus is critical, a Bahtinov mask can be employed. This is a specialized accessory that fits over the front of the lens. When pointed at a bright star, it creates a diffraction pattern. The focus is achieved when the central spike of this pattern is perfectly centered between the other two spikes.
Long exposure astrophotography is a fascinating technique that allows photographers to capture stunning images of celestial objects by using extended exposure times to gather more light. This method not only enhances the visibility of stars and galaxies but also reveals intricate details that are often missed in shorter exposures. If you’re interested in learning more about the science behind this captivating art form, you might find this related article on the topic quite enlightening. For further insights, check out this article that delves into the principles and techniques of astrophotography.
The Art of Post-Processing: Bringing the Universe to Life
| Exposure Time | Result |
|---|---|
| 30 seconds | Stars and constellations |
| 1 minute | Milky Way and star trails |
| 5 minutes | Deep sky objects like galaxies and nebulae |
| 30 minutes | More detailed deep sky objects |
Long exposure astrophotography captures a wealth of raw data, but the magic truly happens in post-processing. This is where the subtle details, faint colors, and cosmic wonders are revealed and enhanced. Post-processing is not about fabricating an image but about extracting and refining the information that the camera has meticulously gathered.
RAW Format: The Foundation of Your Edit
Shooting in RAW format is non-negotiable for serious astrophotography. Unlike JPEGs, which are compressed and processed in-camera, RAW files contain the unprocessed data directly from the sensor. This provides a much wider dynamic range and more flexibility for adjustments like exposure, white balance, and color correction without introducing artifacts or losing detail.
Noise Reduction: Taming the Grain
As discussed earlier, high ISO settings and long exposures inevitably introduce digital noise. Post-processing software offers sophisticated tools for noise reduction. This involves analyzing the image for patterns of random pixels and smoothing them out to create a cleaner image. It’s a delicate balance, as over-applying noise reduction can lead to a loss of detail and a “plasticky” or “painterly” look.
Adjusting Exposure and Contrast: Unveiling the Dim
The goal of post-processing is to bring out the faint light captured. This involves adjusting the overall exposure to brighten the image and then manipulating the contrast to define the details and create separation between different celestial objects. Tools like “levels” and “curves” in editing software are essential for this.
Color Correction and Enhancement: Painting with Starlight
Nebulae and galaxies possess incredible natural colors that can be subtle in the raw data. Post-processing allows for the enhancement and correction of these colors. This might involve adjusting the white balance to ensure accurate colors or selectively boosting specific color channels to reveal the vibrant hues of cosmic gas and dust. Understanding color theory and how different elements in space emit light is helpful here.
Stacking Multiple Exposures: The Ultimate Noise Reducer
For truly professional-looking astrophotography, stacking multiple images is a common and highly effective technique. This involves taking a series of identical long exposures (known as “lights”) and then combining them using specialized software.
Light Frames, Dark Frames, Bias Frames, and Flat Frames
The stacking process typically involves several types of calibration frames:
- Light Frames: These are the actual images of the night sky captured with your telescope or camera.
- Dark Frames: These are captured with the lens cap on, at the same exposure time, ISO, and temperature as your light frames. They capture the inherent noise generated by the camera sensor itself.
- Bias Frames: These are very short exposures (e.g., 1/4000 second) captured with the lens cap on. They capture the electronic noise generated by the sensor read-out process.
- Flat Frames: These are taken of a uniformly illuminated surface (like a white t-shirt stretched over the lens) at the same focus and aperture as your light frames. They capture vignetting (darkening towards the edges) and dust motes on the sensor or optics.
By subtracting the noise captured in the dark and bias frames from the light frames, and then calibrating with flat frames, stacking software can significantly reduce noise and improve the signal-to-noise ratio, revealing fainter details that would otherwise be lost. Software like DeepSkyStacker, PixInsight, and Adobe Photoshop’s advanced features are commonly used for this purpose.
Conclusion: A Cosmic Canvas Awaits
Long exposure astrophotography is a rewarding pursuit that bridges the gap between art and science. It requires a willingness to embrace the darkness, a dedication to technical precision, and an unwavering sense of wonder. The challenges – from focusing in the blackness to taming digital noise – are significant, but the rewards are immeasurable. With each click of the shutter and every hour spent processing, photographers are not just capturing images; they are unveiling the silent, majestic narratives of the universe, bringing its distant wonders into tangible, breathtaking reality for all to behold. The night sky, once a mystery, becomes a canvas, and through the lens of long exposure, we become artists, painting with starlight.
The Space Photos Are Real—But Your Eyes Would See This
FAQs
What is long exposure astrophotography?
Long exposure astrophotography is a technique used to capture images of celestial objects such as stars, planets, and galaxies over an extended period of time. By using a long exposure, the camera is able to gather more light, resulting in clearer and more detailed images of the night sky.
How does long exposure astrophotography work?
In long exposure astrophotography, the camera’s shutter is left open for an extended period of time, typically ranging from a few seconds to several minutes. This allows the camera to capture the faint light emitted by celestial objects, resulting in stunning and detailed images of the night sky.
What equipment is needed for long exposure astrophotography?
To capture long exposure astrophotography, you will need a DSLR or mirrorless camera with manual exposure settings, a sturdy tripod to keep the camera steady during the long exposure, and a remote shutter release to minimize camera shake. Additionally, a wide-angle lens with a fast aperture is recommended for capturing the night sky.
What are the challenges of long exposure astrophotography?
One of the main challenges of long exposure astrophotography is dealing with light pollution, which can wash out the faint light emitted by celestial objects. Additionally, capturing long exposures can be challenging due to factors such as camera shake, noise, and tracking the movement of celestial objects across the night sky.
What are some tips for successful long exposure astrophotography?
To achieve successful long exposure astrophotography, it is important to find a dark location away from light pollution, use a sturdy tripod to minimize camera shake, and experiment with different exposure times to capture the desired level of detail in the night sky. Additionally, using a remote shutter release and shooting in RAW format can help improve the quality of long exposure astrophotography images.