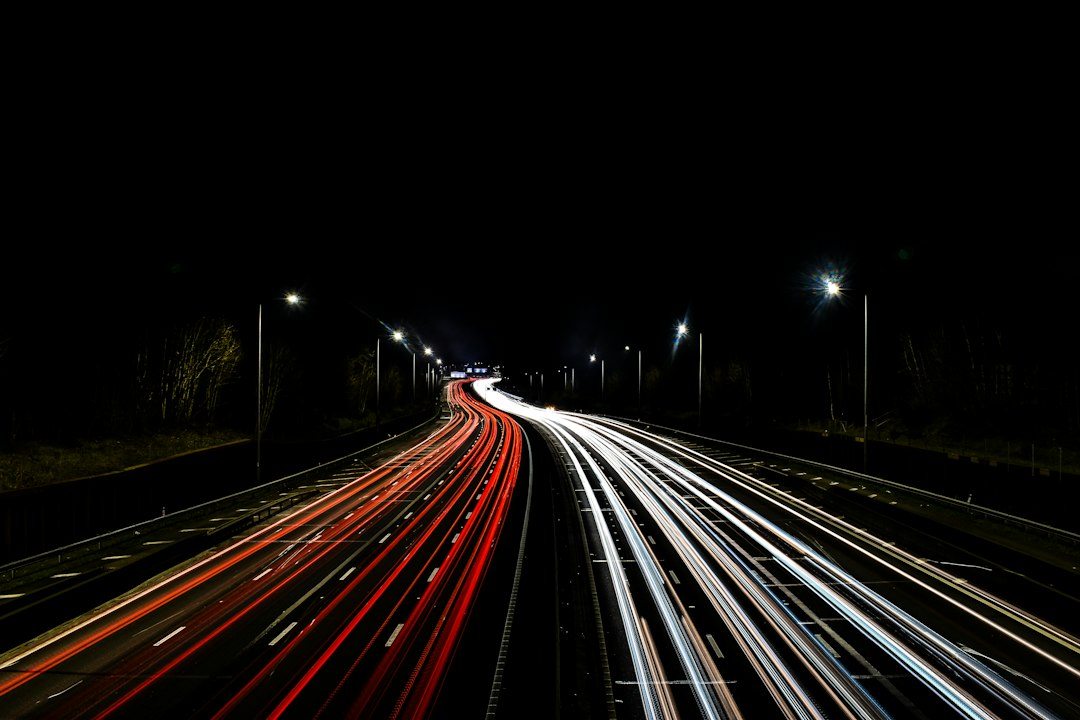
Capturing the cosmos in a single frame is an endeavor that has captivated photographers for generations. While fleeting glimpses of celestial bodies are beautiful, there exists a more profound way to perceive the night sky, a method that transforms static points of light into ethereal streaks and luminous landscapes. This is the magic of long exposure photography, a technique that unlocks the hidden dynamism of the universe, revealing its subtle movements and breathtaking grandeur in ways the naked eye cannot perceive. It is an art form that requires patience, technical skill, and a profound appreciation for the passage of time, allowing photographers to paint with light and capture the very essence of the cosmos.
Long exposure photography, at its core, is an exercise in manipulating the interplay between light and time. Unlike standard photography, which aims to freeze a moment, long exposure intentionally extends the duration the camera’s sensor is exposed to light. This extended exposure allows for the capture of faint light sources that would otherwise be invisible, as well as the recording of movement over time.
How Shutter Speed Dictates the Outcome
The most crucial element in long exposure photography is shutter speed. This refers to the amount of time the camera’s shutter remains open, allowing light to hit the sensor. In typical photography, shutter speeds are measured in fractions of a second (e.g., 1/125s, 1/60s). For long exposures, however, the duration can extend from several seconds to minutes, or even hours.
Slow Shutter Speeds: Freezing the Present
While the term “long exposure” implies extended durations, it’s important to differentiate it from merely using a slow shutter speed to capture a still image in low light. A slow shutter speed of, say, 1/15th of a second might be used to convey a sense of motion blur in a waterfall or a passing car. However, these are still relatively short durations.
Extended Exposures: Embracing the Passage of Time
The true magic of long exposure for astrophotography lies in the truly extended exposures. When the shutter is open for seconds or minutes, the apparent movement of celestial objects becomes evident. The Earth’s rotation causes stars to appear to arc across the night sky, creating mesmerizing star trails. This extended capture period also allows the camera to gather enough photons from faint nebulae and galaxies to render them visible in the final image.
The Role of the Aperture: Controlling Light Input
While shutter speed is paramount, aperture also plays a vital role. Aperture controls the size of the lens opening, dictating how much light enters the camera. For astrophotography, a wide aperture (a low f-number, such as f/1.8 or f/2.8) is often preferred. This allows more light to enter the camera in a shorter amount of time, which is beneficial when dealing with faint light sources and short-lived opportunities.
Balancing Depth of Field and Light Gathering
A wide aperture, however, results in a shallow depth of field, meaning only a narrow range of distances will be in sharp focus. This is generally not a concern in astrophotography where the focus is on the distant stars. In some instances, a slightly narrower aperture might be used to increase depth of field for foreground elements, but this comes at the cost of longer exposure times.
ISO: Amplifying the Signal
ISO refers to the camera sensor’s sensitivity to light. A higher ISO setting makes the sensor more sensitive, allowing for shorter exposure times or the capture of fainter subjects. However, increasing ISO also amplifies noise, which can degrade image quality.
The Trade-off Between Sensitivity and Noise
In long exposure astrophotography, a balance must be struck. While a higher ISO can reduce the necessary exposure time, it can also introduce unwanted graininess, particularly in the dark areas of the image. Photographers often experiment with various ISO settings, combined with adjusted shutter speeds and apertures, to find the optimal balance between capturing enough light and minimizing noise. Modern cameras with advanced sensors are capable of producing clean images at higher ISOs than ever before, expanding the possibilities for long exposure astrophotography.
Long exposure photography is a fascinating technique that allows photographers to capture more stars in the night sky, revealing the beauty of celestial bodies that are often invisible to the naked eye. This method works by keeping the camera’s shutter open for an extended period, allowing more light to reach the sensor and thus capturing the faint light from distant stars. For a deeper understanding of the science behind this technique and its applications, you can read more in this related article: Freaky Science.
Essential Gear for Celestial Journeys
Embarking on a long exposure astrophotography adventure requires more than just a camera. A specific set of equipment, tailored to the demands of low-light and extended shooting, is essential for success. Investing in the right gear can significantly enhance the quality and feasibility of capturing the night sky.
The Camera: Your Window to the Stars
The camera is the heart of any photography setup, and for long exposures, specific features are paramount. Modern DSLR and mirrorless cameras are generally well-suited for astrophotography due to their manual control capabilities and sensor technology.
Full-Frame vs. APS-C Sensors: Understanding the Impact
Full-frame cameras, with their larger sensors, generally perform better in low light conditions and produce less noise at higher ISOs compared to APS-C sensors. This is because the larger pixels on a full-frame sensor can gather more light. However, APS-C cameras are often more affordable and can still produce excellent results with the right techniques.
Manual Controls: The Key to Precision
The ability to manually control shutter speed, aperture, and ISO is non-negotiable for long exposure photography. This allows the photographer to fine-tune settings based on the specific shooting conditions and desired outcome. Look for cameras that offer intuitive manual controls and a robust build for outdoor use.
Lenses: Gathering the Cosmic Light
The lens is your conduit to the stars, and for astrophotography, wide-angle lenses with fast apertures are highly prized. These lenses allow you to capture a vast expanse of the night sky and gather sufficient light even in very dark conditions.
Wide-Angle Lenses: Embracing the Milky Way
Wide-angle lenses (typically 14mm to 35mm on a full-frame camera) are ideal for capturing sweeping vistas of the night sky, including the majestic Milky Way. Their wide field of view allows you to encompass a significant portion of the celestial dome, revealing constellations and other deep-sky objects in their context.
Fast Apertures: Maximizing Light Inflow
A fast aperture, indicated by a low f-number (e.g., f/1.4, f/1.8, f/2.8), is crucial for long exposure astrophotography. It allows more light to reach the camera sensor in a shorter period. This is particularly important for capturing faint stars and nebulae without resorting to excessively long exposure times that can lead to star trails obscuring detail.
The Tripod: Stability is Paramount
A sturdy tripod is arguably the most critical piece of equipment for long exposure photography. Any movement of the camera during an extended exposure will result in blurry images. The vibrations from wind, even subtle ones, can ruin a shot.
Weight and Stability: Resisting the Elements
A heavy, robust tripod is essential. Look for one that can securely hold your camera and lens combination without wobbling. Consider tripods with features like adjustable leg locks, a solid center column, and a good quality ball head for precise framing. In windy conditions, weighting the tripod with a sandbag or backpack can provide additional stability.
Remote Shutter Release: Eliminating Camera Shake
Pressing the shutter button directly on the camera can introduce vibrations. A remote shutter release, either wired or wireless, allows you to trigger the exposure without touching the camera, ensuring maximum sharpness. Many cameras also have a self-timer function that can serve a similar purpose, though a dedicated remote offers more control.
Mastering the Art of Star Trails: Painting with the Earth’s Rotation
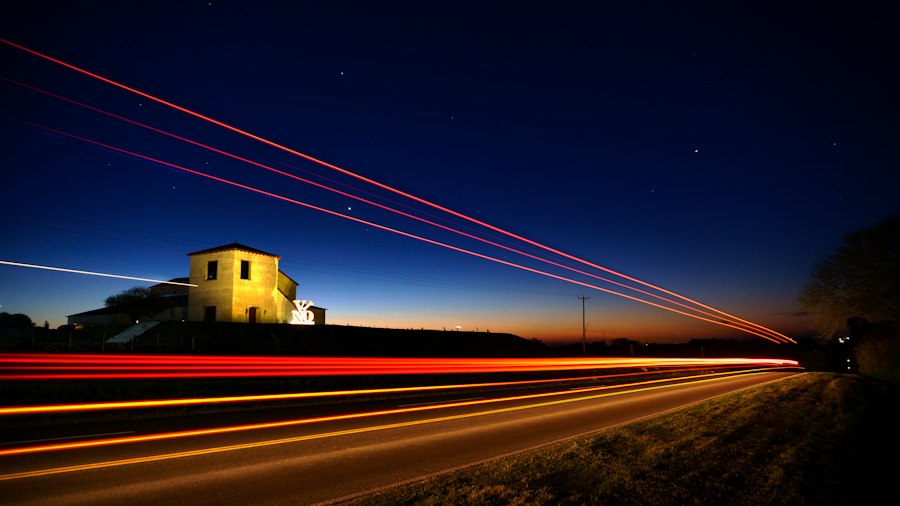
One of the most iconic and visually striking results of long exposure astrophotography is the creation of star trails. These luminous arcs across the night sky are not the movement of stars themselves, but rather the apparent motion of stars caused by the Earth’s rotation. Capturing them is a rewarding process that requires patience and meticulous planning.
Planning Your Star Trail Expedition
Before venturing out, thoughtful planning is essential. The success of a star trail image hinges on various factors that are best addressed beforehand.
Location, Location, Location: Seeking Dark Skies
The first and perhaps most crucial step is choosing a location with minimal light pollution. Urban areas are generally unsuitable for capturing the faintest stars and will wash out the subtle details. Seek out remote areas, national parks, or designated dark sky reserves. The darker the sky, the more prominent and numerous the stars will appear, leading to more impactful star trails.
Time of Year and Moon Phase: Optimizing Conditions
The time of year can influence the visibility of certain constellations and the overall brightness of the night sky. Consider the position of the Milky Way in the sky, which is most prominent during the summer months in the Northern Hemisphere. The moon phase is equally important. A full moon will significantly brighten the sky, washing out fainter stars and diminishing the contrast of star trails. Ideally, shoot during a new moon or when the moon is below the horizon.
Camera Settings for Dynamic Arcs
Once at your location, the camera settings need to be dialed in to capture the desired star trails. This involves a delicate balance of shutter speed, aperture, and ISO.
Shutter Speed: The Engine of Motion
The duration of the exposure is the primary determinant of the length of the star trails. For short, subtle trails, exposures of a few seconds to a minute might suffice. To create dramatic, sweeping arcs that encompass a significant portion of the sky, exposures of 15 minutes, 30 minutes, or even longer are required. This is often achieved by taking multiple shorter exposures and stacking them in post-processing, as single long exposures can sometimes overexpose the sensor or lead to excessive noise.
Aperture and ISO: Balancing Light and Detail
As discussed earlier, a wide aperture (low f-number) is generally preferred to gather as much light as possible. The ISO setting will need to be adjusted based on the ambient light and the desired exposure time. Lower ISOs are preferred to minimize noise, but this might necessitate longer exposure times. Experimentation is key to finding the right balance for your specific camera and lens.
Stacking Techniques: Building the Complete Trail
Capturing truly epic star trails often involves capturing a series of shorter exposures and then “stacking” them together in post-processing software like Adobe Photoshop or dedicated astrophotography programs. This technique offers several advantages.
The Power of Multiple Exposures
Instead of a single, potentially very long exposure that could lead to overexposure or noise issues, multiple shorter exposures (e.g., 30-second shots) are taken consecutively. Each shot captures the stars at a slightly different point in their apparent movement.
Merging the Trails: A Symphony of Light
In post-processing, these individual frames are layered, and a blending mode (often “Lighten” or “Screen”) is used to combine them. This mode ensures that only the brightest pixels (the stars) from each layer are visible, effectively creating a continuous trail from each star as it moves across the sky over the course of all the captured frames. This method allows for much longer apparent exposure times without the drawbacks of a single, continuous exposure.
Beyond Star Trails: Illuminating the Nocturnal Landscape
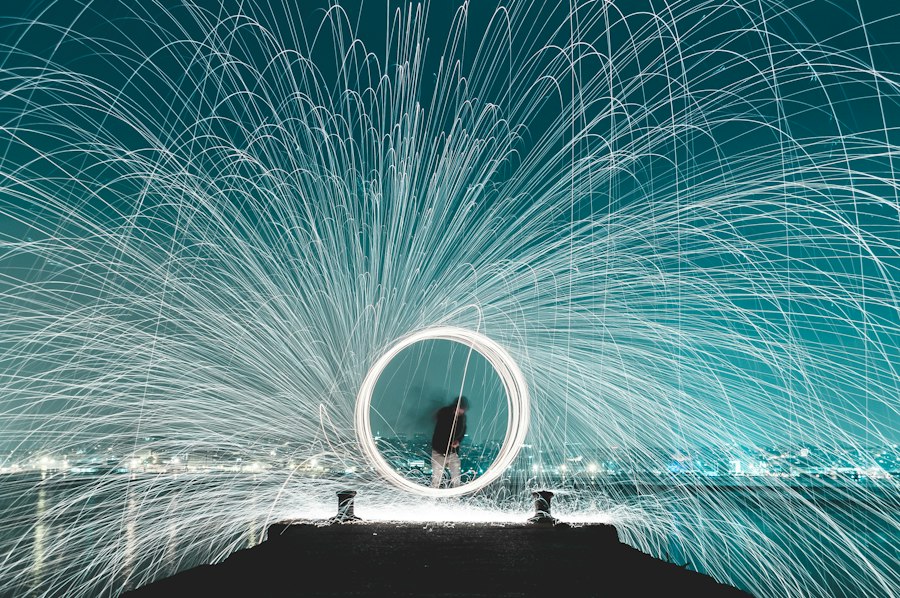
While star trails are a stunning application of long exposure, the technique offers a much broader canvas for capturing the wonders of the night. Long exposures can transform the ordinary into the extraordinary, revealing details and dynamics that are invisible to the human eye.
Light Painting: Sculpting with Luminescence
Light painting is a creative and exhilarating facet of long exposure photography that allows the photographer to literally “paint” with light within the scene. This involves using artificial light sources to illuminate parts of the foreground or even the sky during the extended exposure.
Tools of the Trade: From Flashlights to LEDs
The tools for light painting are diverse. Simple flashlights, LED panels, glow sticks, and even strategically placed lanterns can be used. The color and intensity of the light source will influence the final aesthetic.
Techniques for Illumination: Adding Depth and Dimension
The photographer moves the light source during the exposure, selectively illuminating elements of the scene. This can be used to highlight a landscape feature, create abstract patterns, or even add color to the foreground. Moving the light quickly can create subtle washes of light, while slower, deliberate movements can create more defined shapes. Experimentation is key to discovering the most effective ways to use light to enhance the composition.
Capturing the Milky Way: Unveiling Galactic Majesty
Long exposure is indispensable for capturing the awe-inspiring beauty of the Milky Way galaxy. Its faint light requires extended exposure times to register on the camera sensor.
Wide-Field Views: Embracing the Galactic Core
For wide-field shots of the Milky Way, a fast, wide-angle lens is crucial. The camera is aimed towards the most luminous part of the galaxy, typically the galactic core, which is most visible during the summer months. Exposures typically range from 15 to 30 seconds, with an aperture wide open and an ISO set to capture sufficient detail without excessive noise.
Detail and Nebulae: Revealing Faint Structures
To reveal the finer details of the Milky Way, including the intricate dust lanes and nebulae, longer exposures or even specialized techniques like stacking might be employed. This allows for the capture of faint, diffuse light that would otherwise be lost.
Motion Blur in Nature: The Ethereal Flow
Long exposure photography can also be used to imbue natural elements with a sense of ethereal flow and movement. This technique is particularly effective for capturing water, clouds, and other dynamic natural phenomena.
Waterfalls and Rivers: Transforming Flow into Silk
When photographing waterfalls or rivers, a long exposure can transform the churning water into a smooth, silky cascade. This creates a dreamy, almost surreal effect that emphasizes the power and grace of moving water. Exposures can range from a few seconds to several minutes, depending on the desired level of smoothness.
Clouds in Motion: Painting the Sky
Similarly, long exposures can capture the subtle movement of clouds, transforming them into streaking brushstrokes across the sky. This can add a sense of drama and dynamism to landscape photographs, especially during sunrise or sunset.
Long exposure photography is a fascinating technique that allows photographers to capture more stars in the night sky, revealing celestial details that are often missed in standard photographs. This method works by keeping the camera’s shutter open for an extended period, which collects more light from distant stars and other astronomical objects. For those interested in delving deeper into the science behind this phenomenon, you can explore a related article on the principles of light and exposure at Freaky Science. Understanding these concepts can enhance your appreciation for the beauty of the universe captured in long exposure images.
Post-Processing: Refining the Celestial Vision
| Reasons | Explanation |
|---|---|
| Increased Light Capture | Long exposure allows the camera sensor to gather more light over time, making faint stars visible. |
| Star Trails | Long exposure can create star trails, showing the movement of stars across the sky. |
| Noise Reduction | Long exposure can reduce noise in the image, making stars appear clearer and more defined. |
The magic of long exposure photography often extends beyond the initial capture, with post-processing playing a crucial role in realizing the photographer’s vision. This is where raw data is transformed into a polished, impactful image.
Importing and Organizing: The Digital Darkroom
The first step is to import the captured RAW files into your chosen editing software. RAW files contain the most unprocessed data from the camera sensor, offering the greatest flexibility for editing. Organizing your files with clear naming conventions and logical folder structures is essential for efficient workflow.
Basic Adjustments: Setting the Foundation
Initial adjustments typically involve correcting white balance to accurately represent the colors of the night sky, adjusting exposure to bring out detail in both the highlights and shadows, and ensuring proper contrast.
White Balance: Capturing the True Colors of the Night
The artificial lights from towns or the moon can cast a color cast on night sky images. Correcting the white balance ensures that the stars appear as true white and that any subtle colors in nebulae or the Milky Way are accurately represented.
Exposure and Contrast: Unveiling Hidden Details
Long exposures can sometimes result in images that appear too dark or too bright. Adjusting the exposure slider will bring out the subtle details in the sky and foreground. Increasing contrast can help to separate the stars from the background and add punch to the overall image.
Noise Reduction: Taming the Grain
As discussed earlier, noise is an inherent challenge in low-light photography. Post-processing software offers powerful tools for reducing digital noise. However, it’s important to use these tools judiciously, as excessive noise reduction can lead to a loss of fine detail and a “painterly” or plastic-like appearance.
Luminance and Color Noise: Targeted Corrections
Noise reduction tools typically address both luminance noise (graininess) and color noise (unwanted color speckles). Applying these corrections gradually and with careful attention to detail will help to achieve a cleaner image without sacrificing important details.
Sharpening and Detail Enhancement: Bringing the Cosmos into Focus
Once noise has been managed, sharpening can be applied to enhance the definition of stars and other celestial details. However, over-sharpening can lead to artifacts and a harsh appearance. The goal is to subtly enhance the clarity of the stars, making them appear crisp and well-defined against the dark sky.
Localized Adjustments: Precision in Enhancement
Instead of applying sharpening globally, photographers often use localized adjustments to target specific areas of the image. This allows for more precise control over the sharpening process, enhancing details where needed without negatively impacting other parts of the photograph.
The Artistic and Personal Rewards of Long Exposure
Beyond the technical challenges and the pursuit of visually stunning images, long exposure photography offers profound artistic and personal rewards. It is a journey of discovery, patience, and connection with the vastness of the universe.
Patience and Mindfulness: A Meditative Practice
The act of setting up a shot, waiting for the right conditions, and allowing the camera to work for extended periods cultivates a sense of patience and mindfulness. It forces the photographer to slow down, observe, and be present in the moment. This meditative quality can be incredibly grounding and rewarding.
Connecting with the Cosmos: A Deeper Appreciation
Long exposure allows us to perceive the universe in ways that are beyond our everyday experience. Witnessing the slow, majestic dance of the stars or the subtle glow of distant galaxies fosters a deeper appreciation for the immensity and beauty of the cosmos. It is a reminder of our place within this grand celestial tapestry.
Creative Expression and Storytelling: Painting with Light
Long exposure photography provides a unique medium for creative expression. It allows photographers to imbue their images with a personal narrative, using light and time to tell stories of the night sky, the landscape, and the human experience. Whether it’s the dramatic sweep of star trails or the subtle illumination of a lone tree, each image can evoke emotion and inspire wonder.
The Thrill of Discovery: Unveiling the Unseen
There is an undeniable thrill in venturing out into the darkness, armed with gear and knowledge, to capture something that few people ever witness with their own eyes. The act of unveiling the unseen, of bringing forth the hidden beauty of the night, is an incredibly rewarding aspect of long exposure astrophotography. It is a constant pursuit of discovery, a journey into the unknown illuminated by the very light we seek to capture.
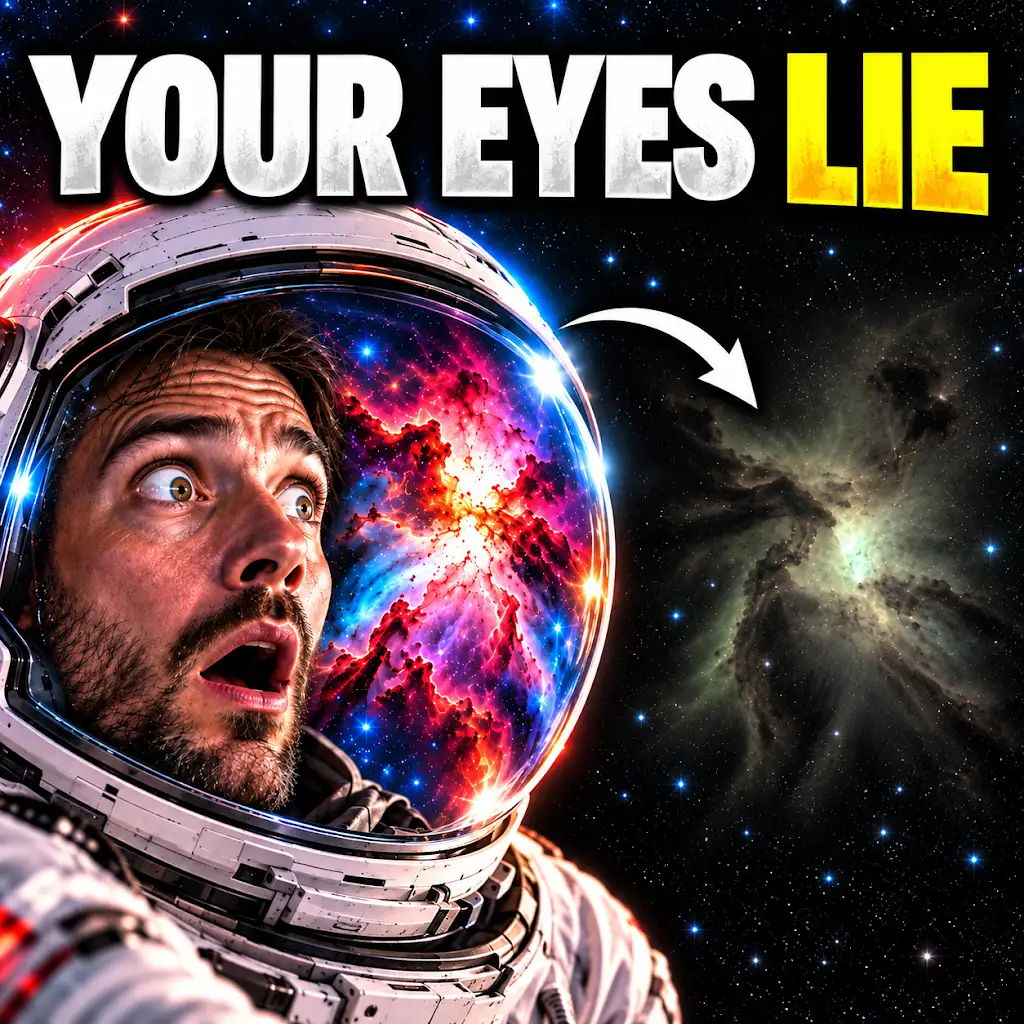
The Space Photos Are Real—But Your Eyes Would See This
FAQs
1. What is long exposure photography?
Long exposure photography is a technique where the camera’s shutter is left open for an extended period of time, allowing more light to reach the camera’s sensor. This technique is often used to capture motion blur, light trails, and in the case of astrophotography, to capture more stars in the night sky.
2. Why do long exposure photos show more stars?
Long exposure photos show more stars because the extended exposure time allows the camera to capture fainter light sources, such as distant stars, that may not be visible in shorter exposures. This results in a more detailed and expansive view of the night sky.
3. How does long exposure affect the appearance of stars in photos?
In long exposure photos, stars appear as streaks or trails across the sky due to the Earth’s rotation. The longer the exposure, the longer the trails will appear. This effect can create a mesmerizing and dynamic visual representation of the night sky.
4. What equipment is needed for long exposure astrophotography?
To capture long exposure photos of stars, photographers typically use a DSLR or mirrorless camera with manual exposure settings, a sturdy tripod to keep the camera steady during the long exposure, and a remote shutter release to minimize camera shake. Additionally, a wide-angle lens with a fast aperture is often used to capture a larger portion of the night sky and gather more light.
5. Are there any challenges or considerations when capturing long exposure photos of stars?
One challenge when capturing long exposure photos of stars is the potential for light pollution to affect the visibility of stars in the night sky. Additionally, factors such as weather conditions, the moon’s phase, and the Earth’s rotation can impact the quality of long exposure astrophotography. It’s important to choose a location with minimal light pollution and to plan the shoot around optimal weather and astronomical conditions.