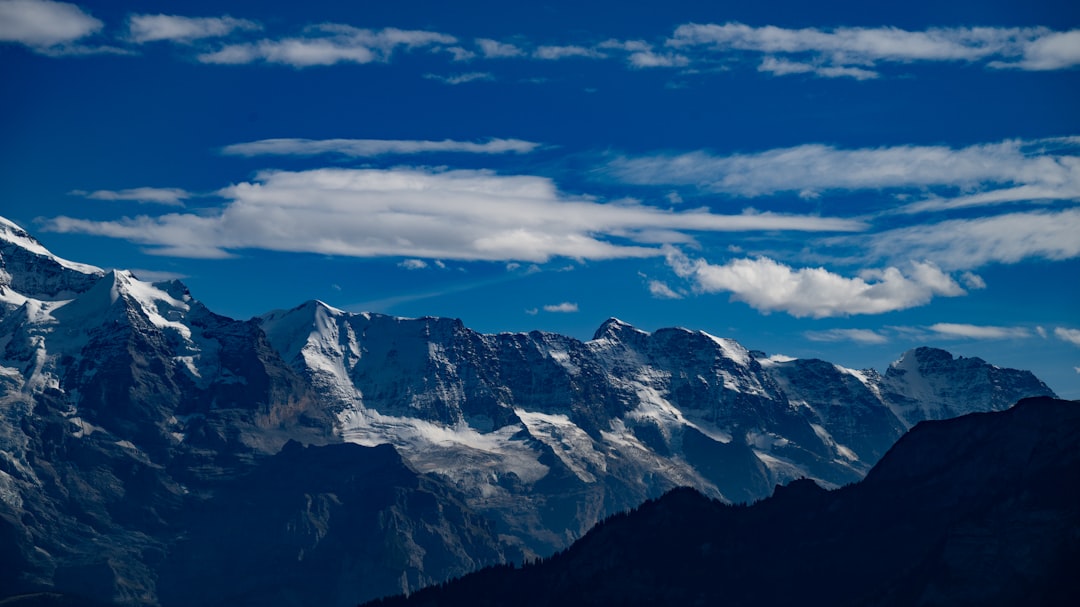
Capturing the ephemeral beauty of plasma trails at high altitudes presents a unique challenge and rewarding endeavor for amateur photographers. While often associated with professional astronomical observation, the principles and techniques for effectively documenting these luminous atmospheric phenomena are accessible to those with a dedicated interest and the right equipment. This exploration delves into the practicalities of amateur high-altitude photography, focusing specifically on the capture of plasma trails.
What Constitutes a Plasma Trail?
Plasma trails are transient streaks of ionized gas that appear in the Earth’s upper atmosphere. These trails are not a single, monolithic phenomenon but rather manifest in various forms, each with distinct origins and characteristics. At high altitudes, typically above 80 kilometers, atmospheric conditions are drastically different from those at ground level. The reduced density of air and increased exposure to solar and cosmic radiation create an environment where ionization can occur, leading to observable luminescence.
The Physics Behind the Glow
The creation of plasma trails is fundamentally an energetic process. Energetic particles, whether from solar wind, cosmic rays, or even meteor ablation, interact with the sparse atmospheric gases. These interactions transfer sufficient energy to the atoms and molecules, stripping them of electrons. This process, known as ionization, transforms neutral gas into a plasma – a state of matter consisting of ions and free electrons. As these ionized particles recombine or continue to interact, they release energy in the form of photons, producing visible light. The color and intensity of the plasma trails depend on the specific gases present (primarily nitrogen and oxygen at these altitudes) and the energy of the inciting particles.
Distinguishing from Other Atmospheric Phenomena
It is crucial for an amateur photographer to distinguish plasma trails from other high-altitude visual events. For instance, noctilucent clouds, while also high-altitude phenomena and appearing luminous, are composed of ice crystals and are visible due to scattered sunlight. Meteors, or shooting stars, are incandescent trails left by small particles burning up in the atmosphere, typically at lower altitudes and with a more defined, transient path. Aurorae, while involving ionization and luminescence, are large-scale displays driven by geomagnetic storms, creating broader, dynamic curtains of light rather than discrete trails. Understanding these distinctions aids in accurate identification and targeted photography.
For those interested in exploring the fascinating world of amateur high altitude photography, particularly the captivating phenomenon of plasma trails, a related article can provide valuable insights and tips. You can learn more about the techniques and equipment needed to capture stunning images of these ethereal trails by visiting this informative piece at Freaky Science. This resource is perfect for both beginners and seasoned photographers looking to enhance their skills in this unique niche.
Essential Equipment for High-Altitude Photography
Camera Body and Lens Selection
The choice of camera body is paramount. Digital single-lens reflex (DSLR) or mirrorless cameras with manual control capabilities are essential. Features to prioritize include good low-light performance, a high dynamic range, and the ability to shoot in RAW format. RAW files retain more image data, offering greater flexibility in post-processing, which is crucial for enhancing faint plasma trails and managing the contrasting light levels of the night sky and the trail itself.
For lens selection, a wide-angle lens with a fast aperture is generally preferred. The wide field of view helps capture a larger portion of the sky, increasing the probability of including a plasma trail. A fast aperture (e.g., f/2.8 or wider) allows more light to reach the sensor, which is critical for capturing faint celestial objects and atmospheric phenomena in low-light conditions. Prime lenses often offer superior optical quality and wider apertures compared to zoom lenses.
Tripod and Stability
A sturdy tripod is non-negotiable for high-altitude photography. Long exposures are invariably required, and any camera shake will result in blurred images, rendering the delicate plasma trails unrecognizable. The tripod must be robust enough to withstand potential wind conditions at higher elevations, and it is advisable to use a remote shutter release or a self-timer to avoid any vibration caused by pressing the shutter button. Many photographers also utilize sandbags or other weights attached to the tripod legs to enhance its stability in windy environments.
Power and Storage Solutions
Given the extended exposures and potentially remote locations, ample power is essential. Spare batteries for the camera are a necessity, and in extremely cold conditions, battery performance can be significantly reduced. Consider investing in an external battery pack or a battery grip that holds multiple batteries. Similarly, sufficient high-speed memory cards are required to store a large number of RAW image files. It is wise to have multiple cards rather than relying on a single, high-capacity card that could fail.
Specialized Accessories
Beyond the core equipment, several specialized accessories can enhance the high-altitude photography experience. A dew heater can prevent condensation from forming on the lens in humid or cold environments, which can significantly degrade image quality. A headlamp with a red light setting is beneficial for navigating in the dark without disrupting night vision, both for the photographer and for others nearby. Lens cleaning supplies are always advisable, especially in dusty or exposed environments.
Site Selection and Planning for Optimal Captures
Altitude and Accessibility Considerations
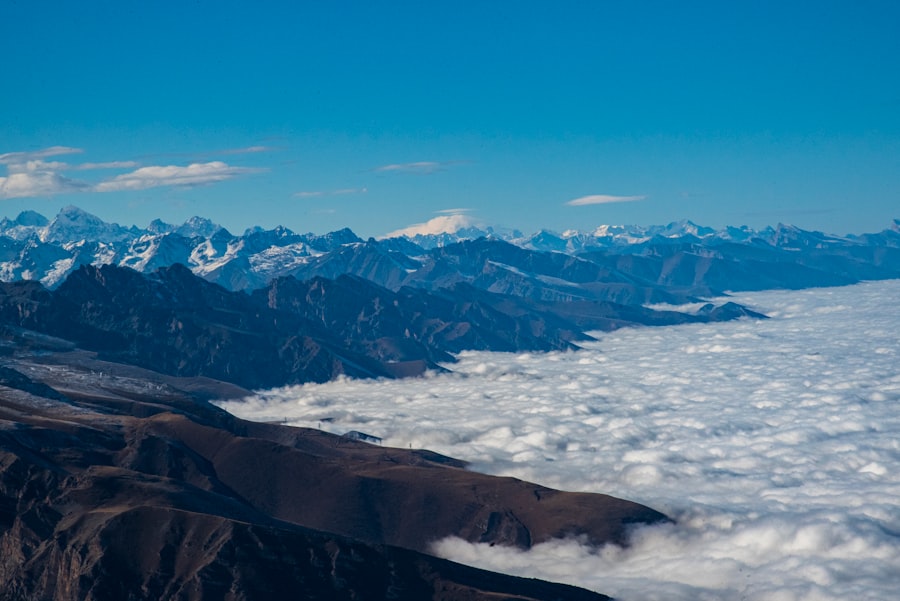
The “high-altitude” aspect of this photography genre implies a need to reach elevations offering a clearer atmosphere and reduced light pollution. This can range from mountainous regions to high desert plains. Accessibility is a practical concern; photographers must consider the ease of transport for their equipment. Remote locations often provide the darkest skies, a crucial factor in discerning faint plasma trails. However, access roads, potential for off-road driving, and hiking distances need to be assessed beforehand.
Minimizing Light Pollution
Light pollution is the archenemy of deep-sky and atmospheric phenomena photography. Artificial light from urban areas scatters in the atmosphere, creating a sky glow that washes out faint details. Planning photographic excursions to areas far from major cities is paramount. Local dark sky maps and light pollution calculators can be invaluable tools for identifying suitable locations. Even in relatively dark areas, the direction of nearby towns can influence the extent of sky glow.
Weather and Atmospheric Conditions
Predicting weather is critical. Clear skies are obviously a prerequisite for any form of astronomical or atmospheric photography. However, specific conditions can influence the visibility of plasma trails. Thin, stable air at high altitudes often offers the clearest views. High humidity can lead to haze and cloud formation, obscuring delicate phenomena. For plasma trails, understanding periods of elevated solar activity might correlate with increased occurrences, though these are less predictable than cloud cover. Tracking space weather forecasts can offer some insight into potential atmospheric disturbances that might lead to more visible ionization events.
Timing and Celestial Events
The time of night and the phase of the moon play significant roles. Plasma trails are best observed and photographed during the darkest parts of the night, typically several hours after sunset and before sunrise. A new moon phase offers the darkest skies, maximizing contrast. While plasma trails are not directly dependent on specific celestial events in the same way as meteor showers, understanding the general astronomical calendar can help with scouting locations and planning when the greatest chance of clear skies might coincide with minimal moonlight.
Technical Settings for Capturing Plasma Trails
Exposure Settings: Aperture, Shutter Speed, ISO
Achieving well-exposed images of plasma trails involves a delicate balance of exposure parameters. The aperture should be set to its widest setting (lowest f-number) to gather as much light as possible. Shutter speed will be dictated by the target brightness and the ISO. Typical shutter speeds for capturing faint atmospheric phenomena can range from 15 seconds to 30 seconds or longer, depending on the camera’s ability to handle noise at higher ISOs.
The ISO setting is a key factor. While higher ISO values increase sensor sensitivity, they also introduce digital noise. Modern cameras perform better at higher ISOs than older models, but it is generally advisable to find the highest ISO that produces an acceptable level of noise. Experimentation is crucial to determine the sweet spot for a particular camera. Some photographers will intentionally underexpose slightly and brighten the image in post-processing to manage noise more effectively.
Focus and Sharpness
Achieving critical focus in low light is a common challenge. Autofocus systems often struggle in such conditions. The most reliable method is manual focus. This typically involves focusing on a distant, bright light source (like a star or a far-off terrestrial light) using live view magnified on the camera’s LCD screen until the point of light is as small and sharp as possible. Alternatively, some photographers use the infinity mark on the lens, but this is not always perfectly accurate. Hyperfocal distance techniques can also be employed to maximize the depth of field.
White Balance and Color Accuracy
The white balance setting can significantly affect the perceived colors of plasma trails, which are often inherently subtle and varied. While shooting in RAW allows for white balance adjustment in post-processing, setting a reasonably accurate white balance in-camera can provide a better starting point. Auto white balance can sometimes be unreliable in low-light and mixed lighting conditions. Experimenting with presets like “Daylight” or “Custom” white balance, or taking a test shot of a neutral grey card (if accessible) can help establish a more accurate baseline.
Noise Reduction Techniques
Digital noise is an unavoidable consequence of long exposures and high ISO settings. Modern cameras offer in-camera noise reduction features, which can be utilized, though some photographers prefer to disable them to have more control in post-processing. Techniques for mitigating noise in post-processing include using noise reduction software, stacking multiple images (if multiple identical exposures are taken), and judicious application of sharpening. Understanding the types of noise (luminance and color noise) and how to address them is part of mastering this craft.
For those interested in the fascinating world of amateur high altitude photography, exploring the phenomenon of plasma trails can be particularly captivating. These trails, often created by aircraft at high altitudes, can add a unique element to your aerial shots. If you want to delve deeper into the science behind these stunning visuals, you might find this related article on Freaky Science to be quite enlightening. It offers insights into the formation of plasma trails and how they can enhance your photography experience.
Capturing the Plasma Trails: Techniques and Composition
| Altitude | Photography Time | Plasma Trail Visibility |
|---|---|---|
| 30,000 feet | Daytime | Faint |
| 50,000 feet | Sunset | Visible |
| 70,000 feet | Nighttime | Bright |
Framing and Compositional Elements
Effective composition goes beyond simply pointing the camera at the sky. Integrating foreground elements can add context and scale to the image, transforming a simple sky shot into a compelling landscape. Interesting geological formations, silhouetted trees, or even a small, strategically placed human figure can provide a sense of place and dramatically improve the overall aesthetic. Consider the direction and potential prominence of the plasma trail within the frame. Leading lines from the foreground, natural or man-made, can guide the viewer’s eye towards the atmospheric phenomenon.
Long Exposure and Time-Lapse Strategies
Long exposures are fundamental for capturing the faint luminosity of plasma trails. However, the duration needs to be balanced against the potential for motion blur from the Earth’s rotation (star trails) or the transient nature of the trails themselves. For static captures, exposures of 15-30 seconds are common. For time-lapses, shorter exposures (e.g., 5-20 seconds) with small intervals between shots are used to create a sequence of images that, when played back, will reveal the movement and evolution of plasma trails. The interval between shots in a time-lapse is critical; too short an interval will result in jerky playback, while too long an interval might miss rapid changes.
Tracking and Anticipation
Plasma trails are not as predictable as meteor showers. While some phenomena might be linked to specific atmospheric conditions or energetic particle events, their appearance is often serendipitous. Therefore, a degree of patience and observation is required. Skilled photographers often spend time observing the sky, looking for subtle visual cues. In some cases, utilizing atmospheric monitoring tools or forecasts for geomagnetic activity can provide a slight edge in anticipating potential displays, though direct visual observation of atmospheric luminescence is the most reliable indicator.
Multiple Exposures and Image Stacking
To enhance faint details and reduce noise, stacking multiple images is a widely adopted technique. This involves taking several identical exposures of the same scene. In post-processing software, these images are aligned and averaged. This process effectively reduces random noise while preserving the signal (the plasma trails). For more advanced results, photographers might employ different techniques for stacking, such as median stacking or sigma clipping, to remove outliers like airplanes or satellites that might randomly pass through the frame.
Post-Processing for Enhanced Plasma Trails
RAW Image Conversion and Adjustments
The first step in post-processing is converting the RAW files into a manageable format. This stage involves initial adjustments to exposure, white balance, and contrast. The goal is to bring out the subtle details of the plasma trails without introducing excessive noise or artifacts. Adjusting the highlights and shadows can reveal faint luminosity or preserve detail in darker areas of the sky. Clarity and texture sliders can sometimes enhance the visual definition of the trails, but their application must be judicious.
Noise Reduction and Sharpening
Once the initial adjustments are made, noise reduction becomes a primary focus. Software dedicated to noise reduction, such as Adobe Lightroom’s denoising algorithms or specialized tools like Topaz Denoise AI, can effectively minimize digital artifacts. The key is to strike a balance between noise reduction and preserving image detail. Over-reduction can lead to a “plasticky” or overly smooth appearance. Sharpening is then applied carefully to restore perceived detail, often targeting the plasma trails themselves or the overall image. Masking techniques are employed to ensure sharpening is applied only where needed, avoiding enhancement of noise in darker areas.
Color Enhancement and Grading
Plasma trails often have subtle, natural colors derived from the atmospheric gases. Post-processing allows for enhancement and refinement of these colors. Saturation and vibrance sliders can be used to bring out the existing hues, but it is essential to avoid over-saturation, which can render the image artificial. Color grading techniques can be employed to establish a specific mood or aesthetic. This might involve shifting color tones in the highlights, midtones, and shadows to create a visually cohesive and appealing image.
Compositing and Blending (Optional)
For more advanced artistic interpretations, compositing and blending techniques can be utilized. This might involve combining multiple exposures taken at different times or from different locations. For instance, a photographer might capture a striking foreground landscape during twilight and then composite it with a sky image featuring prominent plasma trails captured later that night. Advanced blending modes and masking techniques are employed to seamlessly integrate these elements, creating a final image that might not have been possible to capture in a single exposure. This approach requires a strong understanding of digital manipulation and a clear artistic vision.
FAQs
What is amateur high altitude photography?
Amateur high altitude photography refers to the practice of capturing images from high altitudes using amateur equipment such as drones, weather balloons, or high-altitude balloons. This type of photography allows individuals to capture unique and stunning images of the Earth from above.
What are plasma trails in the context of high altitude photography?
Plasma trails are luminous, ionized gas trails that can be observed at high altitudes. These trails are often created by the interaction of high-energy particles with the Earth’s atmosphere, and they can produce colorful and dynamic visual effects in photographs taken from high altitudes.
How can amateur photographers capture plasma trails in their high altitude photography?
Amateur photographers can capture plasma trails in their high altitude photography by using long exposure techniques and capturing images during periods of high solar activity. Additionally, using specialized filters and adjusting camera settings can help enhance the visibility of plasma trails in photographs.
What are some safety considerations for amateur high altitude photography?
Amateur high altitude photography comes with certain safety considerations, such as ensuring compliance with local aviation regulations, avoiding restricted airspace, and taking precautions to prevent equipment loss or damage. It is also important to consider weather conditions and potential hazards when launching equipment into high altitudes.
What are some tips for amateur photographers interested in high altitude photography of plasma trails?
Some tips for amateur photographers interested in capturing high altitude photography of plasma trails include researching solar activity patterns, experimenting with different camera settings and equipment, and collaborating with experienced high altitude photography enthusiasts. Additionally, staying informed about safety guidelines and regulations is crucial for a successful and safe photography experience.